Образование
Подкатегория
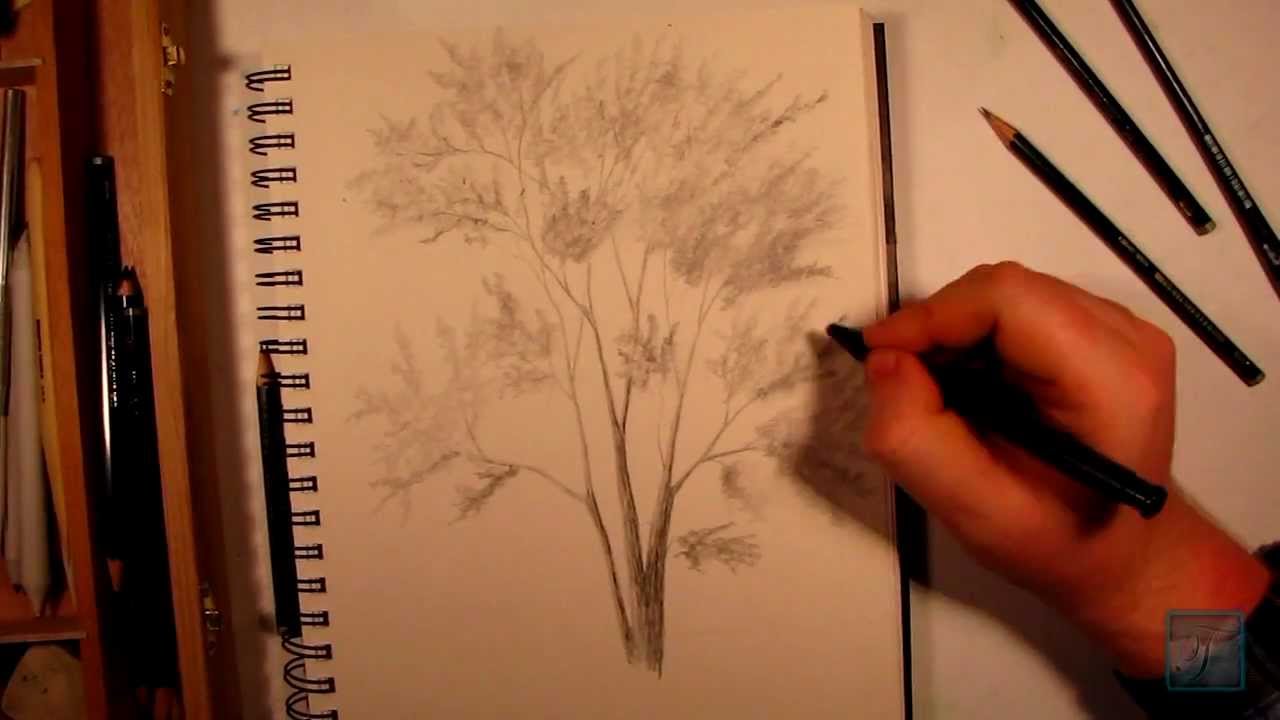
This video WILL show YOU how to draw a realistic tree by using simple steps to create a more complex and dynamic drawing. Stop by and check it out!
Follow me on:
Facebook: http://www.facebook.com/tylersartshack
Twitter: https://twitter.com/#!/TylersArtShack
Google +: https://plus.google.com/115405....344518849808905/post
Please help our Artist movement. We are trying to Advocate for a visual arts category. Post in the forum here showing that you support this.
http://www.google.com/support/forum/p/youtube/thread?tid=2a9806f929074cbd&start=520
Here is a tutorial with commentary showing you how I drew a realistic tree from start to finish. You can bet I will be making more videos like this soon. Most likely more in depth ones too.
This drawing started out with a light pencil in the hb to 2h range just for the initial sketch of the tree. I use a light pencil so that If I make any mistakes I can easily erase them out.
Start with the base of the tree and work outward towards the smaller branches and eventually sticks that make out the very outer part of the tree. As you branch out, make each branch smaller and smaller as it progresses so that it eventually becomes a very small stick. This process takes a little while getting used to but with practice, it will come very naturally to you.
The next process of this is the shading. The shading is time consuming and requires a lot of patience. Think of the tree as a 3 dimensional object and how light would be affecting with it. When you can visualize this, you can really start to figure in where the light and shadow goes. Think of the light source coming in from one general direction and work from that. Using that as a reference, all surfaces facing that object of light will be highlighted while the opposite sides of the same branch will be in shadow.
Once you have the shading done, the next part that is also quite time consuming is the leaves. The way I draw leaves is quite clever. I use a process of negative drawing to make the leaves. It is a process of where I just draw texture and the white space that is left after drawing the texture takes the shape and form of the leaves.
The way I start this texture is I draw small circular strokes with the pencil but making sure that I keep moving the pencil so that the end result looks like a bunch of leaves. I make very irregular edges. Nothing should be very uniform when it comes to leaves. They are constantly blowing in the wind and changing shape, I try to replicate that.
Once the initial layer of leaves is applied, go back in with a darker pencil so you can add depth to them. Once shading is applied, it will make the leaves look much more thick and full. Thus giving it much more life and character.
All that is left is to draw in the foundation that the tree is growing from. I did not include this in this drawing but will do a continuation for next weeks video showing you how to do that. please subscribe so you dont miss out! I will see you all again very soon!
Music info:
Music is from danosongs.com
the song is called Permafrost. Here is a link to that song
http://danosongs.com/music/dan....osongs.com-permafros

Little bit different from what I normally do here on youtube but I wanted to share another passion of mine with all of you. I hope you enjoy!
Parts List
Cooler Master HAF(High Air Flow) X Full Tower
Corsair Professional Series Gold 850W Modular Power Supply
AMD FX-8150 FX 8-core Black Edition Processor Socket AM3+ 3.6Ghz (OC 4.2Ghz)
Corsair Hydro Series H100 Extreme Performance Liquid CPU cooler
ASUS Sabertooth 990FX AM3+ TUF Series ATX Motherboard
G.SKILL Ripjaws X Series 16GB (2 x 8GB) 240-pin DDR3 SDRAM DDR3 1866
G.SKILL FTB Fans
XFX ATI Radeon HD 7950 3GB DDR5
Crucial 128GB Solid State Drive
Western Digital Cabiar Black 2TB SATA III
Lite-on Lightscribe 24x SATA DVD Drive
Follow me!
Facebook: http://www.facebook.com/tylersartshack
Twitter: https://twitter.com/#!/TylersArtShack
Google+: https://plus.google.com/115405....344518849808905/post
Deviant Art: http://tylersartshack.deviantart.com/
Music Info:
Song: Rise up To Heaven
Artist: Jlbrock44
Music can be found on CCmixter
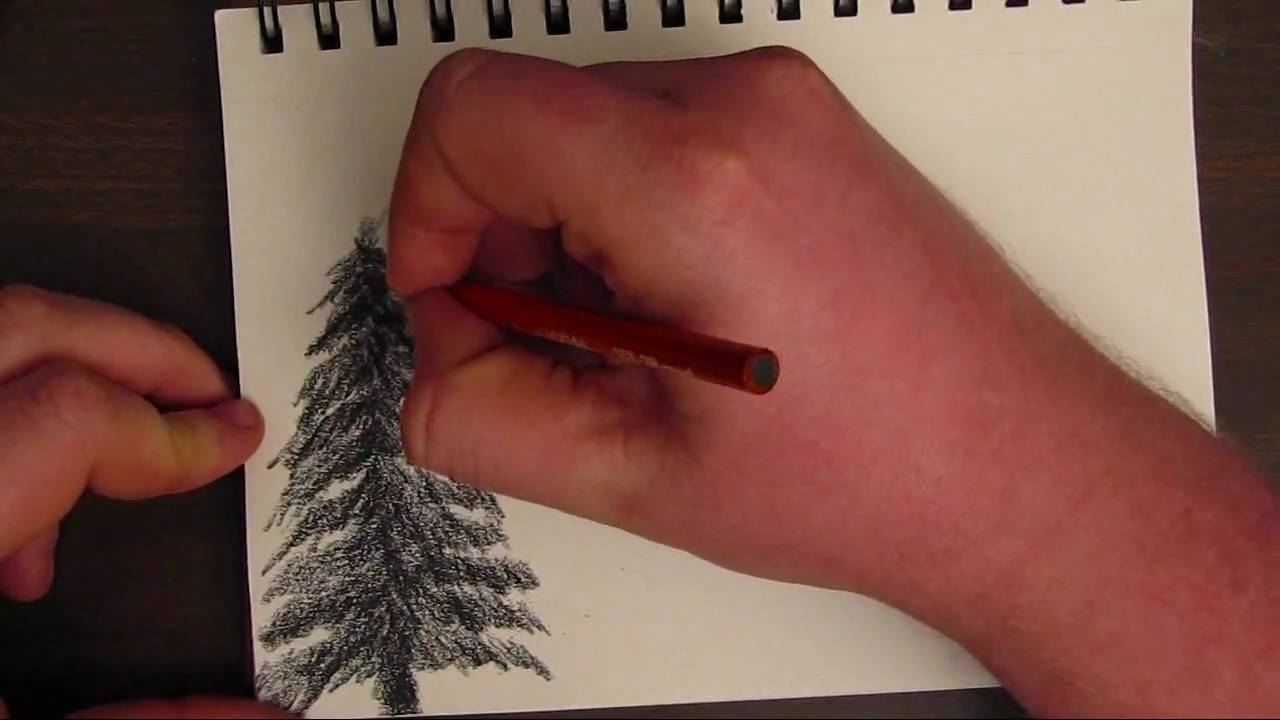
In this video, I show you the steps I used to draw a very simple and basic tree.
Think this tree is too basic or easy?? Check out my channel, I have much more advanced tutorials on how to draw a tree since I have done this one.
Whats up everyone! In this tutorial, I take you step by step and show you the basics of drawing a simple tree. In this video, I use generals charcoal pencils.
I start off by making a general vertical line. After which, I start by adding details to the top of it making jagged irregular strokes to create texture. It helps to make a more interesting subject.
I continue to do this until I reach all the way to the bottom. Gradually making the tree wider and wider as it reaches the base of where the tree would be.
After which you have a basic tree.
This type or detail of a tree is excellent for trees that are further in the background because they will naturally have less details than a tree that is right in front of you. Having less detail on an object is a great way to show that it is further away from you.
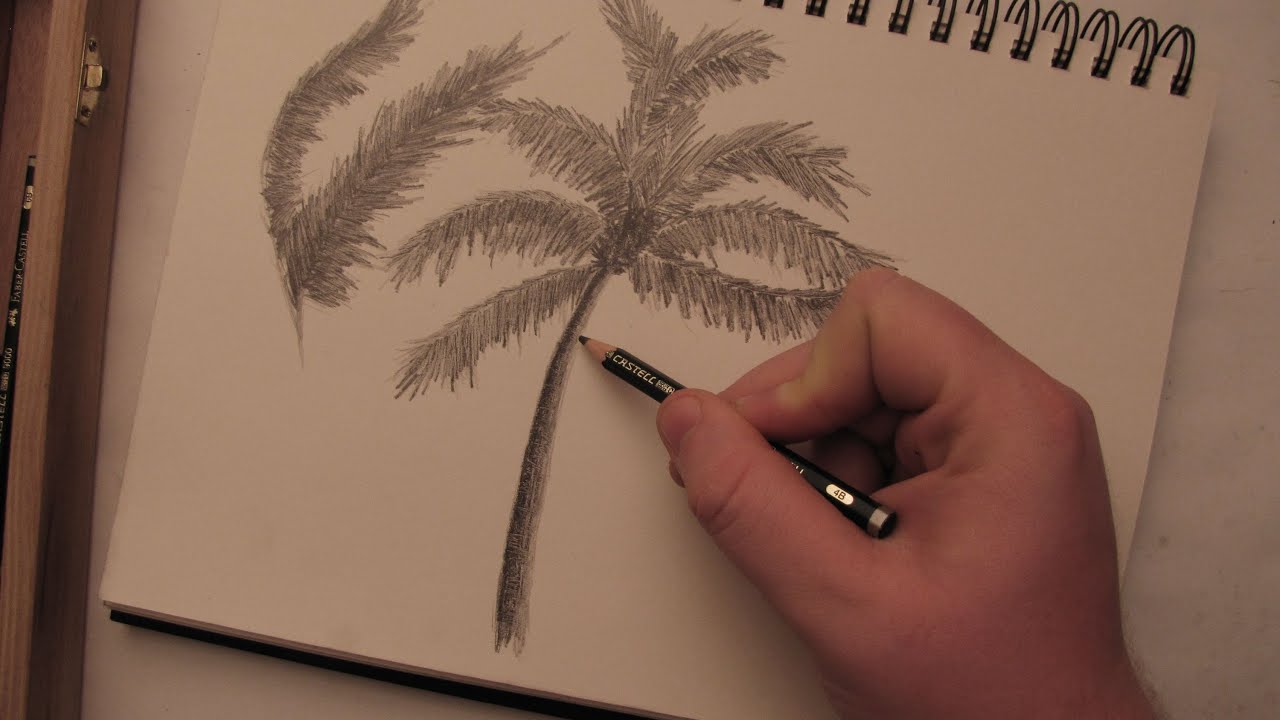
Welcome back everybody! In this video, I will show you the steps I took to create a palm tree with realistic textures. You will only need a few supplies to do this.
Supplies:
Pencils: 2H, 4B
Paper: 90Ib sketch book drawing paper
Blending Stump
Erasers
Follow me!
Facebook: http://www.facebook.com/tylersartshack
Twitter: https://twitter.com/#!/TylersArtShack
Google+: https://plus.google.com/115405....344518849808905/post
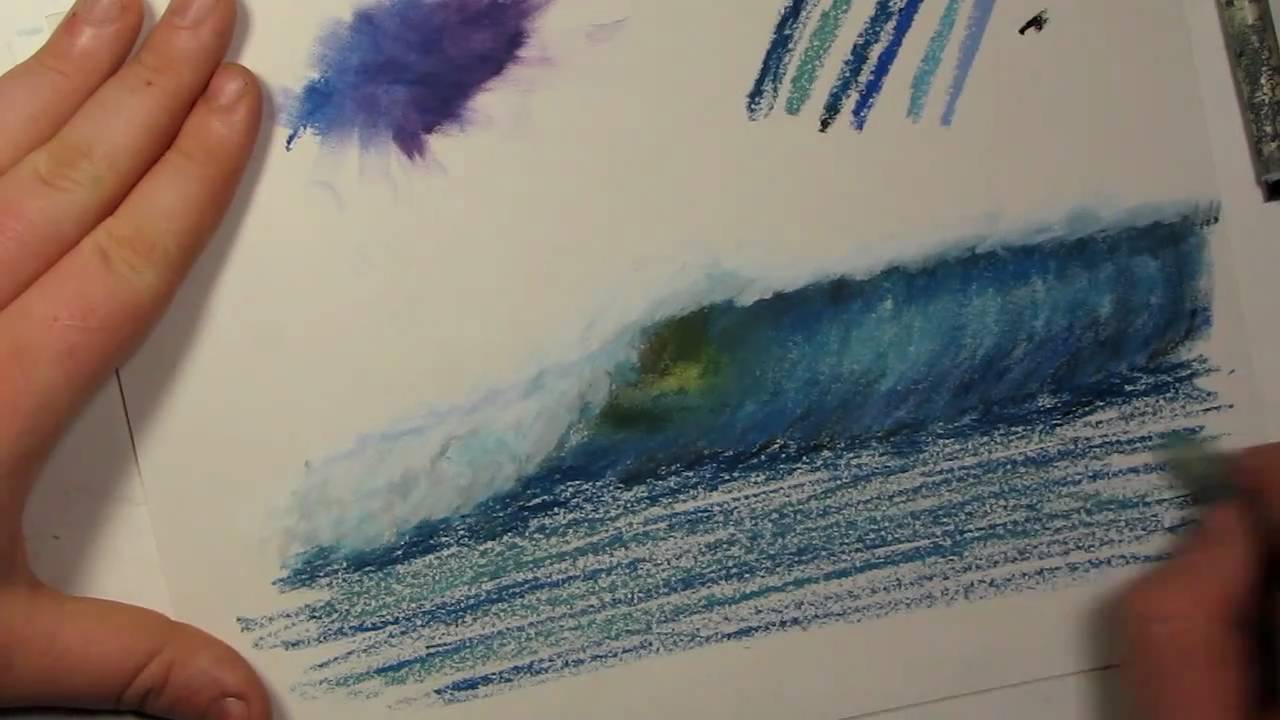
#Hello everybody. So I get questions quite often on how to blend oil pastels quite often. In a few of my videos I blend them with my fingers and in others I blend them with blending stumps. There isn't too big of a difference between the two methods it just depends on what I feel like doing. Some artists might say that blending with your fingers is not a good way to go about it because the oils on your fingers can have a negative effect on your drawings after time. The safest bet to blending colors is to use a blending stump. But for practicing whatever method you chose is fine.
So I figured with showing you this tutorial that I would also start a tips and tricks tutorial series. So when the audience asks questions about the way I draw certain things in my drawings, I can try my best to explain that particular thing. This will be the tips and tricks vlog 1.
Ill get right to it and show you how to blend with my fingers. Just take your finger and start blending the 2 colors together and you will see that they mix quite well. The color blends into one another. Ill zoom in so you can see what the effect of blending does. And again for those of you who don't know, the brand of oil pastels that I do use is sennelier oil pastels. I find that that they blend the best out of any other pastels that I use.
Besides from mixing up color blobs, lets do something a bit more challenging. I am just going to take my blue oil pastel and just going to sketch with it at the moment. I am going to create a wave. Now, I am just sketching this from my mind and I also have a picture in front of me from my last drawing that I did. Alright, so that is the basic sketch of the wave.
So lets grab some black for the top of the wave to show that it is dark. And a little bit for the bottom here to also show that it is dark. I will also mix in some of this blue at the bottom. Probably one of the biggest things I can say about blending is things for me tend to look more realistic when you add more colors to it. So instead of just making objects solid colors, add variety to it, it gives it more depth. You may find it to be a different case but that's what I find. So, give it a try and see how that turns out. I try and add in similar colors. For instance, Ill put in a murky blue color, a royal blue color, stormy blue color, a sky blue, purplish blue and a dark blue. I use the dark blue oil pastel a lot in the rocky beach sunset video. So I will add some of the dark blue as well as sky blue into the wave. I add the sky blue to the upper middle portion of the wave to show that the wave is thinning and light is penetrating through it more giving it a lighter color. I use a dark blue for the top of the wave as well. There is a section of the wave that I like to refer to the wave as the eye. It is the part of the wave that is breaking over and also the thinnest part of the wave. I like to portray this part of the wave as a yellowish green color.
Ill tell you what, Ill blend half this wave with my finger and then ill blend the other half with a blending stump to show you the difference. So when using my finger, I follow the direction of the wave and as you can see, the wave is starting to form. Now that I am using the blending stump, I use it more like a pen. You use the tip to blend around little amounts of color. You can also put the blending stump on its side and blend large amounts of color at the same time.
I start to use a gray color to show the white water splashes of the wave. I then use the lighter blue to guide where the wave will be when its crashes. I use gray to show shadow to the wave. I find by careful observation that the shadow color of white is not gray, it is blue. If you have snow where you live or clouds, look at either one of the 2. If you look at them very carefully you will notice the colors. If you look at snow, you will notice that the shadow color is a grayish blue color and the highlights of snow are a yellowish color. If you look at clouds you will see that the shadow is a lighter blue color.
I start to add white in a counter clockwise circle to show the white water. After blending that around, I then start to add in some more light blue to add more depth and shadow to the wave.
Underneath the splashing of the wave, there is a darker shadow that appears. I use the dark blue to portray that.
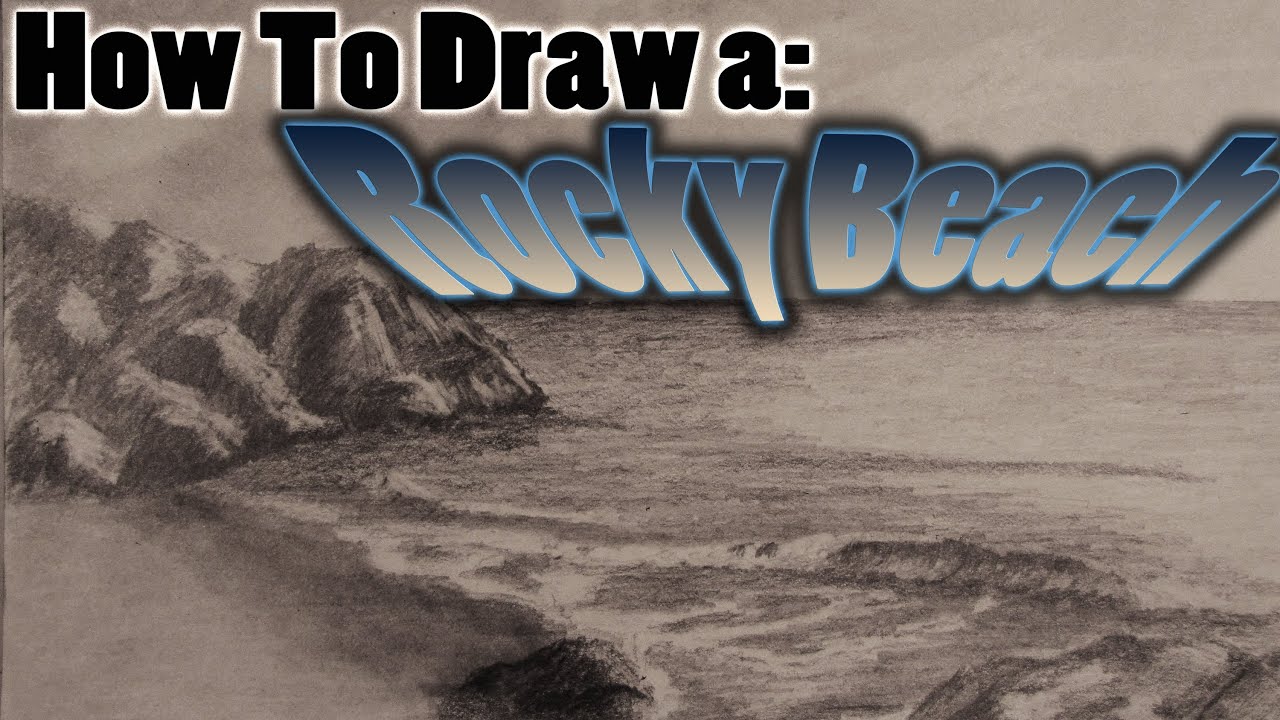
I will show you how I drew a realistic beach scene from start to finish. This video will take you through the steps using different techniques and styles to achieve a completed drawing.
Follow me for more content
Facebook: http://www.facebook.com/tylersartshack
Twitter: https://twitter.com/#!/TylersArtShack
Google+: https://plus.google.com/u/0/11....5405344518849808905/
I started this drawing by looking at images in google to get some ideas for composition and placement. I also had a few other similar sketches that I worked from to create this.
After I had a general composition that I liked, I just quickly drew in large objects to start filling in the page. After objects are placed. Start adding in all the details of the overall image. In this case I started with the sky.
The sky consisted of a light tone using an HB pencil. I used a method of cross hatching to achieve this. This is where you draw parallel lines in one direction and then another direction perpendicular to the original ones to create darker tones. This helps to prepare for the next step. Next step would be to take a blending stump and make the sky into a smooth value. Once this is done, use an eraser to erase out rough shapes that will take the form of clouds.
In this case, I left the drawing with a rough sky. I wanted the focus to be in the water and rocks of this drawing. I started next on the water. The water is very simple to make. All you need is a B or 2B pencil and start making parallel lines with varied pencil pressure to create texture. This helps to create the illusion of movement and gives the water some visual interest.
Up next were the rocks. They were difficult for me at first to render out but as soon as I got all the tone down and started to think of how I draw mountains, I started to get the hang of it. I usually learn as I go when it comes to drawing new things. I used a combination of erasing and darker pencils to create depth and tone. I then started to work on the rocks closer to the picture plane to help show the depth of the picture.
Once those rocks were done it was just a matter of fine tuning the small waves in the water and darkening certain objects.
This drawing overall took me about 3 hours or so to create.
Hope you enjoyed!
Leave me a comment!
Song: Helium Hues
Artist: Danosongs.com
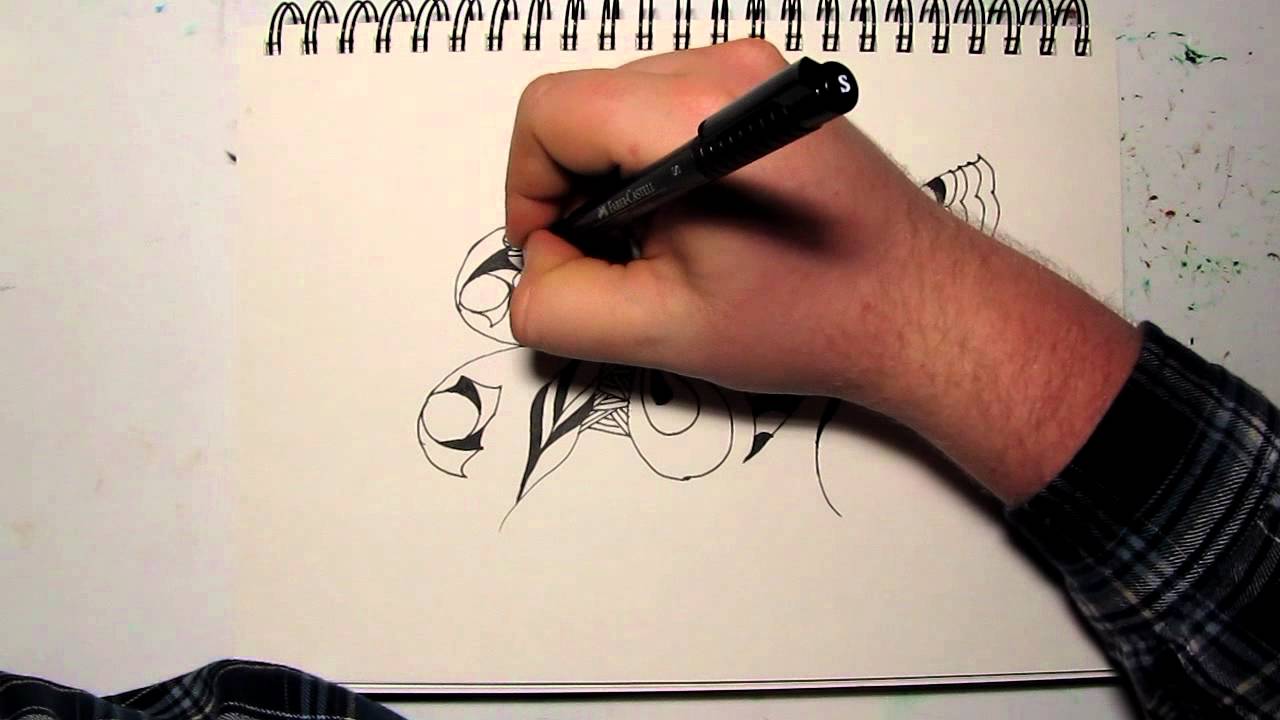
I always run into a case of artists block. This has always worked out for me. Hopefully it will help you as well.
This style of art is what I used to draw back when I first got into art. Yes, I used to be an abstract artist way back in the day. I find that drawing abstract art really preps myself for drawing something more complicated. It sort of loosen's me up. It also helps me to get flow and rhythm into my artwork.
When I draw these, There are really only two things I think about. The first being composition. I like to try and balance the drawing out by keeping the "weight" even on all sides. The second would be repetition. I use very similar line structure through out the entire drawing, just repeated many times. By doing this, there is a sense of unification when one observes the drawing. It also helps the eye flow around the drawing.
Give something like this a shot, it is a very different style of art and you can make it into your own very personal way.
Music is by Kevin MacLeod
Song is called Killing Time
You can find it here: http://incompetech.com/m/c/royalty-free/index.html?keywords=killing+time&Search=Search

It takes me on average about 5 days to put a cutting board together from scratch. What I am showing here is the very beginning process of doing so. I will be posting further vlogs which documents the process.
Here is a demonstration of the sennelier oil pastels that I use. This video will show you the quality of them vs other brands you can buy. In this video I show you a box of the sennelier oil pastels that I use. I also show the product that I will be using to show another product and how it compares to the sennelier oil pastels.
I start the video out with a comparison running 2 videos showing the quality of the two of them.

In this video, I go in depth and show you all the supplies that I use to draw realistic landscapes. Check it out.
Follow me!
Facebook: http://www.facebook.com/tylersartshack
Twitter: https://twitter.com/#!/TylersArtShack
Google+: https://plus.google.com/115405....344518849808905/post
Welcome back to another video everyone! This video is going to be a little bit different from what I normally do. Instead of doing an actual drawing, I an going to show you all the supplies that I use to create a realistic pencil drawing. Brace yourselves, this could be a long one.
I use a wide array of different supplies for drawing. Most of which I will fully explain in the videos but here are the highlights.
Faber Castell Drawing Pencils
Derwent Charcoal Pencils
Generals Charcoal White
Staedtler mechanical pencils
Blending
Blending Stump
Blending tortillon
Blending Cloth
Erasers
Tuff Stuff Eraser Stick
Factis white eraser
Factis black eraser
Faber Castell White eraser
Kneaded Eraser
Sakura Electric Eraser
Sharpening
Faber Castell trio sharpener
Alvin glass jar sharpener
Kum 2 stage pencil sharpener
Miscellaneous
Xacto blade for sharpening
Sandpaper
Clay Modeling Tools
The wooden box in this video can be found from blick art materials on this link here:
http://www.dickblick.com/produ....cts/art-alternatives

This is a drawing of the pond in my backyard. Took a low angle shot of the pond and drew from that.
Song: Winter
Artist: Ryan Farish
Farish Music International (BMI)
Licensed with permission, RYTONE Entertainment
You can purchase the song from itunes here
http://itunes.apple.com/us/alb....um/wonderfall/id2891

Welcome back everyone to the start of my series on how to draw the mountains in the mist!
If you need a reference photo, try this one! http://sphotos-c.ak.fbcdn.net/....hphotos-ak-snc7/4793
Other Places to Find my Art
Facebook: http://www.facebook.com/tylersartshack
Twitter: https://twitter.com/#!/TylersArtShack
Google+: https://plus.google.com/115405....344518849808905/post
Deviant: http://tylersartshack.deviantart.com/
The Sketch:
In this video I show you in real time how to create the basic sketch of the Mountains in the mist. This video's main purpose is to show you how to place all the objects so that everything flows and to work out the major placement. While doing this process, if anything would to be off like the mountains being too large, you would start to notice that when drawing in other parts of the image. The sketch helps to solve a lot of the problems that would normally arise when you skip the process. So this video helps to break down all the elements of the image so that you can easily place them back on the page.
I hope this video helps everyone out.
Music:
Artist: Alex Beroza
Song: Improvisation On Friday.
Music can be found on cc.mixter.org
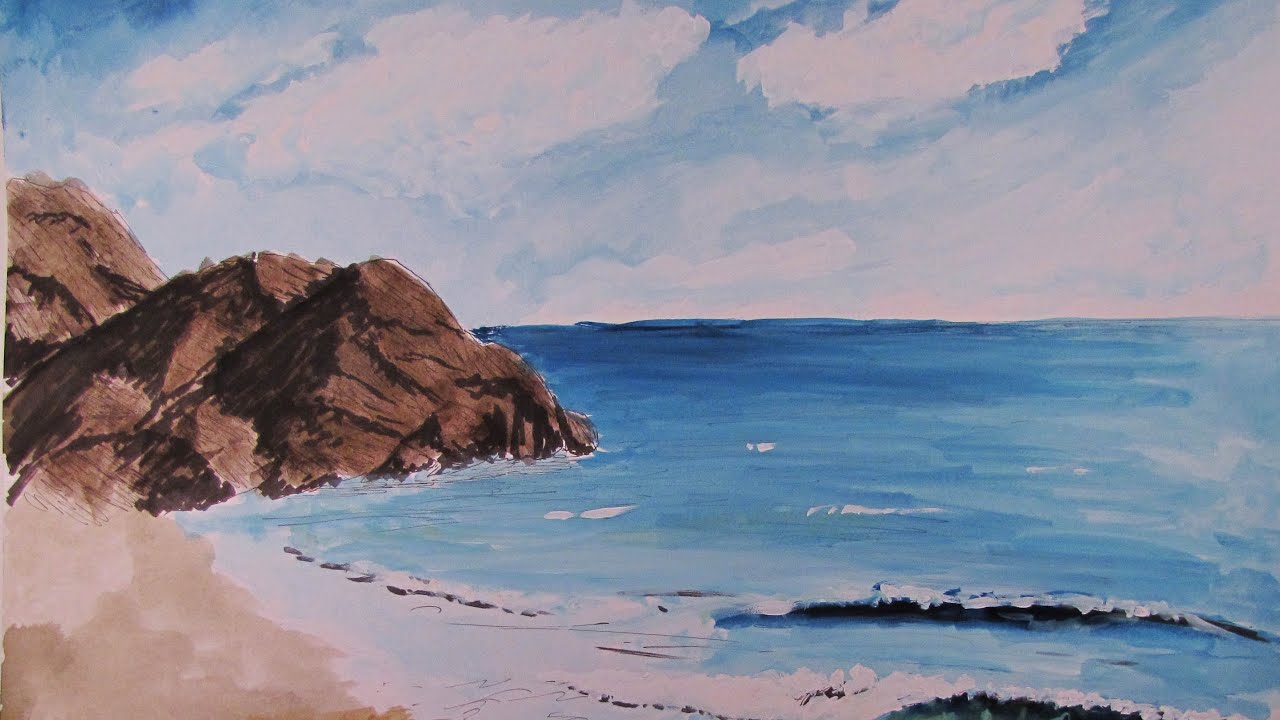
In this video, I show you the steps necessary to create a watercolor beach landscape scene from scratch using water color paints and ink pens.
==================================================
Follow me!
Facebook: http://www.facebook.com/tylersartshack
Twitter: https://twitter.com/#!/TylersArtShack
Google+: https://plus.google.com/115405....344518849808905/post
=-=================================================
In this drawing I used the following Supplies:
Blick Watercolor Paint in various colors
Blick Watercolor Brushes
Copic Inking Pens
Basic pencil for sketch
14 x 17 Bristol Paper
This painting started out with a basic pencil sketch just to get all the object placement arranged and situated to my liking. After which I used a Copic inking pen to put in the darkest darks into the painting. The copic markers dry fast and the watercolor will not disturb them once they are dry.
Soon after the ink is all dried, I then apply the layer of watercolor paint. You have to work fast with watercolor because it dries very fast unlike oil paint. It is also very transparent so you have to have all the placement of colors pre determined because it will be very difficult to fix mistakes if one should arise.
I always start with the furthest object in the background when I paint or draw landscapes. So I usually start with the sky. I left areas white to be the clouds later on. I fill the areas around them with a light blue color.
Once the clouds and sky are finished, ill move to the next object. This is usually the middle ground of the drawing. In this case it is the furthest rocks and distant horizon line ocean water. The rocks were rather simple because I had already applied the darkest darks to them with the markers and all i had to do was add some color to them.
The water was created using a variety of blue colors as well as mixing colors. When I draw or paint water, showing a variety of color helps to show the light and moment of the water without getting too detailed with it.
The same applies for when painting in the waves. I try to vary the colors to show a 3 dimensional object at work. It helps to show the curves and form.
the sand was just a very light wash of light brown sandy colored paint mix.
Thank you for watching, I hope you all enjoyed watching!
Make sure you Subscribe for future tutorials to come!
==================================================
Music by Danosongs.com
Song is called Wait For the Dawn.
Check the link for the song http://www.danosongs.com/music..../danosongs.com-waitf

Here is a drawing lesson that everybody should do. It shows YOU the range and textures your pencils can make. It is an excellent tool to use to better your drawing skills.
Please subscribe to learn many different aspects of landscape art.
Here are the pencil's that I used:
Faber Castell Graphite Pencils
2H
4H
HB
2B
4B
6B
Check out my facebook fan page. I have plenty of updates on sketches and drawings that I have been working on. http://www.facebook.com/tylersartshack
So this is an exercise I did in my sketch book to see how my far I could push my pencils. I wanted to see how many different types of texture and shades they could produce. For each pencil I wanted to test, I drew 5 boxes for the different shades starting from light to dark.
I tested 6 pencils. The pencils I tested are 2h 4h hb 2b 4b and 6b. These are the pencils that I use most often and are the ones that I use for sketching and drawing. You can notice the transition from light to dark within each series of boxes. By doing this, you can fully understand what pencil to use depending in the situation.
For the outer boxes, I used these to test what sorts of texture I could produce. The very first box is hatching. Hatching is a very basic way of shading something in. It is line motion going in a single direction to create shadow and depth.
The second box is cross hatching. This is used to create texture as well as shadow. Cross hatching makes a criss cross type pattern.Cross hatching will produce gradually darker results as more layers are applied.
The third one down is blending. You can either hatch or cross hatch this section and then using something to blend half of it out to create even tone. You can use a: blending stump, Q tip, paint brush, cloth, or your finger.
The 4th one down is scribbling. This one is a texture that is most commonly found in my mountains. I use this texture to create interest and likeness.
The 5th one down is circular scribbling. Ill use a texture like this for fine detailed tree leaves. You can also use it for other things.
The 6th and 7th box is burnishing. Start out using either a H or a B pencil. Hatch the whole box in but leave gaps in pencil strokes. If you used a B pencil to do this, use an H pencil to hatch in a different direction from the original pencil strokes. This will then become cross hatching. The end result leaves the original texture in tact while darkening the overall square. The other box has same process but it just starts with the opposite pencil.
The last box is my favorite type of texture. You will need something sharp to do this. Use either a neede, toothpick, or any sharp object to gently scratch the surface of the page. Do this in a hatching type motion to cover the entire box. Then use either an H or a B pencil to go over that area again. Notice how the scratches are still clearly white and visible. This makes some very fine detail. I will use this to create bark on a tree.
Music on this video is by Dano
Check out his website Danosongs.com
The name of the song is "The Streatham Hill Gods"
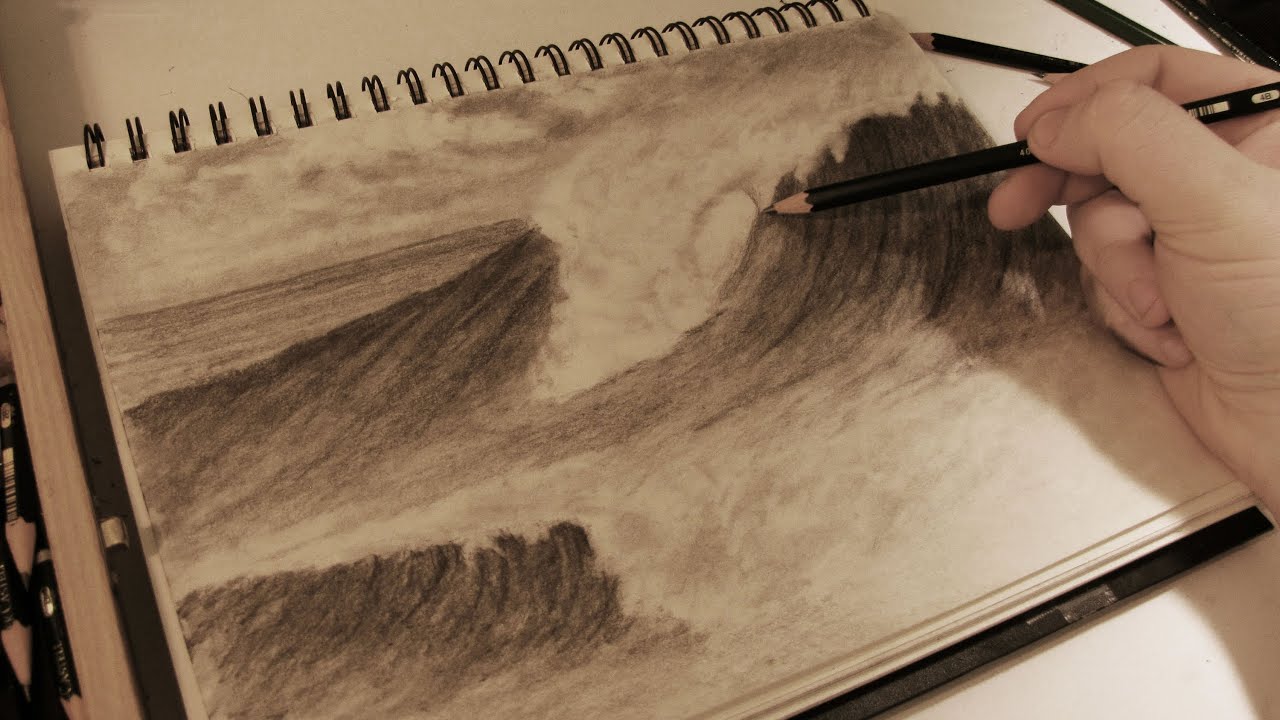
In this video, I will show you the steps needed to draw some realistic crashing waves in the surf using graphite pencils.
Follow me!
Facebook: http://www.facebook.com/tylersartshack
Twitter: https://twitter.com/#!/TylersArtShack
Google+: https://plus.google.com/115405....344518849808905/post
Song is called "Ditto Ditto" from Dokashiteru. He can be found on ccmixter.org
What's going on everybody, welcome back to the Art Shack! This time I have a drawing tutorial on how to draw realistic crashing waves in the ocean. The beach and ocean has always been a big part of my life so I had a great time sharing this experience with all of you.
I started this drawing by using a photo reference to get down the general wave shape and the basic shading of the sky. Once I had this basic detail down, I put the photo away and just took it from there. I always like to do some or most of the drawing from imagination or memory. It helps to add some uniqueness to it as well as my own style.
When I start a new landscape, I will usually sketch out the basic shapes of everything I want to see in a drawing and once that is done, I will usually go in for the sky.
This time I made a lighter sky which I eventually went back into and made darker. I kept it simple. I pretty much shaded the whole thing in and then erased out some clouds. I didn't want to make a detailed cloudy sky because I did not want the clouds to be a major element to this drawing. I decided to have them less detailed than what I would usually do.
When starting the wave, I had an idea of how it was going to look. I knew that there was a part of the wave that was crashing over and mapped that portion out. I also left that area untouched as I was shading in the rest of the wave.
I started the wave with a light pencil. I shaded it in with an HB pencil quite a few times then blending it out. I did this process over and over until I got the wave dark enough. I wanted the large wave to be considerably darker than the sky so that the white foam and mist of the wave would really show up. When adding in details for the wave, I made sure to follow the flow and direction of the wave. Doing this helps to define the movement and shape of the wave. Making lines in a different direction would have taken away from this effect. I went in as dark as a 4B pencil and used that to add in the final detailed line work.
For the mist and foam of the wave. I used the dirty blending stump and went back in with that. I rubbed the excess graphite from that onto the foam section of the wave. I then used an eraser and erased in a motion flowing backwards making the wind look like it was hitting the wave straight on. This helps to create the perfect wave for surfers. I used a few tools to erase out the waves. One was a large white eraser. I also used a mechanical eraser. The final piece that I used was an electric eraser to really get up the darker portions to make them highlights.
Once the main wave was done. the only portion left was the smaller wave that I added in. It took the same steps as the first wave except on a smaller scale.
I hope you all enjoyed this video. Leave drawing suggestions and feedback for future videos!
Laterz!!

In this video, I show you first hand on how to draw realistic clouds using different shading, blending, erasing and texture techniques to create a fully detailed realistic sky with clouds.
Song is from CCmixter and is called Soul Control from BO Crew
Follow me!
Facebook: http://www.facebook.com/tylersartshack
Twitter: https://twitter.com/#!/TylersArtShack
Google+: https://plus.google.com/115405....344518849808905/post
Supplies for this drawing:
Canson Classic Cream Drawing Paper
Pencils: 2B, 4B
Blending Stump
Blending Cloth
Kneaded Eraser
Tuff Stuff Eraser Stick
Large White Eraser
When I draw the sky in, I picture where I want the clouds and will leave those areas white. I will first shade the sky in with a 2H or HB pencil in a single hatching motion. Try not to vary the angle too much because it will put too much texture into the sky. I will then go over that area with a 2B pencil and make the sky rather dark. After the shading is completed, I will go back into the sky with a blending stump and will blend the bottoms of the clouds with the sky to make them fade. Then using the kneaded eraser, place it on the tops of the mountains and give it a small twisting motion. This will give the clouds a wispy look to them. It helps to convey movement. Then using the dirty blending stump, start to shade the clouds in a bit. Then using any eraser, erase out parts of the clouds again to create volume. I wanted puffy clouds in this picture so I did this several times over to give me the desired effect.
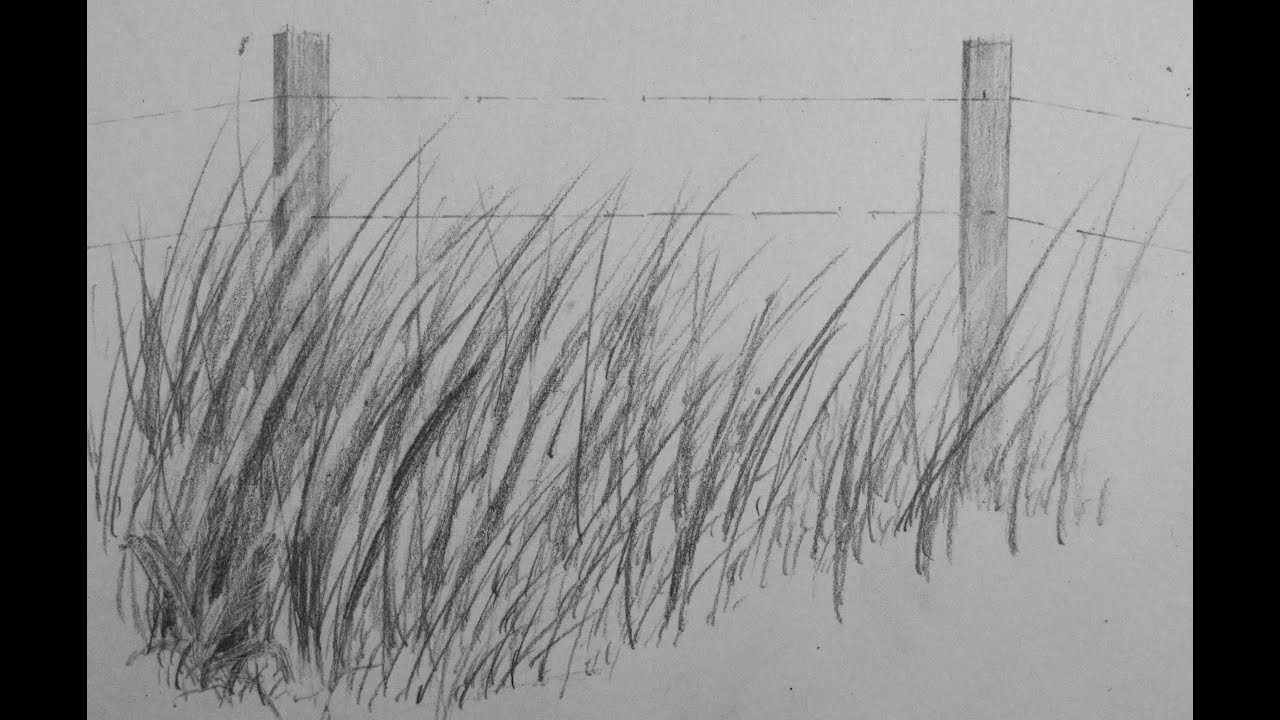
This video will show YOU how to draw realistic grass. I will take you through the steps on how to draw texture and the composition of grass. I even show you how to apply this to other drawings.
Check out my facebook page @ http://www.facebook.com/tylersartshack
Here is a tutorial on how to draw tall grass. This can be used to fill in many areas of landscapes to add in visual interest and texture. This tutorial will help you to draw realistic grass by producing realistic texture.
This drawing only used a 2B and 2H pencil and at the very end I used a 4B for dark shadows to create depth.
The rest of the supplies you will need consist of sharp tipped erasers and a needle point of some sort.
This tutorial starts out with simple pencil strokes. Press a sharp pencil down on the page and flick it upwards to create a gradual line that ends in a sharp tip. After layering this, it will start to create a grass texture. When there is a simple layer on the page, start adding another layer and blend the two layers together. Do this by erasing larger blades of grass extending from the bottom layer to the top layer and also making pencil strokes that extend from the first to the second layer.
The continuing combination of erasing, adding darker lines, and shading will help to create a grass like texture.
To help show grass growing into the distance, Continue above the current grass but make the pencil strokes significantly smaller to the point that the grass is simply a shaded area.
I have a few photos on my facebook page on grass that I have drawn. Check them out to see some more examples.
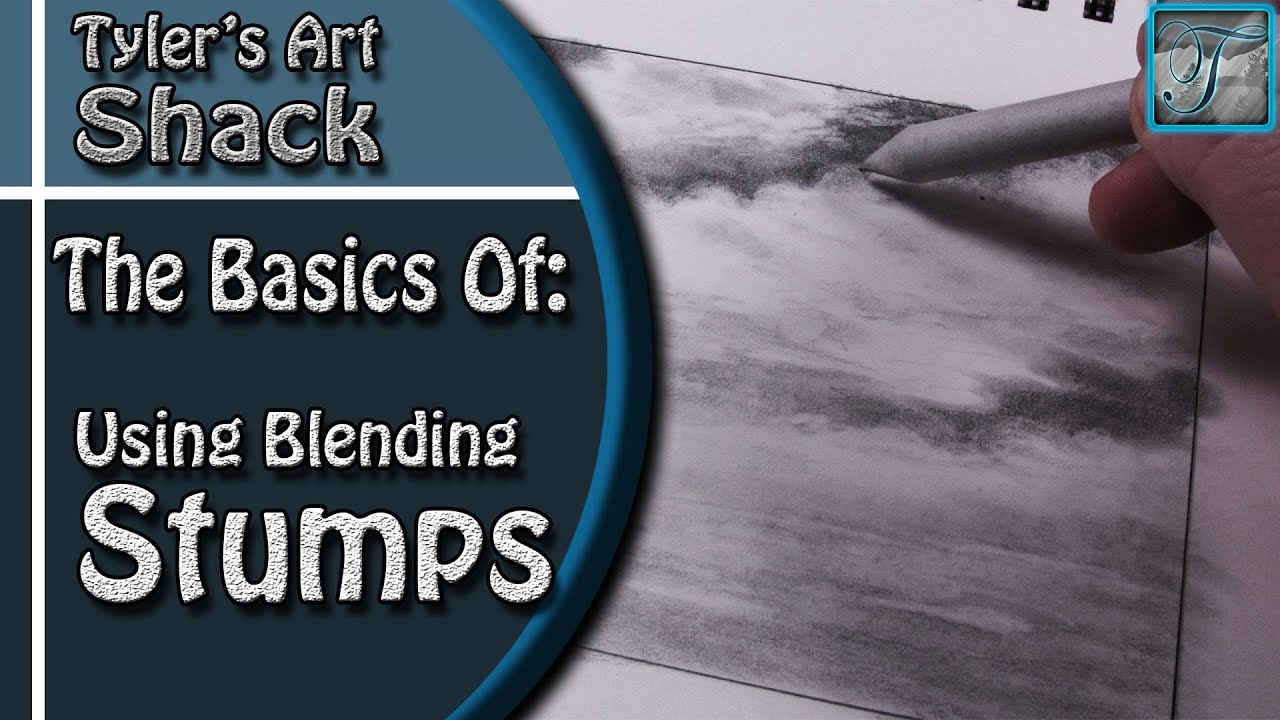
Welcome back everyone to The Basics of Using Blending Stumps
Other Places to Find my Art
Website: http://www.tylersartshack.com
Facebook: http://www.facebook.com/tylersartshack
Twitter: https://twitter.com/#!/TylersArtShack
Google+: https://plus.google.com/115405....344518849808905/post
Deviant: http://tylersartshack.deviantart.com
Here is a quick video about the basic use of blending stumps. I made a rough sketch of clouds that need to be touched up. The use of a blending stump does a great job at this. I started out by blending out the dark areas of the sky to clean things up. I will also use the blending stump to start smoothing out the bottoms of the clouds. This will help to build up the contrast between the bottom and the top of the clouds.
I made my sky darker on the top of the page than I did on the bottom. They sky will naturally tend to lighten on the horizon.
Once everything is smoothed over, my next step is to use an eraser and bring out some highlights. This is not all that essential to how to use a blending stump but the materials combined help to really produce a nice piece of artwork.
I hope you all enjoyed this short demo on blending stumps and thanks for watching!!
Artist: Dano Songs
Song: Helium Hues
Music can be found at DanoSongs.com

In this video, I show you the steps to drawing a variety of trees from start to finish.
Follow me!
Facebook: http://www.facebook.com/tylersartshack
Twitter: https://twitter.com/#!/TylersArtShack
Google+: https://plus.google.com/115405....344518849808905/post
Deviant Art: http://tylersartshack.deviantart.com/
Hey everyone, welcome back to this weeks video where I show you to draw a couple of different trees. I drew these trees in a more lose like style to give them a little bit more character.
I start off the first tree with a line that re presents the entire tree. The bottom of that line represents the trunk and the top of the line where I start to really wiggle it around is the very top of the tree. I do this so that there are no issues with placing the entire tree on the page.
Once that line is done, I then go back in and start to design the trunk of the tree and work my way up to the branches making them smaller as I go. One issue that I had a lot of trouble with was making the tree look organic and less stiff. Avoid straight lines. Instead use curves, wiggles, and corner shaped lines for the trees to keep it looking organic.
Once the basic outlines of the tree is finished, shading comes next. I like to make my tree first look like a winter tree before adding leaves creating a summer tree. Choose a side of the tree you would like darker than the other and begin to shade. Shade in the direction of the tree's movement. This will help to simulate the bark and texture of the tree.
Once all that is done, you can leave your tree at what you have and call it a winter tree or take the next step and add in the leaves and see what you can create. Adding the leaves is much more simple if you think of it as adding in bunches of leaves instead of each single individual leaf. If drawing each leaf is your method of choice, you may be drawing for quite some time. I find that drawing the texture of a bunch of leaves translates to the eye just fine. It is the texture that conveys the image. Use an underhand grip so that maximum amount of graphite is in contact with the paper and use small circular motions while doing this. Use a variety of pencils to get different gradations to create volume.
The Second set of trees is out of my Mountains in the Mist drawing. I drew 3 trees very similar to them. Those I start out by drawing a straight line representing the whole tree. Then I usually start at the top of the tree making some small texture for the pine. I usually do the same underhand grip for this and work my pencil from the line outward in a slight upward motion. That way the branches have a slight arch to them. This helps to give it a bit of character and interest. I do like to make them look lush so I add in quite a few branches. Sometimes Ill make them a little bit more weathered looking by holding back on the amount of branches overall.
Alright everyone! I hope you all enjoyed this weeks video! Please leave me a comment on your thoughts and rate thumbs up if you enjoyed it! Subscribe for future videos!
Music Info:
Artist: DJ Lang
Song: Drops of H2O

Hey guys, it has been a very long time since I have uploaded a video to YouTube. I honestly miss the community of subscribers and other content creators. I miss feeling a part of something that we all had in common and loved doing. So, here I am a few years later just checking in with everyone.
I don't want to promise that I will be making more regular content such as drawing, woodworking, or anything else but I do want to do something every now and then. Ill see what happens.
Thanks for watching!
