

סרטונים אחרונים

Here is my first unboxing video. Hope you enjoy it. Please visit my Deviant art page to see all my other works of art.
http://itunes.apple.com/us/alb....um/everlasting-delux

Hey everyone! I decided to do some late night drawing and Merrill decided to also join me. You can check out his channel. He has tons of videos.
http://www.youtube.com/user/ka....zanjianm?feature=g-u
In this video, I did not really know what to draw at all so I just decided to go for some random line work. That line work eventually became a landscape with some large cliffs in it. After which quickly became popular with the audience because they were suggesting all different types of celebrities and characters that I should draw jumping off the cliffs to their death. I had a great time with this one and will continue to do these live hangouts.
And Merrill decided to draw a squirrel with a jetpack.... Epic!


LINKS!
Website: www.TylersTurnings.com
Facebook (Woodworking) www.facebook.com/tylersturnings
Facebook (Drawing)www.facebook.com/tylersartshack
As you can probably see, making cutting boards takes me many days during the week to actually get through each step of the process. During this vlog, I wanted to talk about cutting board terminology to the orientation of the wood while it is in an end grain cutting board and why it is beneficial to your knives for long term use. This is due to the fibers of the wood standing straight up and down. This allows for the fibers to separate to "accept" the blade much more than a glass cutting board or anything else that is hard. By the way, don't use glass cutting boards. They will literally bend your blades.
Throughout the rest of the video, I take the time to cut up the panels into smaller strips, these are then what are glued up into the final end grain form.
Hope you enjoy!
Music
Artist: Del Sound
Song: You never know (original mix)
Del Social Links:
https://soundcloud.com/del-sound
https://delsound.bandcamp.com/
https://www.youtube.com/user/TheDelsound
https://instagram.com/del_sound/
https://twitter.com/Del_Sound
https://delsound.tumblr.com/
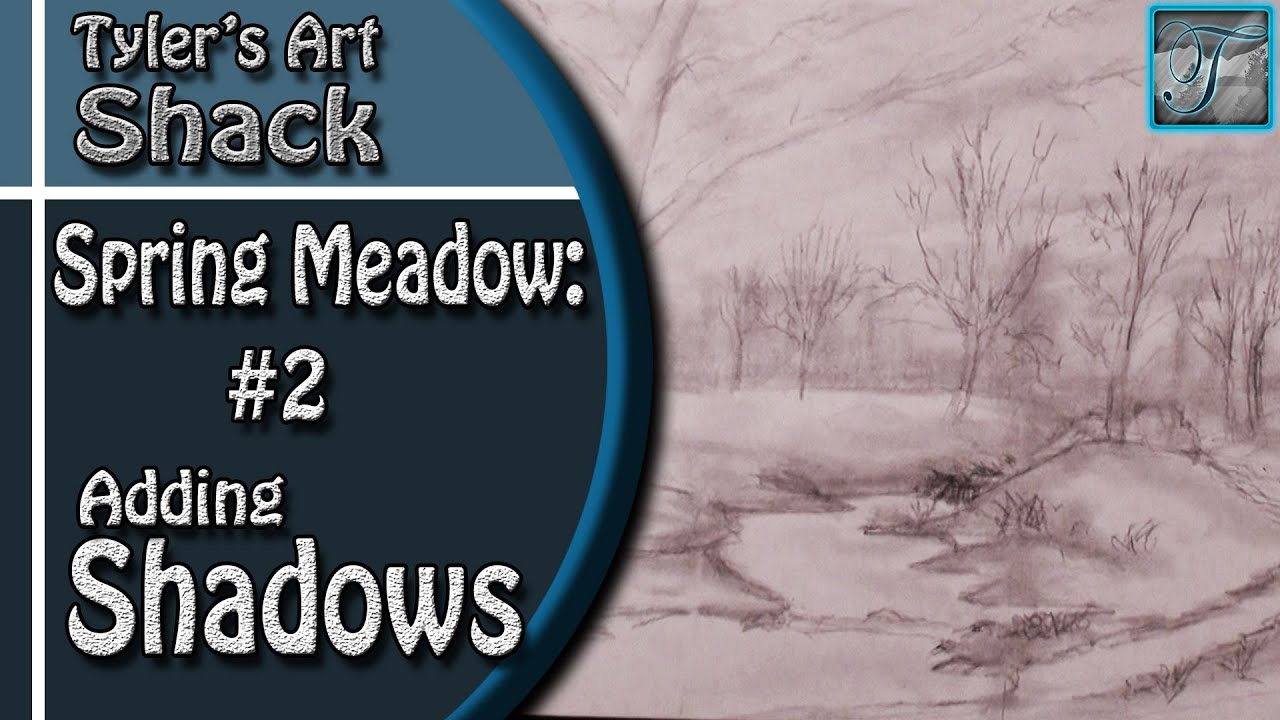
Welcome back everyone to a new real time drawing tutorial series. In this series, I will take you step by step to show you how to draw a spring meadow.
Other Places to Find my Art
Website: http://www.tylersartshack.com
Facebook: http://www.facebook.com/tylersartshack
Twitter: https://twitter.com/#!/TylersArtShack
Google+: https://plus.google.com/115405....344518849808905/post
Deviant: http://tylersartshack.deviantart.com/
In this second video I decided to do an all around basic shading so that you can begin to understand the lighting element and how things will look more towards the completion of the drawing. What you will really need for this video is a blending stump. A Q-tip will also work. The process of blending helps to take away some of the outlines of the drawing which will take it beyond the drawing looking like a sketch.
Music Info:
Artist; Ghost
Song: Reverie Small Theme
music can be found on cc.mixter.org

This is a tribute drawing I did for Pinsetter1991 aka Andrew in response to his waterfall drawing.
I did this drawing and divided it up into 3 parts. The sky and trees, the rocks, and the water below. By dividing the picture into 3 areas it made it easier to draw. This was mostly drawn with pastels.
With dividing the drawing into 3 key areas I was able to start the drawing very quickly and draw it very efficiently and effectively. I started off with the rocks and quickly go over the entire area with a brown/orange color to do something I like to call the "greatest common color" Whatever this color happens to be in this case brown, I shade the entire area that color and work from there. From that point, I add highlights and shadows and rocks start to form. I do not use pastels for highlights and shadows, instead, I used charcoal and white charcoal. These for some reason really apply to the paper very well and much better than pastels would.
The next part of the drawing I worked on was the sky and tree area. This was easier to do that the rocks since there was much less detail that was needed. I started by erasing out the blue that I used to create the night sky so I could more easily apply the color of the trees. I applied trees as I saw fit and didn't over do it. I used cotton balls for smoothing out the sky portion of the drawing.
The water was quite difficult to do because of the water ripples. But then I was able to draw then im quite well after using charcoal. It ended up looking quite nice.
The music is by Kevin MacLeod and it is called Cattails.
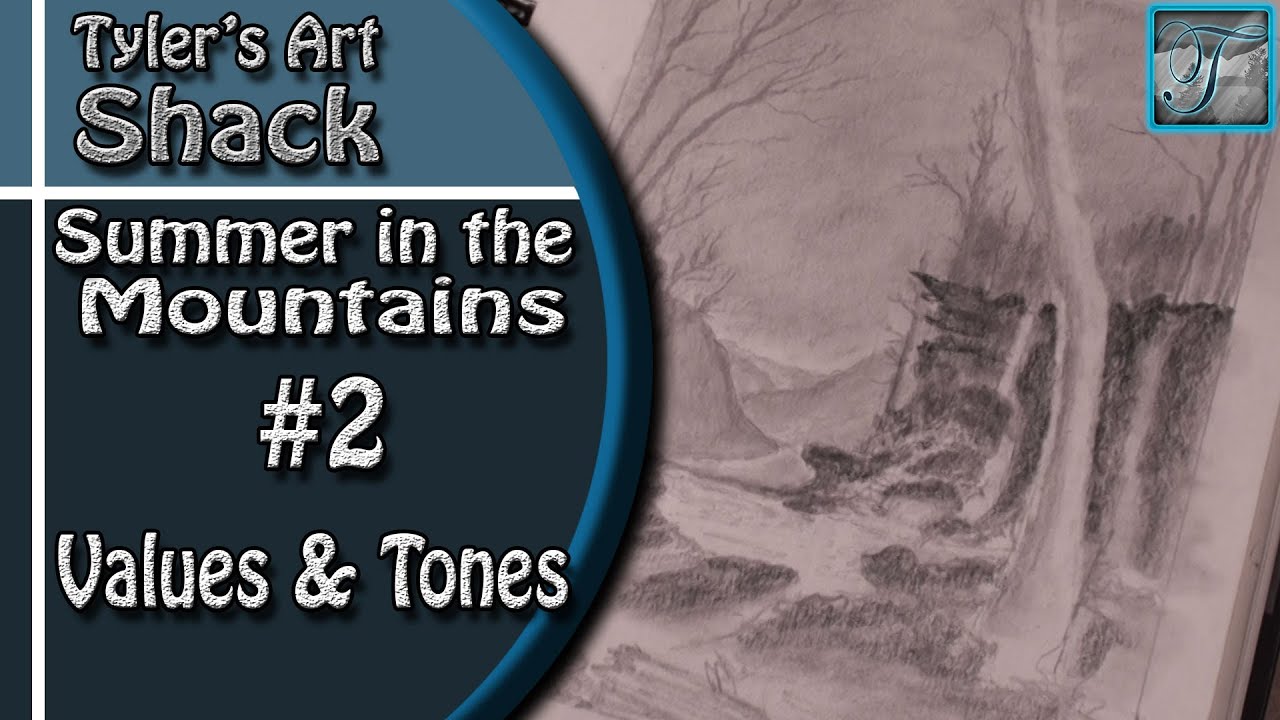
Welcome back everyone to part two on How to Draw - Summer in the Mountains Series Part Two - Adding Values and Tones
Other Places to Find my Art
Website: http://www.tylersartshack.com
Facebook: http://www.facebook.com/tylersartshack
Twitter: https://twitter.com/#!/TylersArtShack
Google+: https://plus.google.com/115405....344518849808905/post
Deviant: http://tylersartshack.deviantart.com
Lets get back into things! I started this one off by adding in a sky in the background to get that out of the way. I didn't want to add in too much of a sky because a lot of the trees will be covering it up and I didn't want to have them compete against the sky for attention. So, I just decided to leave the sky a tone of gray. I mainly used a blending stump to smooth things around to get it nice and smooth.
I also decided to get some of the far background details in place so that I can get an idea of how those will look against everything else. I still might add a bit more detail to them later on but for now, they will be just fine.
Like I had mentioned before, I am going for a pattern in my values and tones. The background will be light while the middle ground will be very dark. Then it goes back to light again for that large tree in the foreground. So I began with adding in some tones everywhere for a fairly even coating. I also made sure to start adding in some shadows where I know they might come in. When shading, start out light and keep building on top of it. It helps to build up a bit of depth and you can also really set in how dark you want everything to be.
I hope you all enjoyed this video and I hope to see you for part 3! Thanks a lot for watching everyone!
Music Info:
Artist: DanoSongs
Song: Remember How it Started
Music can be found at DanoSongs.com

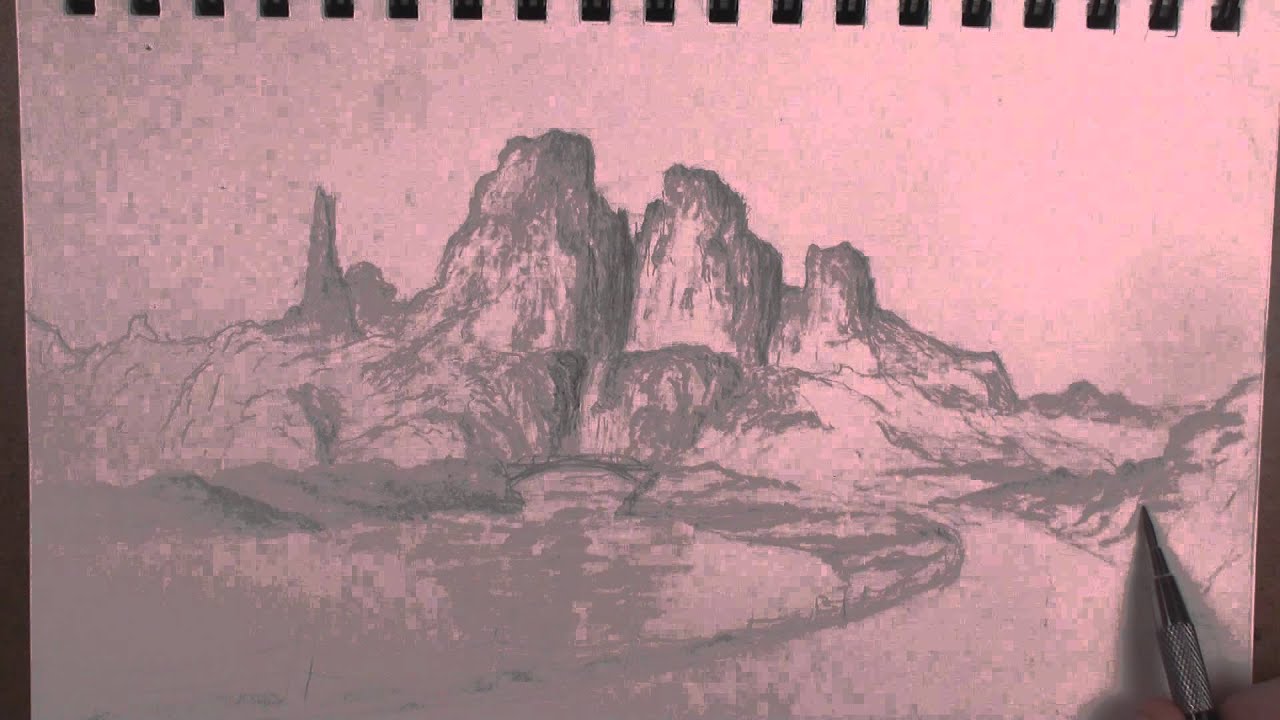
In this video, I will show you the steps that I took to create a city on top of a mountain.
Follow me!
Facebook: http://www.facebook.com/tylersartshack
Twitter: https://twitter.com/#!/TylersArtShack
Google+: https://plus.google.com/115405....344518849808905/post
Deviant Art: http://tylersartshack.deviantart.com/
Hey there everyone! Welcome to my video where I show you how to draw a city on some mountains. I had a great time with this one.
Here are some of the materials and info about this drawing
Duration:45 minutes
Pencils: HB 2B 4B
Kneaded Eraser
White Eraser
Tuff Stuff Eraser Stick
Blending Stump
65Ib sketching paper
This drawing started with just a simple idea that I had. I wanted to draw a mountain with some sort of observation outpost on the top of it. Or some sort of communications center of some sort. And from that Idea, I started to create the side of the mountain and as I was doing that, I wanted to include some large skyscrapers in it just to see how it would turn out.
That is normally something you would not see within a sketch so I was really just curious to see how it would turn out. I am happy to say that I really did enjoy the way that it turned out in the end.
What I really do enjoy about sketching is coming up with the overall composition. When that is completed, you can really get a sense for how the image is going to turn out. And creating the composition is really the best part about it. The creativity is only limited by what you can come up with. It really makes you think outside the box and makes you much more creative with your ideas.
You will also find that as you create your scenes, objects will often change shape along the way to better fit within the overall composition. One Idea you had for the very beginning of an image might change completely when you get to the end of that same drawing or sketch.
I hope you all enjoyed this one and please do not forget to hit the thumbs up button and subscribe for weekly videos! Thanks everyone!
Music info:
Song: Ethereal(nop_mix)
Artist: Lancefield
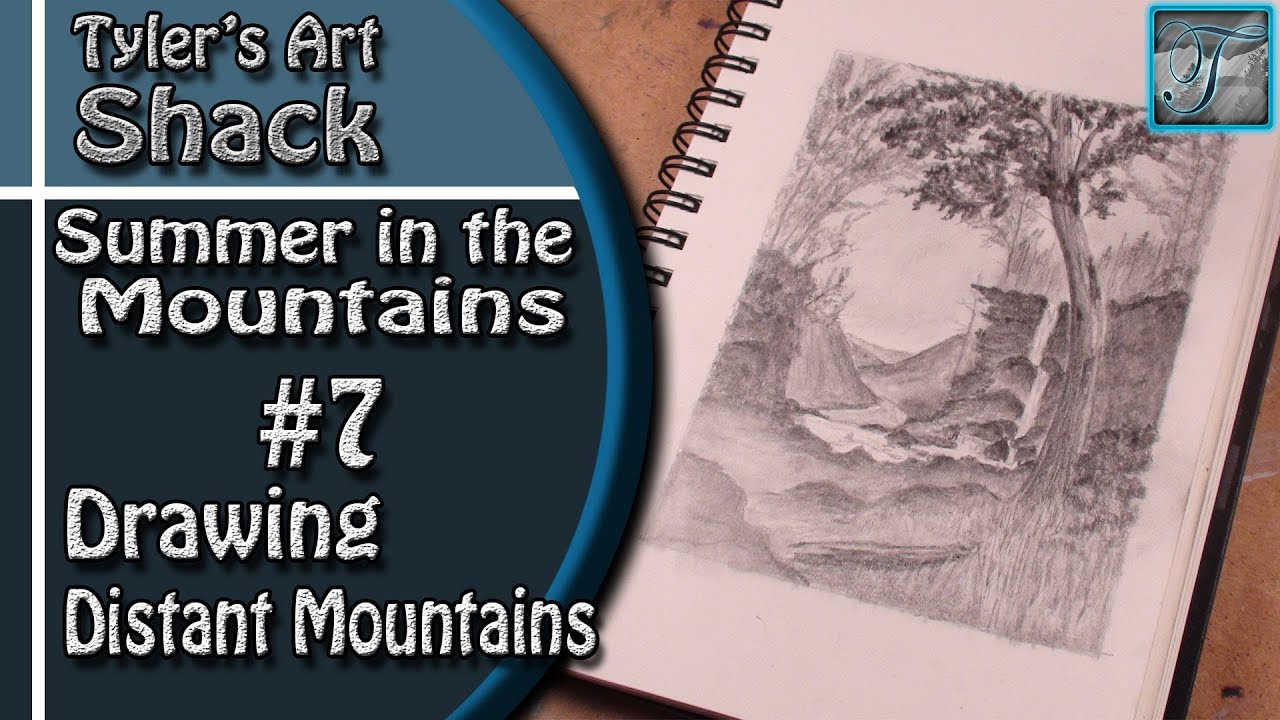
Welcome back everyone to How to Draw - Summer in the Mountains Part Seven - Drawing Distant Mountains
Other Places to Find my Art
Website: http://www.tylersartshack.com
Facebook: http://www.facebook.com/tylersartshack
Twitter: https://twitter.com/#!/TylersArtShack
Google+: https://plus.google.com/115405....344518849808905/post
Deviant: http://tylersartshack.deviantart.com
Before I made this last part, I spent a lot of time just looking over the entire drawing seeing what needed to be added. After spending the time and asking some others. I came to the conclusion that everything looked great except for the background. It got lost in all the foreground details so I wanted to go back in and make it more pronounced to help it stand out.
In doing this, I used a light pencil for the very background mountains. I wanted to make them the lightest and have each mountain closer get darker and darker. So going through the pencils I did exactly that. I wasn't too worried about the detail or texture for these mountains because they are quite far away. So after playing around with different tones and slight texture, I arrived to a point which looked nice. Which is where I will leave off this drawing.
I hope that you all enjoyed this drawing series and for those of you that followed along, feel free to post your results on my facebook page! Thanks a lot everyone!
Music Info:
Artist: DanoSongs
Song: Remember How it Started
Music can be found at DanoSongs.com
![Drawing Contest! Over $125 In Prizes!! ~Tyler'sArtShack [Closed]](https://i.ytimg.com/vi/fngZPe3KQok/maxresdefault.jpg)
Hello Everybody and welcome to the Tyler's Art Shack Drawing Contest!!!!
WE NEED A VISUAL ARTS CATEGORY ON YOUTUBE THREAD-http://www.google.com/support/forum/p/youtube/thread?tid=2a9806f929074cbd&hl=en&fid=2a9806f929074cbd0004b630ad37cc3e
Follow me!
Facebook: http://www.facebook.com/tylersartshack
twitter: https://twitter.com/#!/tylersartshack
Today is the second aniversary to Tyler's Art Shack and what better way to celebrate than an art contest!!!
Here is what you will be drawing:Since my youtube channel name is Tyler;s Art Shack, I want you to draw what you think my art shack would look like.
You can draw any kind of scene you like but it has to include some sort of building, structure, or seomthing that resembles what you think my art shack
would look like. Your drawing can be in any medium and digital is just fine. Be Creative!
Scoring
I want the community to have a big say in who is the overall winner of this contest. Scoring will be based on feed back from the comunity. The more
likes and positive feed back yoru entry recieves. The better chance you have at winning.
Qualification
Subscribe to Tylersartshack
Post in the comments containing the words "im in"
Post in the youtube feedback forum advocating for a visual arts category. Try to make your post unique to avoid it being deleted for duplicate messages.
Your post should explain why you think we need a visual arts category. It can be as simple as "We need a visual arts category" but please add more to
that statement so it does not get deleted for duplicate posts.
when you finish your drawing:
You can post your drawing in 1 of 2 ways.
Make a video response to this video showing the finished piece of art work. you can show a speed drawing of the video, That is just fine. As
long as you show the end result at some point in the video.
Post the result to my facebook fan page. But please if you post it this way, include your youtube channel name along with the photo.
The drawing contest starts on feb 8th 2012 and ends on feb 23rd 2012. This gives you 15 days to submit entries. Only videos posted after this date will
qualify for the contest. Your video has to be specifically made for this contest video.
I will respond to every single entry that this contest revieces and I will also put them into a playlist for easy accesibility. I will also share your
videos to help promote your work.
Help me to spread this video by liking and favoriting it!!! I lookforward to seeing what you come up with! Good Luck!!!!!
Here is what the prizes are for first and second place!!!!
Both Winners will be featured in my channel box for 1 month
Here are the prizes.
2nd place
Faber Castell Drawing Pencils: 4H 2H HB 2B 4B
Generals Compressed Charcoal: White, Black
Generals Charcoal Pencils HB 2B 6B and 2 white charcoal pencils
10 pack of blending stumps and tortillons
Artgum Eraser
Kneeded Eraser
Tuff Stuff Eraser Stick
Package value: $25
1st place
36 set Prismacolor colored Pencils
24 set Derwent Pastel Pencils
Faber Castell Drawing Pencils: 4H 2H HB 2B 4B
Generals Compressed Charcoal: White, Black
Generals Charcoal Pencils HB 2B 6B and 2 white charcoal pencils
10 pack of blending stumps and tortillons
Artgum Eraser
Kneeded Eraser
Tuff Stuff Eraser Stick
Package Value: Over $100
Good Luck!!!
Music in video was created by Danosongs.com
Song name is Junk Ship Gold.

Hey there everyone! So for this live drawing session, by popular demand the drawing for this hangout was a tropical beach scene with a waterfall included somewhere in it. So that is exactly what I have created. I really do enjoy doing these hangouts and getting inspiration from all of my viewers. You all have such great imaginations that really help my creative process to create some awesome sketches.
Others that joined me during the hangout:
Ben Yockel (DavosMoon) http://www.youtube.com/user/DavosMoon
Thadius Taylor (ThadTaylorArt) http://www.youtube.com/user/Thadtaylorart
Josh Waddey (JoshWaddey16) http://www.youtube.com/user/joshwaddey16
Shiny Spartan http://www.youtube.com/user/sh....inyspartan?feature=r
Thank you everyone that participated! It sure was a blast and had a great time!

Hey guys! so those of you that tuned into this video, the previous hangout I was doing crashed on me. My web browser decided to not support the hangout anymore and just closed itself thus ending the hangout. Luckily, I got the hangout back up and running rather quickly in this video. But this video ends rather abruptly as well because my computer decided to CRASH!
But anyways. this time Cark Mrilley was with me and he was doing that whole ordeal lol. I continued my landscape drawing and just had a great time chilling with the audience talking about random topics ranging from cartoons to more celebrities jumping off the cliff.... Fun times!!
I will continue to do these live hangouts, they make for a great time!

Did this with water soluble ink pencils. Its a very different medium that is very unique it work with.
Song: Aras
Artist: Ryan Farish
Farish Music International (BMI)
Licensed with permission, RYTONE Entertainment
You can purchase this song from this link.
http://itunes.apple.com/us/album/bloom/id360509452
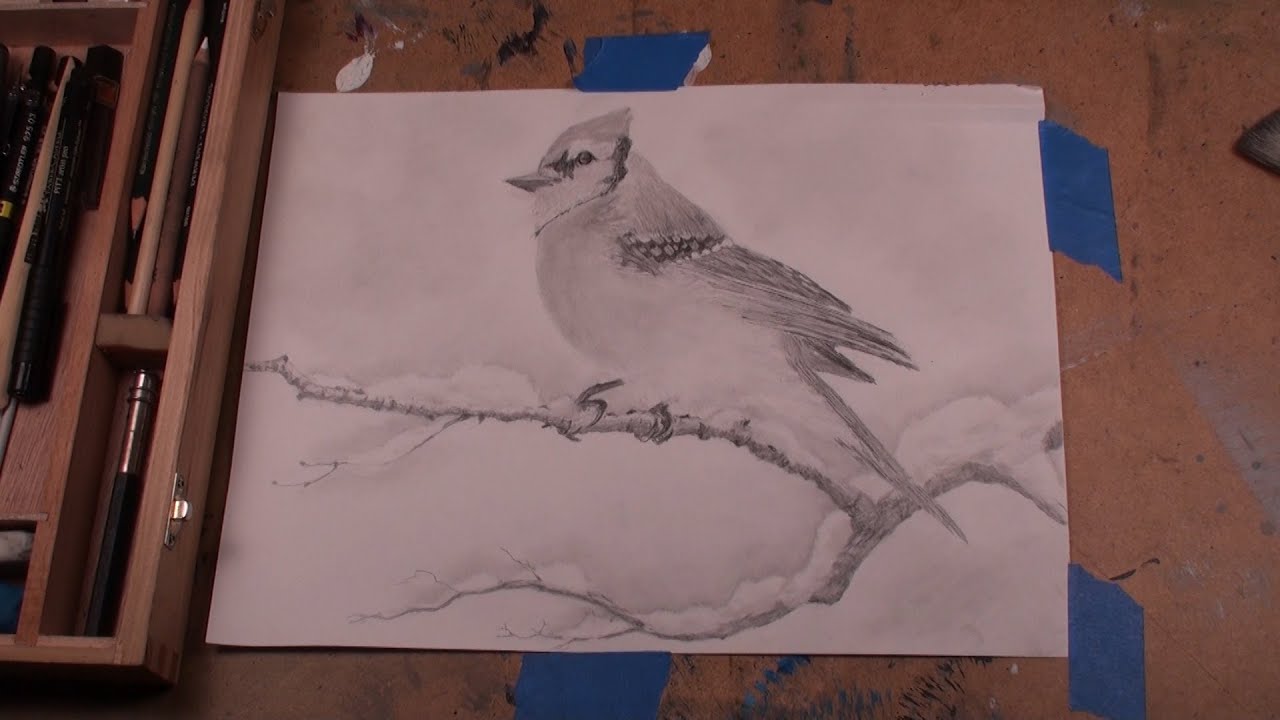
Thank you everyone for joining me on this live event where I finished up a drawing of some birds for a future how to draw tutorial!
You are all awesome!!

PLEASE SUBSCRIBE!
I used Oil paints on this one. This is a basic wooden tv table that we found on the side of the road. I got 4 of them and I plan on painting all 4 of them and putting them up for sale.
Hope everybody Enjoyed this. I had a very good time painting on a wooden surface. It was different but very fun.
Song: Arrival of Spring
Artist: Ryan Farish
Farish Music International (BMI)
Licensed with permission, RYTONE Entertainment
You can purchase this song from Itunes from this link.
http://itunes.apple.com/us/album/bloom/id360509452

Here is a video that will give a description of everything that I will be using in the landscape series.
Some of the supplies I will be using are graphite pencils ranging from 4h all the way to 9b. Charcoal as well as charcoal pencils. These are very easily blended into the drawings and make very good tools to use. The charcoal ranges like pencils do. They range from hard to med to soft to ex soft. Hard being a lighter tone and harder to blend while ex soft is very soft and blends easily. I also use sticks of charcoal to fill in large areas very quickly
Erasers can vary very much. There are so many brands out there and many of them work very well. The pink erasers work very well for making very sharp eraser marks as well as the kneaded eraser. This one is like puddy and can be shaped into any form you wish. Other erasers range from cheap little white ones that are cheap. I also use a triangular eraser that works out very well. There are also gum erasers that leave a mess while erasing but pick things off the page very well. My favorite eraser is the retractable one. This is like a mechanical pencil but instead of lead being inside of it, its a very long piece of eraser. These are very good for making very precise erasing on the page. Very compact and great for on the go.
Blending materials My favorite object to use is a blending cloth. They are very soft and work very well. They are rather cheap and can also be substituted for paper towels and other types of cloth that are soft. The blending stumps come in 2 kinds. Tortillions which are very cheap and come in very long sharp points. These last a very long time and can be used very effectively in the drawing. They are hollow in the center so the points do sometimes get pushed in. The other type is a blending stump. These are fully compressed paper shaped into points at the ends. These work best. They are not hollow and I have used some of mine for over a year. They come in thicknesses of about an 8th of an inch all the way up to almost an inch in diameter.
You an also get a very conformable mechanical pencil with a rubber grip. They are more comfortable to use than regular pencils because you can grip them much easier. You can also get different fillings for it. You can get pencil grades from 9h all the way to 9b.
Welcome back everyone to the start of my series on how to draw the mountains in the mist!
If you need a reference photo, try this one! http://sphotos-c.ak.fbcdn.net/....hphotos-ak-snc7/4793
Other Places to Find my Art
Facebook: http://www.facebook.com/tylersartshack
Twitter: https://twitter.com/#!/TylersArtShack
Google+: https://plus.google.com/115405....344518849808905/post
Deviant: http://tylersartshack.deviantart.com/
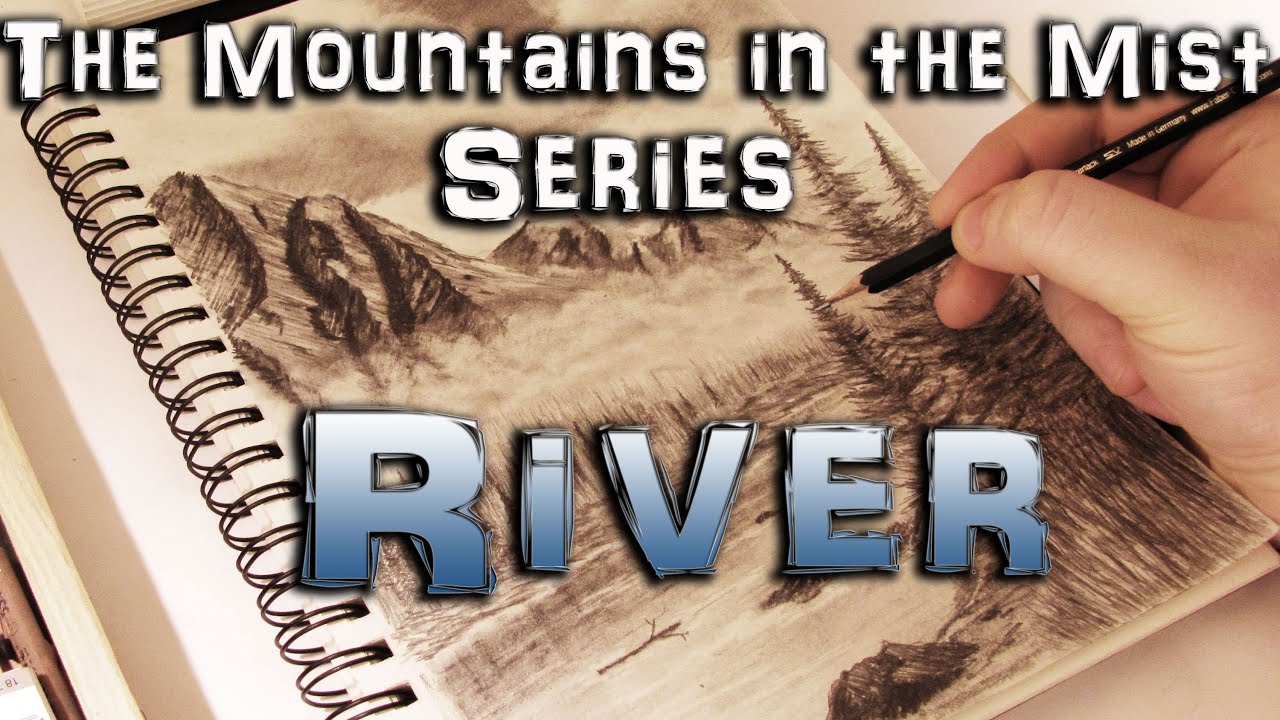
How to Draw a River
Welcome back everybody to part 6 of how to draw the mountains in the mist. This part focuses on how to draw the river in this scene. I will go over and show you the steps to create the reflections, small rapids, and overall polished look of the water.
For the main water part having a mix of different pencils will help you a lot! For the part where I reflect the trees, I use a 2B pencil and slightly draw in the trees to make the reflection. I do not want a perfect mirror reflection because remember, I am drawing a river. This water will be moving so any reflection will be heavily blurred and hard to make out details. Because of that, I only suggested a very rough tree like shape in the water.
Also try to leave a very small gap between the reflection and the river bank. It will help a lot to be able to tell where the water ends and the river bank begins.
When going in to draw a river, I use a 2H pencil for the most part. That pencil has a great ability to place lines down that blend very well with one another creating a seamless plane. It helps to give the water that shine to it from the light reflection. Also using a 2H pencil on top of the 2B pencil you used to create the trees will not cover up that detail at all. It will actually enhance it and make it a part of the water.
You can also go back in using a 4H pencil. This will help to fill in any gaps that the 2H pencil left and will further enhance the look of the overall drawing.
This will take practice to get down so don't worry if it doesn't come out correctly the first time.
I hope you all enjoyed this part of how to draw the mountains in the mist and I will see you next time for part 7!
Thanks for watching!!
Music Info:
Song: Black Rainblow
Artist: PitX
Music can be found on CCmixter.org

Welcome back everyone to a new real time drawing tutorial series. In this series, I will take you step by step to show you how to draw a spring meadow.
Other Places to Find my Art
Website: http://www.tylersartshack.com
Facebook: http://www.facebook.com/tylersartshack
Twitter: https://twitter.com/#!/TylersArtShack
Google+: https://plus.google.com/115405....344518849808905/post
Deviant: http://tylersartshack.deviantart.com
In this video, I will cover how to detail and texture the large tree in the foreground of the drawing. This is a very similar method to how I added the details for the other trees in the drawing. This time, I will be adding more volume to the detail because the tree is much closer to the viewer. Because of that, I want to add in more details to really make it pop. Later on in the drawing, I also go back into different areas and begin to add in details to try and get some of the finishing touches going. Next video, I will be covering the final touches to the drawing.
I hope you all enjoyed this drawing and thanks a lot for watching!
Music Info:
Artist; Ghost
Song: Reverie Small Theme
music can be found on cc.mixter.org
Hey everybody!
I am going to do my first Q and A video very soon and I need your help to get some questions in that I can answer during it! Feel free to write down any and all questions that you have that I could answer during the video!
Thanks a lot everyone and I look forward to reading and replying to your comments!!
Music Info:
Artist: Rjmarshall
Song: Our Lives Are Changing
Music can be found on cc.mixter.org
