Лучшие

I saw a realism challenge that Mark Crilley did where he crumples up a piece of paper and draws it. It is called, Drawing Time Lapse: Realism Challenge-- Crumpled Paper. I wanted to see how well I was able to respond to the great Crilley!
Here is Mark's original video: http://www.youtube.com/watch?v=zZdkjjj3Rg0
The song Cartoon Battle used in this video is by Kevin Macleod of Incompetech.com. Website- http://incompetech.com/m/c/royalty-free/faq.html

I was reflecting upon a recurring question from the hangout (How can an artist transition from drawing from reference images to drawing from memory?) This video should help.
Subscribe to kazanjianm (Don't miss any new videos that I make)- http://www.youtube.com/subscri....ption_center?add_use
Facebook: Like me on Facebook to find out about live hangouts or to post your work!- http://facebook.com/kazanjian
Twitter: I tweet! Do you? http://twitter.com/kazanjianm
My Website: http://merrillk.com
YouTube Visual Arts Category Petition: http://www.change.org/petition....s/create-a-visual-ar
Step by Step Drawing Playlist: http://www.youtube.com/playlis....t?list=PLD6E34C7CD58
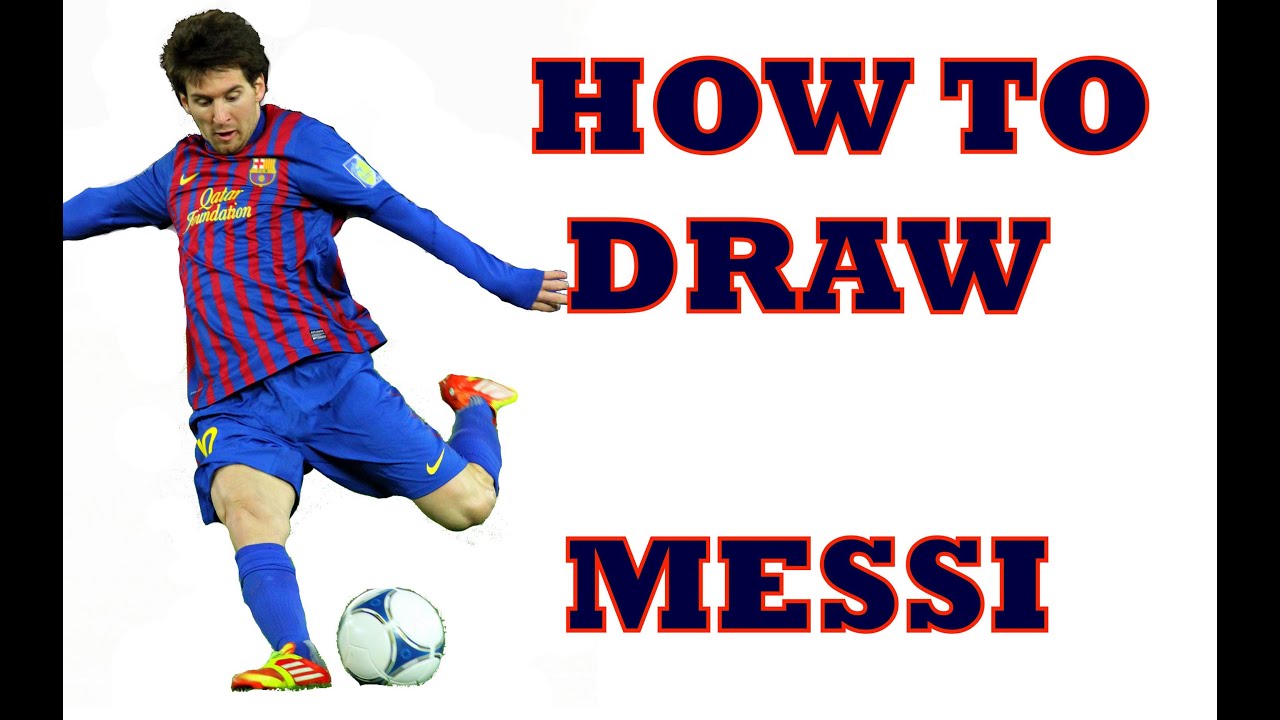
This video will teach you how to draw Lionel Messi step by step. The drawing instruction is designed for aspiring artists who wish to develop their skills.
Subscribe to kazanjianm (Don't miss any new videos that I make)- http://www.youtube.com/subscri....ption_center?add_use
Facebook: Like me on Facebook to find out about live hangouts or to post your work!- http://facebook.com/kazanjianm
Twitter: I tweet! Do you? http://twitter.com/kazanjianm
My Website: http://merrillk.com
Art Supplies I Use in my Art Work- http://merrillk.com/?sid=135&idpage=supplies_i_use
YouTube Visual Arts Category Petition: http://www.change.org/petition....s/create-a-visual-ar
Step by Step Drawing Playlist: http://www.youtube.com/playlis....t?list=PLD6E34C7CD58
Image- http://commons.wikimedia.org/w....iki/File:Lionel_Mess

This video is made for any person who wants to learn oil painting. This video will give you a solid base of knowledge. http://merrillk.com
Today, I am going to show you how to paint a puppy dog. I made this video for beginner to intermediate level artists, who wish to learn about traditional painting...I will try to show you how to paint. step by step. While I can imagine that painting a realistic looking puppy is intimidating for someone new to art, I will try to make my instruction as clear as possible, so that you can get in to great habits for the future. Once you are in good habits, you will progress very quickly.
I split this lesson in to four parts.
1.) Part one will cover what you need to know before you paint.
2.) Part two will give you an effective strategy for painting realistically The mentality of rendering (aka drawing what you see)
3.) Part three will walk you through the process of painting and I will give you tips while I paint. The process of "sculpting" a painting
4.) Part four will actually be a separate video and it will discuss glazing...a great finishing strategy. Glazing: Finishing a painting (Covered in another video)
Part 1.) I have two points to go over in Part 1-
1-1- First, pick a surface to work on. When I was learning painting, I would use cardboard in place of canvas to save money. Ten years later my original oil paintings are still in good shape. However, this would not be the case if I didn't prime the cardboard with layers of Gesso. Without getting over technical, gesso gives your surface a protective layer that will prevent the oil from being over absorbed. Try to remember this silly saying, "Paint with cream, not with butter or milk!" No, im not saying that you should break out the dairy prodicts.....I am referring to the consistency of the paint. Cream is not a solid like butter .....and is not watery like milk. When you apply paint to a surface it should be creamy in texture. You can make the paint creamy by adding about three to four drops of painting medium to the paint that is sitting on your palette. The object in my hand right now is called a palette knife. I used it to mix the paint with the painting medium. For a long time, I considered this step trivial, but it makes a difference!
1-2 Oil Painters use mineral spirits to clean off their brushes and to thin out a paint mixture. Mineral Spirits is also known commercially as paint thinner and sold as an art supply called turpenoid for quadruple the price. You will only need a SMALL amount of Mineral Spirits because its very powerful. Use it sparingly when you wish to thin out your paint; because too much will make the paint runny and "milk-like" in consistency. Here is a great tip to remember when cleaning your brushes.....WIPE-DIP-WIPE. As silly as that sounds, commit it to memory....In other words..... wipe your brush with a paper towel.....Then dip it in to the mineral spirits and swish it around....followed by another wipe with the paper towel to take the extra spirits off your brush. The last wipe is especially important to prevent the excess mineral spirits from thinning out your paint too much
Part 2
Now you will learn a great strategy to help you paint what you see. I call this strategy, "jigsaw puzzle observation" because it is similar to putting a jigsaw puzzle together. Jigsaw puzzles are fun because you fit shapes together to create an image.........I want you to think the same way when you paint. Try to see and identify shapes and then put them together like a puzzle. Painters sculpt and manipulate the paint on the surface of a painting until the shapes fit together as a recognizable image. Here....let me show you what I mean.....When you try this, I recommend that you get in the habit of looking at your reference image at least once for every five seconds; and then paint what you observed. After you get the bigger shapes in.....work your way down to the smaller shapes........ If you feel that you cant work the paint any more. Let it dry and repeat this step on top of the dried paint. You have an advantage by using paint because it is opaque and it can cover over any mistake...... Take your time with this step. Skyscrapers cant be erected without solid supports and good paintings cannot be made without careful placement.
How to begin oil painting vido
Supply List
- Titanium White (paint)
- Raw Sienna (paint)
- Ultramarine Blue (paint)
- Ultramarine Purple (paint)
- Lamp Black (paint)
- Painting Medium (my favorite is called Liquin)
- Palette, Wax Paper or Aluminum foil (to mix the paint on)
- Mineral Spirits
- Canvas or Cardboard
- Gesso (white or clear)
- Paint Brushes (several sizes, tips, and softnesses......based on your preference)
- Cups for Mineral Spirits and Paint Medium

http://merrillk.com/?part=publications
If you own a computer, and you have a myspace account, chances are, you have seen what is known as the myspace self photo....also known as the TOO MUCH INFORMATION profile pic! These photos are usually a combination of blatant misspelling and nudity. Sexxii Grannii (Sexy Granny) ON DECK (Whatever the HELL that means)!
As an artist, it is my job document what exists in the world around me. Right now (early 2010), the social networking sites are king......so I created this mixed media artwork, based upon a scary picture that I saw on Myspace.
I took a mixed media approach in creating this work.
1.) Pencil- I used the pencil to sketch the initial pose. I do not do any shading while working with the pencil (in step one)
2.) Illustration Marker- Prismacolor and Chartpak Ad markers allow me to put down layers of color quickly. These markers leave transparent marks of color, similar to watercolor paint and often, their vibrancy can be seen through layers of translucent color (added later).
3.) Color Pencils- The fine tip of color pencils allow me to make marks with extreme precision. I use prismacolor color pencils because they blend extremely well and are compatible with oil paint.
4.) Oil Paint- The most versatile medium. Oil paint can be applied in thick "impasto" style or in thin transparent glazes. In this case, I tried to finish my work......but I decided that I needed to make a few changes.
5.) In order to make those changes, I let my work dry, then scanned it, then opened it up in....
6.) Photoshop (And Paint Shop Pro 9)- THese two computer programs allow me to do digital collage and edit/refine my work. In this case, I changed the posture of the character.
7.) Print- On SPECIAL paper (hit the link)
8.) Color pencil- to bring out the tones (again) and prep the paper for oil paint (yes, it is a good primer). Also the color from the color pencils mix with the oil paint, which creates a cool effect.
9.) Oil Paint- Finishing touches
10.) Scan
11.) Save as a PNG file....so that I can use this character multiple times.
-Merrill Kazanjian

Link- http://merrillk.com/?part=fineart&articles_id=13449&act=artist1&artist=69&collection=455
My new channel: http://youtube.com/metaldetectingnyc
Facebook- http://facebook.com/kazanjianm
Twitter- http://twitter.com/kazanjianm
Website- http://merrillk.com
(Merrill) Supplies I Use- http://www.jdoqocy.com/click-4....247664-805536?url=ht
This is my first step by step colored pencil tutorial. After you watch this video, you will have a solid understanding of how to draw a rose with colored pencil. I have simplified the instructions so that even a beginner could create a successful drawing. I will tell you about the colored pencils later in this video. But, for now, grab a regular pencil and some drawing paper. I have a quick recommendation before we begin. Hit the link in the video description and go to my website to download a printable page with our reference image. Lets begin.
Step 1: Draw a long rectangular shape for the stem.
Step 2: Take a moment to observe the proportions of the new shapes that I added. Notice that the leaf to the right overlaps the stem. The two shapes on top are positioned more to the left hand side.
Step 3: Now add the shapes for the bottom of the petals on the right hand side. Notice the U shape that is formed at the bottom of the rose. Notice that the upper shape on the right is slightly thicker than the upper shape on the left.
Step 4: Use your imagination a bit and notice the slightly skewed egg shape above the shapes from the first three steps. Once you notice how it fits, draw it on your paper.
Step 5: Add the four shapes which I just added around the egg shape.
Step 6: Use your observation skills and add even more shapes to the center of your rose. Do not stress if your drawing does not look exactly like mine. In portraiture, you need a likeness, but you don't need to be as exact when drawing a flower.
Step 7: The same rule applies with step seven. Use your observation skills, but don't stress extreme accuracy.

Learn how to draw Miley Cyrus step by step by watching this video!
Subscribe to kazanjianm (Don't miss any new videos that I make)- http://www.youtube.com/subscri....ption_center?add_use
Facebook: Like me on Facebook to find out about live hangouts or to post your work!- http://facebook.com/kazanjianm
Twitter: I tweet! Do you? http://twitter.com/kazanjianm
My Website: http://merrillk.com
Art Supplies I Use in my Art Work- http://merrillk.com/?sid=135&idpage=supplies_i_use
YouTube Visual Arts Category Petition: http://www.change.org/petition....s/create-a-visual-ar
Step by Step Drawing Playlist: http://www.youtube.com/playlis....t?list=PLD6E34C7CD58

What happens when you merge the faces of Eliot Spitzer, Mark Sanford, Bill Clinton John Edwards? You get a celibate monk!!!!!
All photos are from Wikipedia.com (under a creative commons license). For example Bill Clinton-http://en.wikipedia.org/wiki/File:Bill_Clinton.jpg (Work of a govt Employee) John Edwards- http://en.wikipedia.org/wiki/F....ile:John_Edwards,_of (Work of a govt Employee) Mark Sanford- http://en.wikipedia.org/wiki/File:MarkSanford.jpg (govt employee) Eliot Spitzer- http://www.flickr.com/photos/d....avidsilver/232947805 (Was posted by David Silver under a Creative Commons license) http://www.flickr.com/photos/kapkap/1335721782/ (Posted by Paul S under a creative commons license).
Music was taken from Incompetech.com - a site recommended by youtube in the partner program tutorial.

LINK TO PDF- http://merrillk.com/?part=fineart&act=artist1&artist=69&collection=186&articles_id=18075
Subscribe to kazanjianm (Don't miss any new videos that I make)- http://www.youtube.com/subscri....ption_center?add_use
Facebook: Like me on Facebook to find out about live hangouts or to post your work!- http://facebook.com/kazanjianm
Twitter: I tweet! Do you? http://twitter.com/kazanjianm
My Website: http://merrillk.com
Art Supplies I Use in my Art Work- http://merrillk.com/?sid=135&idpage=supplies_i_use
YouTube Visual Arts Category Petition: http://www.change.org/petition....s/create-a-visual-ar
Step by Step Drawing Playlist: http://www.youtube.com/playlis....t?list=PLD6E34C7CD58
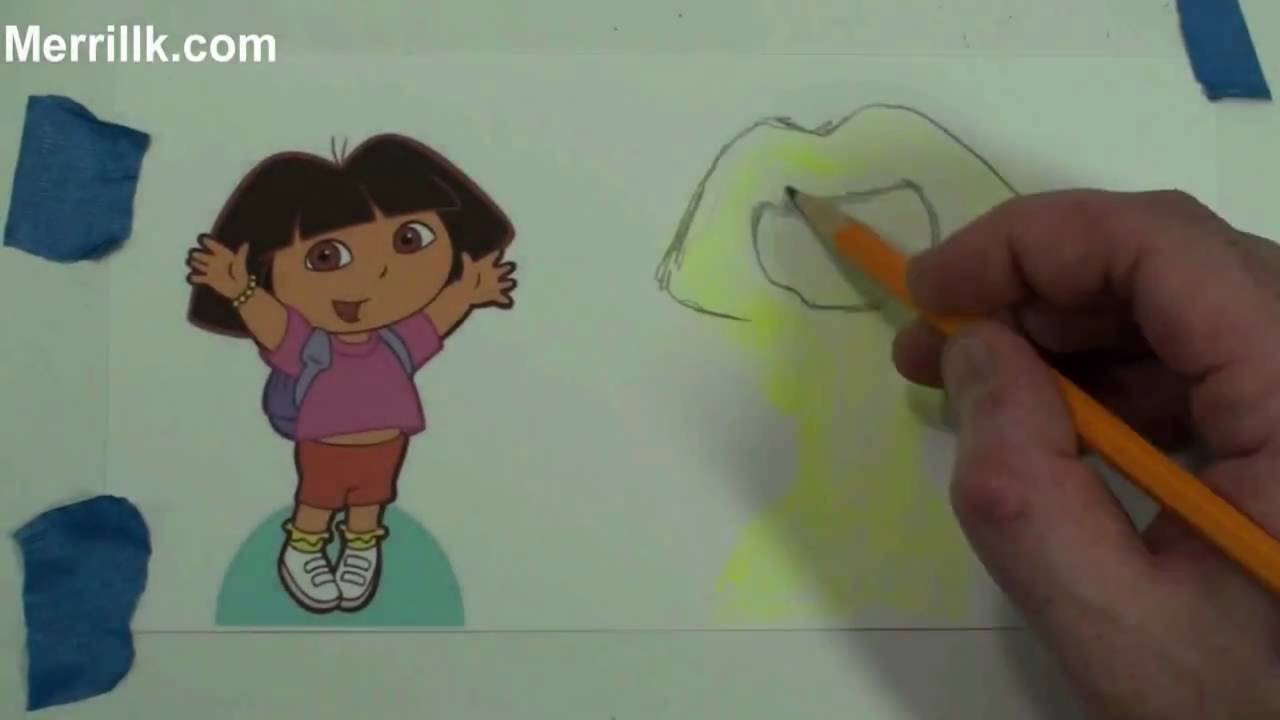
In this video I am going to share a very effective training technique that I use in my classroom. It is a strategy tailored for novice artists and it will make you better at drawing what you see (also known as the skill of rendering). I call this process mass drawing / line drawing. The process will seem awkward at first, but I have seen students get great results once they understand the process. So please give it a chance. All that you will need is a highlighter, a pencil and some paper. Lets begin.
This is a mass drawing. I used the highlighter to make a silhouette of the cartoon character, Ni Hao Kai Lan. I scribbled it in quickly and as a single mass. This will serve as a guide for the second step, the line drawing.
This is a line drawing. Notice that it is done directly over the mass drawing. But don't just outline; make corrections. The mass drawing will enable you to see the big picture and the mistakes that you made. Many of my students have found it much easier than guessing on a blank sheet of paper. So dont outline your mass drawing make corrections while doing the line drawing.
Take a second to look at how many changes I made to the original mass, such as the right arm, the shoes and the hair.
Still confused, thats ok, watch the process a few times and you will begin to understand it. Remember that it is just a drill and drills are used to build good habits for the future. This drill will help you build observation skills and comparative skills which will help you develop the ability to draw what you see. I don't expect you to use a highlighter for long. In fact, I will show you a more advanced method, later on in the video. I will also teach you a really cool trick that will get rid of the color from the highlighter.
But for now, remember that there are two steps to this process. Use the highlighter to create a mass drawing of what you are trying to draw. If you are very new to drawing, try to make your mass drawing a similar size to your reference picture or object. With more experience, you can experiment with scale. Remember that step two, the line drawing, is meant to be a correction of step one.
I have observed that when my students do this process for the first time, they struggle a bit, and complain that the yellow or pink from the highlighter "throws them off". Please remember that it takes three tries, on average, to get fully acquainted with this process. I have also observed that the students who improve the fastest, look at their reference image more often. Get in the habit of looking at your reference image at least once for every five seconds.
To get rid of the color from the highlighter, flip over your drawing and start to scribble all over the back. It is easiest to use the side of a graphite stick, but you could also use a pencil. Once the back of your drawing is covered, flip it over again and tape it down over a new piece of paper. Then, retrace over all of the lines. I used a blue pen for this step. When you remove the tape, you will see a perfect print of your drawing
Now, I am using the pencil to create a mass drawing. Notice that I am pressing very lightly while scribbling in the mass. I have observed that using a pencil is a little bit more difficult for beginners due to the tendency to apply too much pressure and leave dark lines. Also it is much easier to differentiate the bright colors from the highlighter then the subtle tones of a pencil. Still, after you feel that you are progressing with the markers, move on to this step. Do not worry about mastering the process with the highlighter, just get comfortable enough, and move on.
Thank you for watching my video, I reply to all of my comments, so feel free to ask me a question, or just let me know how it goes. Remember to try this at least three times before you judge the process. I guarantee that it will feel foreign at first, but I have used it for eight years in the classroom with a high success rate so give it some time. Happy drawing everybody!
In my demonstrations, I drew, Ni Hao Kai Lan, Spongebob, Homer Simpson, Moose A. Moose (Noggin), Characters from Yo Gabba Gabba, Lilo from Lilo and Stitch, Wow Wow Wubbzy, Dora the Explorer, Patrick Star (Spongebob), Stitch (Lilo and Stitch and Blue the Dog from Blues Clues (Nickelodeon Noggin). I am confident that this process could teach you how to draw any cartoon.

Want to learn to draw Bruce Lee? Look no further. This video will teach you how to draw his body step by step. The first minute and a half is a Bob Ross stop motion karate movie parody where Bob Ross enters my studio and unleashes his master painter ninja style....aka- beats me up.
Art, Step by Step Drawing tutorial:
Step 1.) Observe then add the shape for the upper chest. This shape is comparable to the height of the face. Please note that Bruce's body is turned so the area is foreshortened.
Step 2.) fits to step one like a puzzle piece. Be sure to notice that the bottom is rainbow like and the sides point slightly away from each other.
Step 3.) is a very tricky step. Try to notice that the shape of the arm in this step looks like a women's dress shoe. Put that large shape in first, then go on to she smaller shapes.
Step 4.) Add the V Shape for Bruce Lee's left arm. Notice that it is wider at the top of the arm than the bottom. The palm of the hand is circular and the thumb and pinky protrude at a similar angle.
Step 5.) Observe, then add the line to fill in the shoulder.
Step 6.) Observe then add the legs. Notice that his pants are worn very high, so his legs are slightly longer than his upper body.
Step 7.) Add Bruce Lee's ankles and feet.
The song is called Cartoon Battle and it is by Kevin Macleod of Incompetech.com, a site recommended to partners to get copyright free music.
All music by Kevin MacLeod http://incompetech.com Thank you Kevin!
The image of Bob Ross is from creative commons search- http://www.flickr.com/photos/z....anthraxnl/3613024633

Subscribe to kazanjianm (Don't miss any new videos that I make)- http://www.youtube.com/subscri....ption_center?add_use
Facebook: Like me on Facebook to find out about live hangouts or to post your work!- http://facebook.com/kazanjianm
Twitter: I tweet! Do you? http://twitter.com/kazanjianm
My Website: http://merrillk.com
Art Supplies I Use in my Art Work- http://merrillk.com/?sid=135&idpage=supplies_i_use
YouTube Visual Arts Category Petition: http://www.change.org/petition....s/create-a-visual-ar
Step by Step Drawing Playlist: http://www.youtube.com/playlis....t?list=PLD6E34C7CD58
Learn to draw rapper Mac Miller. This video will teach you how to draw rapper Mac Miller. Follow my steps and then watch my shading tutorial at the end. Post your drawing to my facebook page or as a video response/

How to Draw/Paint Jack Sparrow (Johnny Depp) and Will Turner (Orlando Bloom) in Dry Brush Technique.
Link- http://merrillk.com/?part=fineart&articles_id=13277&act=artist1&artist=69&collection=462 This video is going to teach you how to draw or paint two famous pirates, Captain Jack Sparrow and Mr. William Turner from Pirates of the Caribbean. I dont care if you if you have limited art experience, grab your art supplies because you are going to surprise yourself today. In this video, I am going to demonstrate the process of dry brush, but you also have the option to follow along with a pencil. I strongly recommend that you hit the link in the video description and use my step by step guide while you watch this video. Its printable and it has photos and text and it will simplify the process a lot.
If you are planning on doing dry brush, do the steps on watercolor paper.
If you are planning on doing a pencil drawing, do the steps on drawing paper.
Lets begin. Captain Jack Sparrow is a fictional character and the main protagonist in the Pirates of the Caribbean film series created by screenwriters Ted Elliott and Terry Rossio, portrayed by Johnny Depp. He is first introduced in the film Pirates of the Caribbean: The Curse of the Black Pearl (2003). He appears in the sequels Dead Man's Chest (2006), At World's End (2007), and On Stranger Tides (2011). Jack Sparrow was conceived by Elliott and Rossio initially as a supporting character, but Jack serves as a central protagonist in the films. He was brought to life by the actor Johnny Depp, who based his characterization on The Rolling Stones guitarist Keith Richards and cartoon character Pepé Le Pew.
The series Pirates of the Caribbean was inspired by a Disney theme park ride, and in 2006, when the ride was revamped, the character of Jack Sparrow was introduced to it. Jack Sparrow is also the subject of a children's book series, Pirates of the Caribbean: Jack Sparrow, which chronicles his teenage years and the character has also appeared in numerous video games.
In the context of the films, Sparrow is one of the Brethren Court, the Pirate Lords of the Seven Seas. He can be treacherous, but survives mostly by using wit and negotiation rather than weapons or force, preferring to flee most dangerous situations and fight only when necessary. Sparrow is introduced seeking to regain his ship, the Black Pearl, from his mutinous first mate, Hector Barbossa, and attempts to escape his blood debt to the legendary Davy Jones while battling the East India Trading Company.
Music by Kevin MacLeod Song- Montego. Website http://incompetech.com

This is part 2 of my tutorial on how to draw Michael Jordan. Part 1 showed you how to draw MJ's head and this part will teach you how to draw his body. I recommend that you hit the link in the video description to go to a printable step by step guide. Lets get started.
Step 1- For Step one, try to draw the shapes that I just added. Notice that his body goes out to your right a little bit less than a head length, from ear to ear. The bottom of his collar is also less than a head length down
Step 2- Complete the shape for the shirt. Notice that the entire length of the shirt is almost 2 head lengths.
Step 3- Observe and add the shapes for the upper arms.
Step 4- Add the shape for the basketball and the right arm. notice that it is similar to a vase shape.
Step 5- Add the forearm and the shape for the hand.
Step 6- Add the shape for MJ's shorts. notice that his legs are moving in a different direction than his upper body.
Step 7- Draw in the shape for the lower legs. notice that they are angled in the same direction as the upper body.
Step 8- Draw in MJ's shoes
Step 9- Fix MJ's hand.
Welcome to 「PIN KORO - YouTube」♪
Thank you for the visit.
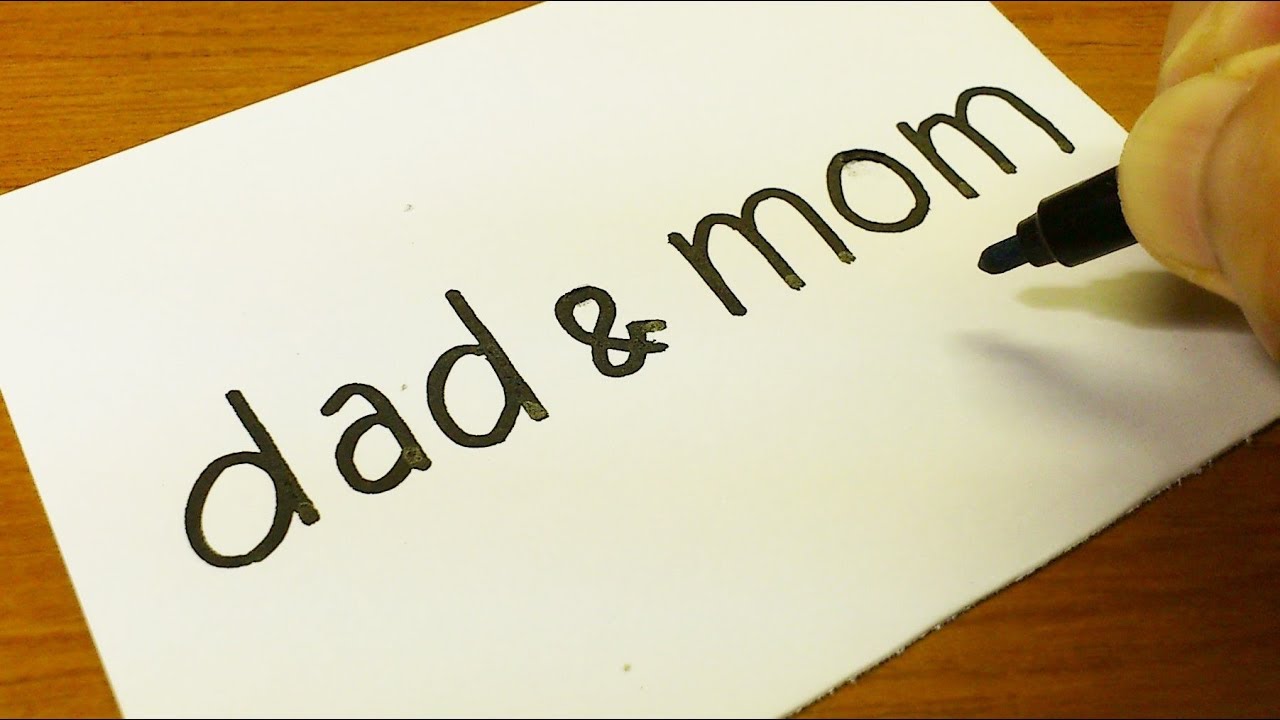
Today's video is 「Very Easy ! How to draw turn word DAD & MOM step by step into a Cartoon - Learning Cute transformation doodle trick art on paper for beginners」
In response to many request, I challenged it.
Let's learn how to drawing Kawaii doodle with me.

Welcome to 「PIN KORO - YouTube」♪
Thank you for the visit.
Today's video is 「Very Easy ! How to draw turn word Rarity(My Little Pony)step by step into a Cartoon - Learning Cute transformation doodle trick art on paper for beginners - turning words into pictures」
Let's learn how to drawing Kawaii doodle with me.
In response to many request, I challenged it.

Welcome to 「PIN KORO - YouTube」♪
Thank you for the visit.
Today's video is 「Very Easy ! How to Draw cute & kawaii doodle step by step using letters "D d" | Let's Learn drawing doodle with me.」
COMO DIBUJAR "E e" KAWAII PASO A PASO - Dibujos kawaii faciles
SACAR UN DIBUJO DE LA LETRA "E e" - Dibujos faciles paso a paso

Welcome to 「PIN KORO - YouTube」♪
Thank you for the visit.
Today's video is 「Very Easy ! How to draw turn word GRINCH(The Grinch)step by step into a Cartoon - Learning Cute transformation doodle trick art on paper for beginners - turning words into pictures」
Let's learn how to drawing Kawaii doodle with me.
In response to many request, I challenged it.

Welcome to 「PIN KORO - YouTube」♪
Thank you for the visit.
Today's video is 「Very Easy ! How to draw turn word Ben10 step by step into a Cartoon - Learning Cute transformation doodle trick art on paper for beginners」
Let's learn how to drawing Kawaii doodle with me.
In response to many request, I challenged it.

Welcome to 「PIN KORO - YouTube」♪
Thank you for the visit.
Today's video is 「How to turn words GARY(SpongeBob SquarePants|Gary the Snail)into a Cartoon step by step.」
Let's learn "how to turn words into cartoon", "3D drawing", and so on from this YouTube channel.
Drawing is easy and fun.
With this channel, Everyone can learn how to draw with simple way.
I hope you enjoy this video.
Please SUBSCRIBE for new video. Thanks
▷SUBSCRIBE
https://www.youtube.com/user/pinkorojapan
▷CONTACT
Instagram https://www.instagram.com/pinkoro_draw
Facebook https://www.facebook.com/pinkoro66/