Лучшие
Welcome to 「PIN KORO - YouTube」♪
Thank you for the visit.
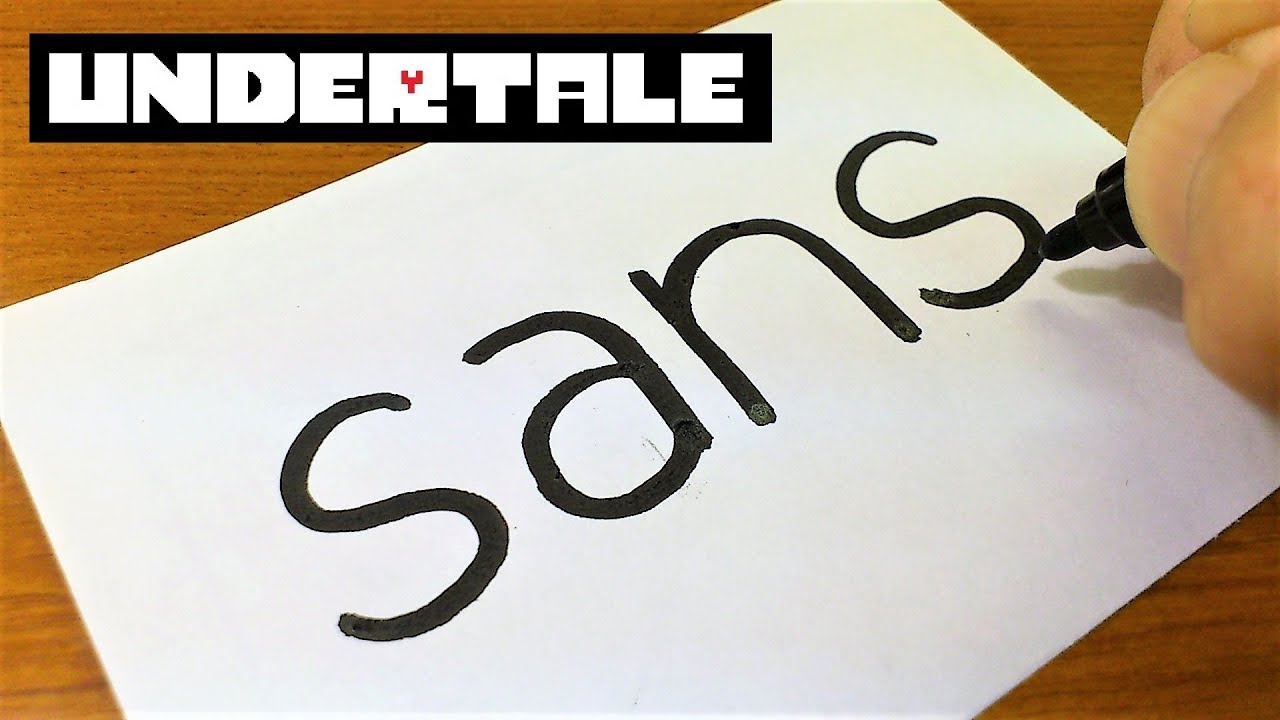
Today's video is 「How to turn words SANS(Undertale DUST SANS)into a Cartoon - how to draw Undertale characters step by step.」
Let's learn "how to turn words into cartoon", "3D drawing", and so on from this YouTube channel.
Drawing is easy and fun.
With this channel, Everyone can learn how to draw with simple way.
I hope you enjoy this video.
Please SUBSCRIBE for new video. Thanks
▷SUBSCRIBE
https://www.youtube.com/user/pinkorojapan
▷CONTACT
Instagram https://www.instagram.com/pinkoro_draw
Facebook https://www.facebook.com/pinkoro66/

Welcome to 「PIN KORO - YouTube」♪
Thank you for the visit.
Today's video is 「Very Easy ! How to turn word WARIO(Super Mario Bros.)step by step into a Cartoon - Learning Cute doodle art on paper for beginners」
Let's learn how to drawing Kawaii doodle with me.
In response to many request, I challenged it.
SACAR UN DIBUJO DE LA LETRA "WARIO" - Dibujos faciles paso a paso

Welcome to 「PIN KORO - YouTube」♪
Thank you for the visit.
Today's video is 「Very Easy ! How to draw turn word POPCORN step by step into a Cartoon - Learning Cute transformation doodle trick art on paper for beginners」
Let's learn how to drawing Kawaii doodle with me.
In response to many request, I challenged it.
INCREIBLE TRUCO CON LA PALABRA POPCORN - DIBUJO A POPCORN CON SUS LETRAS

Welcome to 「PIN KORO - YouTube」♪
Thank you for the visit.
Today's video is 「Tutorial Brawl Stars Transformations|Endless Card|Never Ending Card DIY step by step.」
Let's learn "how to turn words into cartoon", "3D drawing", and so on from this YouTube channel.
Drawing is easy and fun.
With this channel, Everyone can learn how to draw with simple way.
I hope you enjoy this video.
Please SUBSCRIBE for new video. Thanks
▷SUBSCRIBE
https://www.youtube.com/user/pinkorojapan
▷CONTACT
Instagram https://www.instagram.com/pinkoro_draw
Facebook https://www.facebook.com/pinkoro66/

Welcome to 「PIN KORO - YouTube」♪
Thank you for the visit.
Today's video is 「Very Easy ! How to draw turn word ASH(Ash Ketchum of Pokemon) step by step into a Cartoon - Learning Cute transformation doodle trick art on paper for beginners - turning words into pictures」
Let's learn how to drawing Kawaii doodle with me.
In response to many request, I challenged it.

Welcome to 「PIN KORO - YouTube」♪
Thank you for the visit.
Today's video is 「Very Easy ! How to Draw 3D Pickle Rick (Rick and Morty) Coloring Pages of my Coloring book | Learning Colouring Videos」
Welcome to 「PIN KORO - YouTube」♪
Thank you for the visit.
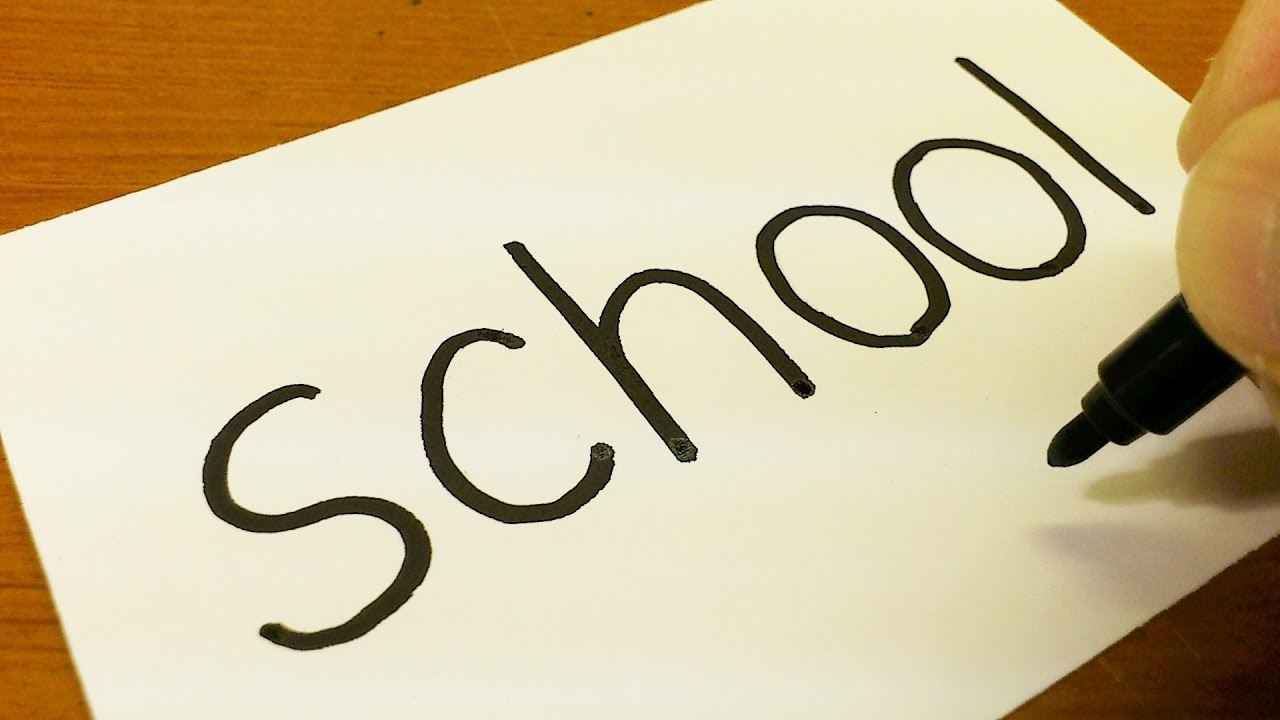
Today's video is 「Very Easy ! How to draw turn word SCHOOL step by step into a Cartoon - Learning Cute transformation doodle trick art on paper for beginners」
Let's learn how to drawing Kawaii doodle with me.
In response to many request, I challenged it.

Welcome to 「PIN KORO - YouTube」♪
Thank you for the visit.
Today's video is 「Very Easy ! How to draw turn word All Might( Toshinori Yagi of My Hero Academia|Anime ヒロアカ)step by step into a Cartoon - Learning anime character transformation doodle trick art on paper for beginners - turning words into pictures」
Let's learn how to drawing Kawaii doodle with me.
In response to many request, I challenged it.
Now Season 3 is on air now!
Please watching practice scene on Instagram.
instagram⇒ https://www.instagram.com/pinkoro_draw

Welcome to 「PIN KORO - YouTube」♪
Thank you for the visit.
Today's video is 「Very Easy ! How to draw turn word "Selfie" step by step into a Cartoon - Learning Cute transformation doodle trick art on paper for beginners - turning words into pictures」
Let's learn how to drawing Kawaii doodle with me.
In response to many request, I challenged it.
Welcome to 「PIN KORO - YouTube」♪
Thank you for the visit.
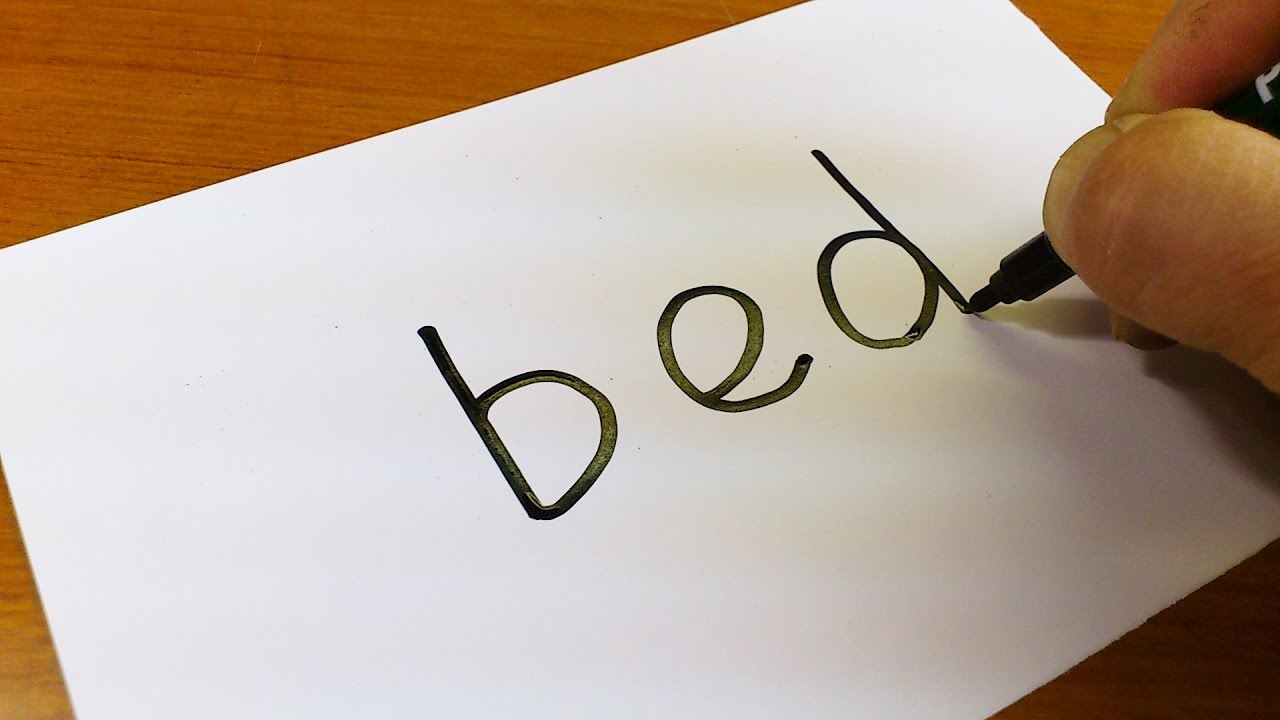
Today's video is 「Very Easy ! How to draw turn word BED step by step into a Cartoon - Learning Cute transformation doodle art on paper for beginners」
Let's learn how to drawing Kawaii doodle with me.
In response to many request, I challenged it.
SACAR UN DIBUJO DE LA LETRA "BED" - Dibujos faciles paso a paso

Welcome to 「PIN KORO - YouTube」♪
Thank you for the visit.
Today's video is 「Very Easy!! How To Drawing Upside down Trompe-l'oeil "SAKASAE" on Paper for kids - Easy and Cute doodling art on paper」

Welcome to 「PIN KORO - YouTube」♪
Thank you for the visit.
Today's video is 「How to turn words KILLUA(HUNTER×HUNTER)into a Cartoon for kids - How to draw doodle art on paper step by step.」
HUNTER×HUNTER is Japanese popular manga.
Let's learn "how to turn words into cartoon", "3D drawing", and so on from this YouTube channel.
Drawing is easy and fun.
With this channel, Everyone can learn how to draw with simple way.
I hope you enjoy this video.
Please SUBSCRIBE for new video. Thanks
▷SUBSCRIBE
https://www.youtube.com/user/pinkorojapan
▷CONTACT
Instagram https://www.instagram.com/pinkoro_draw
Facebook https://www.facebook.com/pinkoro66/

Welcome to 「PIN KORO - YouTube」♪
Thank you for the visit.
Today's video is 「Very Easy ! How to draw turn word Cars3(Lightning McQueen 2017 Disney Pixar)step by step into a Cartoon - Learning Cute transformation doodle trick art on paper for beginners」
Let's learn how to drawing Kawaii doodle with me.
This movie is not trailer.
INCREIBLE TRUCO CON LA PALABRA Cars 3 - DIBUJO A Cars 3 CON SUS LETRAS

Welcome to 「PIN KORO - YouTube」♪
Thank you for the visit.
Today's video is 「FUN!How to turn words PINGU into a Cartoon - How to draw doodle art on paper for family step by step.」
Let's learn "how to turn words into cartoon", "3D drawing", and so on from this YouTube channel.
Drawing is easy and fun.
With this channel, Everyone can learn how to draw with simple way.
I hope you enjoy this video.
Please SUBSCRIBE for new video. Thanks
▷SUBSCRIBE
https://www.youtube.com/user/pinkorojapan
▷CONTACT
Instagram https://www.instagram.com/pinkoro_draw
Facebook https://www.facebook.com/pinkoro66/

Welcome to 「PIN KORO - YouTube」♪
Thank you for the visit.
Today's video is 「Very Easy!! how to draw step by step 3D Floating Annoying Dog(Undertale)- Anamorphic Illusion - how to draw for beginners step by step 3D Trick Art on paper」
Today, In response to many request, I challenged "Draw a picture related to UNDERTALE".
※I am sorry.
I'm not so good at English, so my english sentence might be wrong.
Please forgive me because I am studying English more.

Welcome to 「PIN KORO - YouTube」♪
Thank you for the visit.
Today's video is 「Very Easy ! How to draw turn word CAKE step by step into a Cartoon - Learning Cute transformation doodle trick art on paper for beginners」
Let's learn how to drawing Kawaii doodle with me.
In response to many request(cake, cupcake. swiss roll), I challenged it.
INCREIBLE TRUCO CON LA PALABRA CAKE - DIBUJO A CAKE CON SUS LETRAS

I used photoshop and Paint Shop pro to merge four people who couldnt make up their mind!!! Brett Favre retired how many times??? John Kerry, the infamous-presidential-candidate flip flopper lost an election due to his indecisiveness...Hulk Hogan, the iconic wrestler and reality TV star, was a "good guy" then a bad guy" then a "good guy again. Arlen Specter notoriously, changed political parties! Indecisiveness....Flip Flopping....Standing on the fence...Changing sides or ideologies....Making a decision but going back on it.....These men have one thing in common....Changing their mind. I thought that it would be interesting to use my photo editing skills to morph their faces together.
All images taken are from Creative Commons or are designated public domain. I respect copyright!
Brett Favre se retiró cuántas veces??? John Kerry, el tristemente célebre veleta candidato presidencial tapa perdido una elección, debido a su indecisión ... Hulk Hogan, el luchador icónico y estrella de televisión, fue un "buen chico", entonces un tipo malo ", entonces" un buen chico nuevo. Arlen Specter notoriamente, cambiaron de bando! Indecisión .... .... Flip flop permanente de la valla ... Cambio de partido o ideologías .... Tomar una decisión, sino que se remonta al respecto ..... Estos hombres tienen una cosa en común .... cambiar de idea. Pensé que sería interesante para utilizar mis habilidades de edición de fotos para transformarse sus rostros juntos. Brett Favre a pris sa retraite combien de temps??? John Kerry, le tristement célèbre présidentielle flopper candidat flip perdu une élection en raison de son indécision ... Hulk Hogan, le lutteur emblématique et star de télé-réalité, était un «bon gars», puis un mauvais gars "puis un" bon type nouveau. Arlen Specter notoirement, changé de parti politique! Indécision .... Flip flop .... permanent de la clôture ... changer de camp ou d'idéologies .... la décision, mais de revenir sur elle ..... Ces hommes ont une chose en commun .... Changer d'avis. J'ai pensé qu'il serait intéressant d'utiliser mes compétences en édition de photos pour morph leurs visages ensemble. Brett Favre pensionati quante volte?? John Kerry, l'infame-presidenziali-flopper candidato flip perso le elezioni a causa della sua indecisione ... Hulk Hogan, il wrestler iconica e star tv realtà, era un ragazzo "buono", quindi un cattivo ragazzo ", poi un ragazzo" di nuovo bene. Arlen Specter, notoriamente, ha cambiato i partiti politici! Indecisione .... Flip flop .... Standing on the fence ... Cambiare le parti o ideologie .... Prendere una decisione, ma tornare indietro su di esso ..... Questi uomini hanno una cosa in comune .... cambiare idea. Ho pensato che sarebbe interessante usare le mie capacità di fotoritocco per Morph insieme i loro volti.

What do you get if you merge the likenesses of six hockey players? (Wayne Gretzky, Sidney Crosby, Alex Ovechkin, Teemu Sellane, Henrik Zetterberg) Click to find out!I used Photoshop CS3 and Paint Shop Pro 9 to merge the faces of these movie superheroes. I depended heavily on the digital scissor/ quick selection and magic wand tools as well as the smudge brush and the lighten and darken tool. Qu'est-ce que vous obtenez si vous fusionnez les portraits des six joueurs de hockey? (Wayne Gretzky, Sidney Crosby, Alex Ovechkin, Teemu Sellane, Henrik Zetterberg) Cliquez pour le savoir! J'ai utilisé Photoshop CS3 et Paint Shop Pro 9 de fusionner les visages de ces super-héros de cinéma. Je comptais beaucoup sur les ciseaux jeremy roenick milbury eurotrash comment vancouver olympics numérique / sélection rapide et baguette magique des outils ainsi que la brosse et la tache alléger et d'assombrir l'outil. Vad får du om du kopplar likheten av sex hockeyspelare? (Wayne Gretzky, Sidney Crosby, Alex Ovechkin, Teemu Sellane, Henrik Zetterberg) Klicka för att ta reda på! Jag använde Photoshop CS3 och Paint Shop Pro 9 för att slå ihop ansikten film superhjältar. Jag berodde i hög grad på den digitala sax / snabbval och trollspö verktyg samt smutsar pensel och ljusare och mörkare verktyg. Mitä saat, jos yhdistää likenesses kuuden pelaajan NHL? (Wayne Gretzky, Sidney Crosby, Alex Ovechkin, Teemu Sellane, Henrik Zetterberg) Klikkaa selville! Käytin Photoshop CS3 ja Paint Shop Pro 9 yhdistää kasvot näiden elokuvan supersankareita. Olen riippui vahvasti digitaaliseen leikkaava / nopea valinta ja taikasauva välineitä sekä sotkea harjalla ja vaalentaa ja tummentaa työkalu. Hva får du hvis du flette likhet seks hockeyspillere? (Wayne Gretzky, Sidney Crosby, Alex Ovechkin, Teemu Sellane, Henrik Zetterberg) Klikk for å finne ut! Jeg brukt Photoshop CS3 og Paint Shop Pro 9 til å flette ansiktene til disse filmen superhelter. Jeg var avhengig tungt på digitale tannsett / rask utvalg og tryllestav verktøy samt smudge pensel og lysere og mørkere verktøyet. Что вы получите, если объединить подобия шесть хоккеистов? (Уэйн Грецки, Сидни Кросби, Алекс Овечкин, Теему Sellane, Хенрик Зеттерберг) Нажмите, чтобы узнать! Я использовал Photoshop CS3 и Paint Shop Pro 9 объединить лица этих фильмах супергерои. Я сильно зависят от цифровых Scissor / быстрого отбора и волшебная палочка, инструменты, а также размазать кистью и облегчить и темнеет инструментом. Co získáte, pokud vracíte podobizny šest hokejistů? (Wayne Gretzky, Sidney Crosby, Alex Ovechkin, Teemu Sellane, Henrik Zetterberg) Kliknutím zjistit! Jsem používal Photoshop CS3 a Paint Shop Pro 9 sloučit tváře těchto film superhrdiny. I závisela těžce na digitální nůžek / rychlý výběr a kouzelná hůlka nástrojů, stejně jako šmouha kartáčem a zesvětlit a ztmavení nástroj. Was bekommen Sie, wenn Sie die Bildnisse von sechs Hockeyspieler fusionieren? (Wayne Gretzky, Sidney Crosby, Alex Ovechkin, Teemu Sellane, Henrik Zetterberg) Click to find out! Ich habe Photoshop CS3 und Paint Shop Pro 9 zu verschmelzen die Gesichter dieser Film Superhelden. Ich hänge sehr stark von der digitalen Schere / Schnellauswahl und Zauberstab-Tools sowie die Bürste und der Fleck heller und dunkler Werkzeug.

Have you ever wondered what the Minions from the Animated Film "Despicable Me" would look like as Pokémon. I think they would probably look like this.
The majority of the Pokémon in this drawing were randomly selected, the other half were requests by friends and followers on my Instagram and Facebook accounts.
What is your favorite Pokémon? Also, who else is playing Pokémon Go? I just started playing and I can't put it down.
Anyways, thanks for watching and have An Awesome day!
-------------------------------------------------
Check out my other Minion Videos from this series. I will be drawing a lot more like this, so stay tuned.
https://www.youtube.com/playli....st?list=PL6ryeD0q11u
--------------------------------------------------
List of Pokémon in order of appearance.
1.) Pikachu
2.) Bulbasaur
3.) Squirtle
4.) Charmander
5.) Mewtwo
6.) Meowth
7.) Psyduck
8.) Jigglypuff
9.) Diglett
10.) Cubone
11.) Gengar
12.) Hitmonlee
13.) Growlithe
14.) Manchop
15.) Eevee
16.) Pidgey
17.) Rattata
18.) Hitmonchan
19.) Mr. Mime
20.) Abra
21.) Oddish
22.) Ponyta
23.) Chimchar
24.) Koffing
25.) Togepi
26.) Snorlax
27.) Lucario
28.) Ivysaur
29.) Geodude
30.) Charizard
Drawing by: Serafin Ureno
Other sites where you can find me!
FACEBOOK: http://www.facebook.com/OrangeMonkeyart
DEVIANTART: http://omkdrawings.deviantart.com/
THIS DRAWING ON DA: http://fav.me/dab7tfm
INSTAGRAM: http://instagram.com/orangemonkeyart
(You Can follow me on Instagram; I'm constantly posting progress pictures and sketches on there.)
I am using royalty free music by: Kevin Macleod
http://incompetech.com/music/royalty-free/
Name of tracks used: Rhinoceros & Pixelland
licensed under a Creative Commons license: http://creativecommons.org/licenses/by/3.0/

This video will teach you how to draw the greatest Rubiks Cube teacher in the world. Mr. Dan Brown.....Also known as Pogobat,......Before I say another word, I would like to confess that I once peeled the stickers on my rubiks cube and then rearranged them to look like I solved it. I gained nothing out of that experience. But I did carry it around to impress my friends. Today, you are going to watch a tutorial that ...... if I do my job......... portraiture will be as easy as peeling stickers from a rubiks cube.....But you will gain than I did when I cheated on the rubiks cube. You will learn that you can draw anything if you learn how to break images down in to shapes.......And then put those shapes together like a puzzle. Ill show you what I mean. Grab a pencil and paper. Lets begin.
Step 1: Cut a piece of paper in to a perfect square.
Step 2: Make a long oval that is tilted towards your left. Pay extra close attention to how it is situated within the square. Use the borders of the square to help you make this shape.
Step 3: Add the crescent moon shape. Notice that it overlaps the oval shape. Again, use the borders of the square as a guide to help you situate the crescent moon shape.
Step 4: Make the shape for the neck below the oval shape from step two.
Step 5: Wait! Hold up! Don't go Pogobat! Yes, I gave you a lot of new shapes, but these barely matter for the likeness. Put them in as closely as you can but don't stress it.
Step 6: Divide the oval shape in half.
Step 7: Add the shape for the bottom of the nose. Connect it with the line that crosses the middle of the face.
Step 8: Add the anger lines to the nose. This is an awesome picture to learn the facial expression of rage. I guess this time he didnt solve the rubiks cube.
Step 9: Wait! Whats that thing on his nose? Its called rage! The muscles on your face pull the bottom of your nose up and backwards. And this small shape is created. Here is a close up. Add rage now.
Step 10: I just added the eye shapes. Before you draw, notice the X shape that is happening between the eyebrows and the anger lines.
Step 11: Add the angry M shape for the upper lip.
Step 12: Add the angry W shape for the lower lip.
Step 13: Add the shape for the hair.
Step 14: The ears go from the top of the eyes to the bottom of the nose.
Step 15: Add horns that will make the dude from Skyrim jealous.
Step 16: Add the eyebrows.
Step 17: Add the upper eyelid.
Step 18: Complete the upper eyelid by making it a banana shape.
Step 19: The eyes are half circles. Make them narrow half circles.
Step 20: Add the shapes under the eye.
Step 21: Now its time for teeth. Make 6 teeth visible in the upper row and center 2. The gum line is about 3/4 the height of the middle teeth.
Step 22: Add the lower row of teeth. Notice that there is no gum line.
