


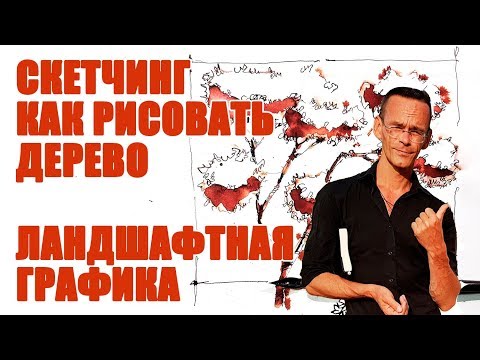
MASTER: Drawing the Male Nose (How to Draw the Nose Step by Step- Nostrils, Bridge, Orbit)
Link- http://merrillk.com/index.php?part=fineart&articles_id=5850&collection=114
Thank you for picking my nose video....UMMM....Yeah lets start over....Today I am going to teach you how to draw the male nose. Drawing is much easier when we break things down in to shapes. So lets do that with the nose. Notice that there are two trapezoids and an oval. These are our primary shapes with the nose. So grab a piece of paper and draw them now. Don't forget to put in the nostrils.
Now, I will show you how to shade the nose. Don't worry, its going to be easy this time! You have two options to learn shading. Option one- click the link in the video description to go to a webpage that I made for this video..... this page has eight super easy steps and still images from this video. Option two is to keep watching this video. I think that you should do both!
STEP 1- In step one of drawing the male nose, focus your attention on the shapes. There are three main shapes. 1.) An oval at the bottom, 2.) A tall trapezoid for the bridge of the nose. 3.) An upside down trapezoid at the top of the nose. 4.) Don't forget to add the shapes for the nostrils.
STEP 2- For step two, simply erase the lines on the inside of the nose. It doesn't look good yet......So let's do a "nose job" with the shading, to make it look more realistic!
STEP 3- For this step, darken the nostrils. Te nostrils will be the darkest tone on any persons nose.
STEP 4- *****Notice that I ERASED the lines on the sides of the bridge of the nose!******* This is where most people go wrong in drawing the nose! The only part of the nose that can be expressed as a line is the bottom (Below and to the sides of the nostrils...especially the sides).
STEP 5- While I am not drawing eyes for this part, at the top of the bridge of the nose is the inner part of the orbit (of the eye). The orbits are also known as the eye sockets. They are the indentations where each eye sits. There is an orbit on either side of the nose. The tool that I am using in this picture is called a tortillion (also known as a blending stump or stub). It is condensed paper, shaped to the form of a pencil. It is used for blending. It is better to smudge or blend with this, rather than your hand, because your hand has oil that will be absorbed by the paper. Once the oil is absorbed in to the paper, the blending will be uneven, and over time, the paper will decay.
STEP 6- Notice the long trapezoid that I shaded in the middle of the nose. It is shaded very lightly. I put it is to differentiate the drawing from the white background. Please note that this will NOT always appear. All shadows are DIRECTLY RELATED to lighting. For this drawing, I assumed that the light was bright and directly above the nose.
STEP 7- I am putting on the finishing touches. I used my eraser to make two light highlights on the sides of each nostril. Often light bounces off surfaces and causes a "glare" effect rather than a "spotlight" effect. I also darkened the shadow below the nose.
STEP 8- In the final step I darkened the nostrils.
