Лучшие
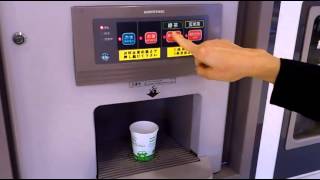
In a highway rest area of Japan, and can drink the tea for free

No shoplifting in Japan?
Is this honesty test?
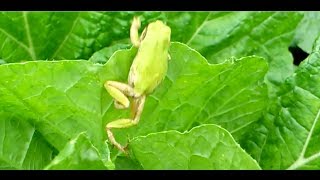
The escape of the frog which was in the field.

「真田DX(デラックス)」というストラップを長野県で見つけました。
これって、マツコ・デラックスさんと真田幸村とのコラボ商品なのかな?
顔がマツコさんに似てましたけど・・・。
けっこうかわいい♪

Can the skydiving parachute of a Japanese capsule toy actually fly?
ガチャガチャのスカイダイビングパラシュートが本当に飛ぶのか実験してみた。

Inktober jour 19: "Nuage"
Temps : 15 min
Matériel :
- Critérium (croquis)
- Micro pigment noir
- Promarker (Noir)
Musique :
https://www.youtube.com/watch?v=d5byUvdOUOU
La Team Draw : @_teamdraw
https://www.instagram.com/_teamdraw/?hl=fr
Mon Instagram : @marine_le_dolphin
https://www.instagram.com/marine_le_dolphin/
Mon FaceBook : Pixy Art
https://www.facebook.com/pixyartyoutube/
A demain !

List : Elsa and Olaf (Frozen), Judy Hopps (Zootopia)
Dory (Finding Dory), Stitch (Lilo and Stitch),
Princess Jasmine (Aladdin)
-------------------------------------------------
Music : EricArchive
heroboard – Musique Sans Copyright
Frozen Remix
--------------------------------------------------
Mon Instagram : @marine_le_dolphin
https://www.instagram.com/marine_le_dolphin/
Thanks for watch :D

A helpful trick with observational drawing is to see what you are drawing, as shapes. The basic shape of the human eye is similar to an almond shape. But this is only one of the several shapes that encompass the eye. Think of these shapes as puzzle pieces as you draw a persons eye in the near future. Remember that these shapes will slightly change based upon a persons facial expression. Today, I will show you step by step how to draw the human eye. Pause the video at any time if you need to. Here we go.
Step 1: Make a rainbow shape with a circle under it. The top of the circle should be partially blocked by the rainbow.
Step 2: Make the bottom lid. Notice that the lower part of the almond shape narrows as it approaches the tear duct on the inner corner of the eye.
Step 3: Make the pupil and leave an empty space in the middle for a reflection. The line above, is the eye lid folded back.
Step 4: Add the shape of the eyebrow.
Step 5: Add a light line below the eye to hint at the eye socket.
Step 6: Shade in the eyebrows. Try to notice that they are not one solid shape.
Step 7: Add the eyelashes. Try to notice that they are much thicker on the top eye lid.
Step 8: Add the final shading. The darkest areas should be directly under the eyebrow and under the eye.
I hope that this video helped you. If you still need help go to merrillk.com and download a print version of this lesson. This print version will give you step by step instruction through pictures and words. Once you are on Merrillk.com, click the gallery tag at the top of the page. Next, go to select an artwork at the top on the right, under the merrillk.com banner. Scroll down until you see Eye Worksheet 1, 2 or 3.
Un truco útil con el dibujo de observación es para ver lo que está dibujando, como las formas. La forma básica del ojo humano es similar a una forma de almendra. Pero esto es sólo una de las varias formas que abarcan los ojos. Estas formas de pensar como piezas como las personas que dibujar un ojo en el futuro próximo. Recuerde que estas formas se modifican levemente las personas sobre la base de una expresión facial. Hoy en día, yo te mostraré paso a paso cómo sacar el ojo humano. Pausa en el vídeo en cualquier momento si es necesario. Aquí vamos. Paso 1: Hacer un arco iris forma con un círculo en virtud del mismo. La parte superior del círculo debe ser parcialmente bloqueado por el arco iris. Paso 2: Hacer la tapa inferior. Observe que la parte inferior de la forma de almendra se reduce a medida que se acerca el conducto lagrimal en la esquina interior del ojo. Paso 3: Hacer que el alumno y dejar un espacio vacío en el centro de la reflexión. La línea anterior, se tapa los ojos recogidos. Paso 4: Añadir la forma de la ceja. Paso 5: Añadir una línea por debajo de la luz a los ojos en la pista de las órbitas. Paso 6: La sombra de las cejas. Trate de notar que no son una forma sólida. Paso 7: Añadir las pestañas. Trate de observar que son mucho más gruesa en el párpado superior. Paso 8: Añadir la última sombra. Las zonas más oscuras debe estar directamente bajo la ceja y en el marco del ojo. Espero que este video le ayudó. Si aún necesita ayuda para ir a merrillk.com y descargar una versión impresa de esta lección. Esta versión para imprimir le dará instrucciones paso a paso a través de imágenes y palabras. Una vez que esté en Merrillk.com, haga clic en la etiqueta de la galería en la parte superior de la página. A continuación, vaya a seleccionar una obra de arte en la parte superior de la derecha, bajo la bandera merrillk.com. Desplácese hacia abajo hasta que vea los ojos de trabajo 1, 2 o 3.

I just had to do this. Done with acrylic paint on Bristol.
Original Art by: Shepard Fairey
"Andre the Giant has a Posse"
ART by: Serafin Ureno
Other sites where you can find me!
FACEBOOK: https://www.facebook.com/OrangeMonkey92
DEVIANTART: http://omkdrawings.deviantart.com/
THIS DRAWING ON DA: http://fav.me/d60nfow
INSTAGRAM: http://instagram.com/orangemonkey92
i am using royalty free Music from: DanoSongs.com
website: http://www.danosongs.com
Name of track used: Forgotten is Forgiven
Link to licence terms: http://creativecommons.org/licenses/by/3.0/us/

Hi, YouTube This is my Drawing of KassemG. If you like it please subscribe More videos like this. Also, The Music In This Video Is From Klassic Master. Special Thanks to Klassic Master For Letting Me Use His Music.
Thanks For Waching .
WAIT check out my Other YouTubers Portraits
SXEPHIL PORTRAIT
http://www.youtube.com/watch?v=slSW8mLsL0A
KassemG's Channels
http://www.youtube.com/kassemg
http://www.youtube.com/user/KassemGtwo
http://www.youtube.com/user/TheStation
Run This Town instrumental Remake Music Produced by Mike Kalombo (SUBSCRIBE TO HIM)
http://www.youtube.com/KlassicMaster
http://www.youtube.com/mikekalombomusic
My Channel (Plz SUB)
http://www.youtube.com/user/orangemonkey92

Hello YouTube, I hope you all like this drawing of actress Jennifer Lawrence. She has been in many films such as "The Hunger Games" and "X-Men". Anyways, this drawing is done with ballpoint pen on 11 x 12 Bristol paper.
Drawing by: Serafin Ureno
Other sites where you can find me!
FACEBOOK: http://www.facebook.com/OrangeMonkey92
DEVIANTART: http://omkdrawings.deviantart.com/
THIS DRAWING ON DA: http://fav.me/d8pgc3u
INSTAGRAM: http://instagram.com/orangemonkey92
(You Can follow me on Instagram; i'm constantly posting progress pictures and sketches on there.)
Also royalty free music Music Provided by: Argofox Creative Commons
http://www.youtube.com/MMMontageMusic
Artist: Inaki
Name of track: Rewind
Link to licence terms
http://creativecommons.org/licenses/by/3.0/
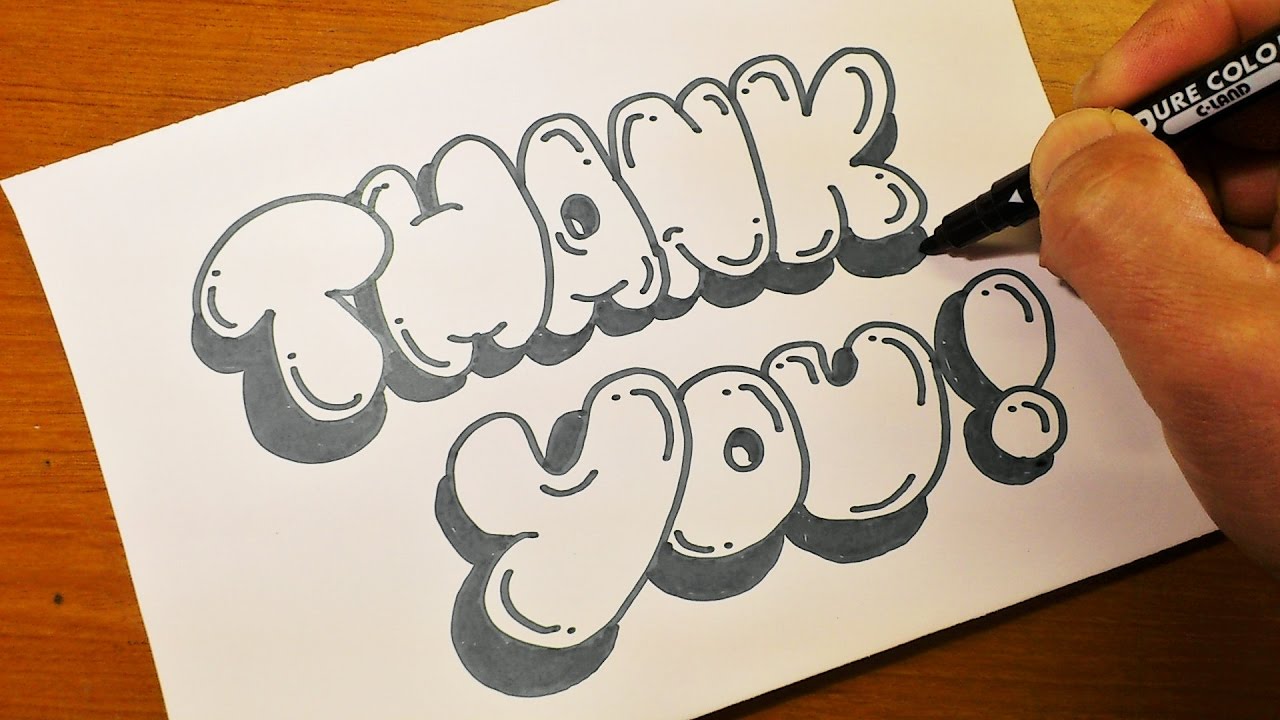
Welcome to 「PIN KORO - YouTube」♪
Thank you for the visit.
Today's video is 「How To Draw Graffiti Bubble letters - Thank You ! 100,000 SUBS」
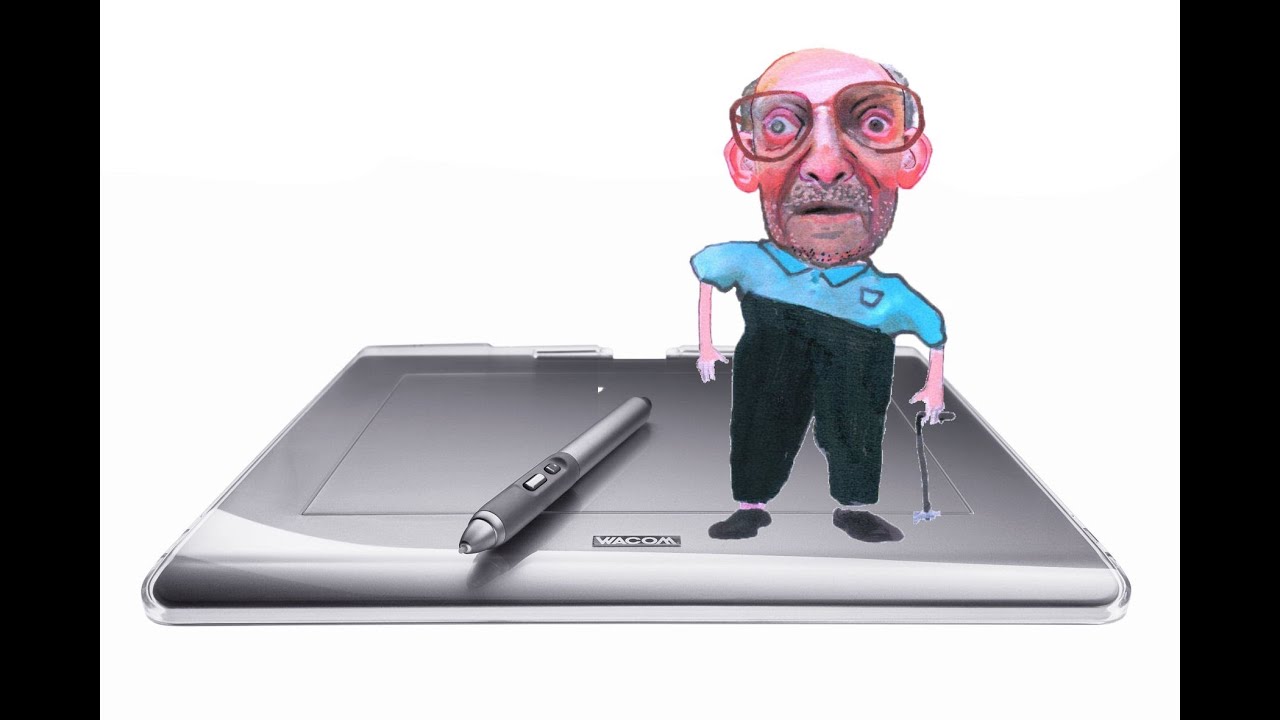
I have dabbled with Paint Shop Pro before, but I have always combined my traditional artwork with my digital art until this video. Sycra was kind enough to help me get started with Photoshop and with

CONTACT US HERE (FB Page)- http://facebook.com/youtubeartnews
YouTube Art News is a collaboration with:
http://youtube.com/thadtaylorart
http://youtube.com/yozcreative
http://youtube.com/matthewkeeney
http://youtube.com/joshwaddey16
http://youtube.com/tylersartshack
http://youtube.com/orangemonkey92
http://youtube.com/kazanjianm
END CREDITS
EXECUTIVE PRODUCER: Kazanjianm
HOST: Pablo Van Warhol
UNDERRATED ARTIST FEATURE BY: YOZcreative
ARTIST INTERVIEWS BY: TylersArtShack
3D & CONCEPTUAL ART BY: matthewkeeney
2D ART FEAUTURE BY: Thadtylorart
VIRAL ART VIDEO REPORT: Joshwaddy16
SUBSCRIBER RANKINGS: orangemonkey92
FEATURED CHANNELS IN EPISODE #2
UNDERRATED ARTIST(S): EdEditz, SayianArtist17, alakey73
ARTIST INTERVIEWED: Darryn James Rae (raeart)
3D/CONCEP. ARTIST: erikbjgn (worlds biggest drawing)
2D ARTIST : Paul Alexander Thornton (PaulAlexThornton)
VIRAL ART VIDEO CHANNEL: denisbudkov Video- мастерпис.flv
MUSIC USED IN EPISODE #2
danosongs.com - heart-quake (SUBSCRIBER RANKINGS)
danosongs.com - inkarnation (END CREDITS)
Kevin MacLeod (Incompetech.com) 3d Segment
Hiphop Reggae Instrumental [beat crate #2] by PiratsKlan1995
Lift Motif by Kevin MacLeod
News Sting by Kevin MacLeod
Opening Video
1.) Intro: All Alone in the Night - Time-lapse footage of the Earth as seen from the ISS
Prior to 2008, I had never ventured outside of the medium of oil paint. Life got HECTIC and I was forced to reconsider my approach. Here (below) is the story.
For the past eight years, I have taught art in schools in Harlem and the South Bronx and my technique was created out of a need that arose in my classroom. Forty five minute periods is not enough time to teach painting. So I switched my painting supplies from traditional supplies, to paint markers to eliminate the set up and clean up. After witnessing the success that my students were having, I decided to push the technique even further, while working in my studio. I learned that mixing color pencils with a "blender" (on top of the opaque layers of the paint markers) marker allows an artist to mimic the effects of glazed oil paint. I incorporated media "cut outs" and printed images in my work. And I found that paint markers were ideal to tie everything together. Finally I learned that scanning my images on to a computer will allow me to edit my "characters" and add crazy effects such as juxtaposing images on top of my creations. The computer also enables me to use the medium that I am most familiar with; oil paint. I usually print my compositions on canvas ( I order an non varnished giclee print) and lay down the finishing touches in oil paint.
Antes de 2008, nunca había aventurado fuera de la media de aceite de la pintura. Tiene vida agitada y me vi obligado a reconsiderar mi enfoque. Aquí (abajo) es la historia. Durante los últimos ocho años, me han enseñado en las escuelas de arte en Harlem y el sur del Bronx y mi técnica fue creada por la necesidad que surgió en mi aula. Períodos de cuarenta y cinco minutos no es tiempo suficiente para enseñar a pintar. Así pasé mi pintura tradicionales suministros de suministros, a la pintura para eliminar los marcadores de la creación y la limpieza. Después de ver el éxito que están teniendo mis estudiantes, decidí impulsar aún más la técnica, mientras trabajaba en mi estudio. Me enteré de que la mezcla de lápices de color con una "licuadora" (en la parte superior de la opacidad de las capas de pintura marcadores) marcador permite a un artista para imitar los efectos de cristal de aceite de la pintura. He incorporado los medios de comunicación "recortes" y las imágenes impresas en mi trabajo. Y he encontrado que los marcadores de la pintura eran ideales para atar todo junto. Finalmente me enteré de que mis imágenes de escaneado en un equipo que me permita editar mis "personajes" y añadir efectos como loco yuxtaponiendo imágenes en la parte superior de mis creaciones. La computadora también me permite utilizar el medio que estoy más familiarizado con; de pintura de aceite. Por lo general mi impresión composiciones sobre lienzo (que no una orden de impresión Giclee barnizada) y establecer los últimos retoques de pintura en aceite.

Welcome to 「PIN KORO - YouTube」♪
Thank you for the visit.
Today's video is 「How to turn words LUI(Lui Shirasagijo / Beyblade Burst)into a Cartoon - How to draw step by step.」
Let's learn "how to turn words into cartoon", "3D drawing", and so on from this YouTube channel.
Drawing is easy and fun.
With this channel, Everyone can learn how to draw with simple way.
I hope you enjoy this video.
Please SUBSCRIBE for new video. Thanks
▷SUBSCRIBE
https://www.youtube.com/user/pinkorojapan
▷CONTACT
Instagram https://www.instagram.com/pinkoro_draw
Facebook https://www.facebook.com/pinkoro66/

Welcome to 「PIN KORO - YouTube」♪
Thank you for the visit.
Today's video is 「How to turn words Mario & Sonic into a Cartoon|Mario & Sonic at the Olympic Games Tokyo 2020|Nintendo Switch 2019 step by step.」
Let's learn "how to turn words into cartoon", "3D drawing", and so on from this YouTube channel.
Drawing is easy and fun.
With this channel, Everyone can learn how to draw with simple way.
I hope you enjoy this video.
Please SUBSCRIBE for new video. Thanks
▷SUBSCRIBE
https://www.youtube.com/user/pinkorojapan
▷CONTACT
Instagram https://www.instagram.com/pinkoro_draw
Facebook https://www.facebook.com/pinkoro66/
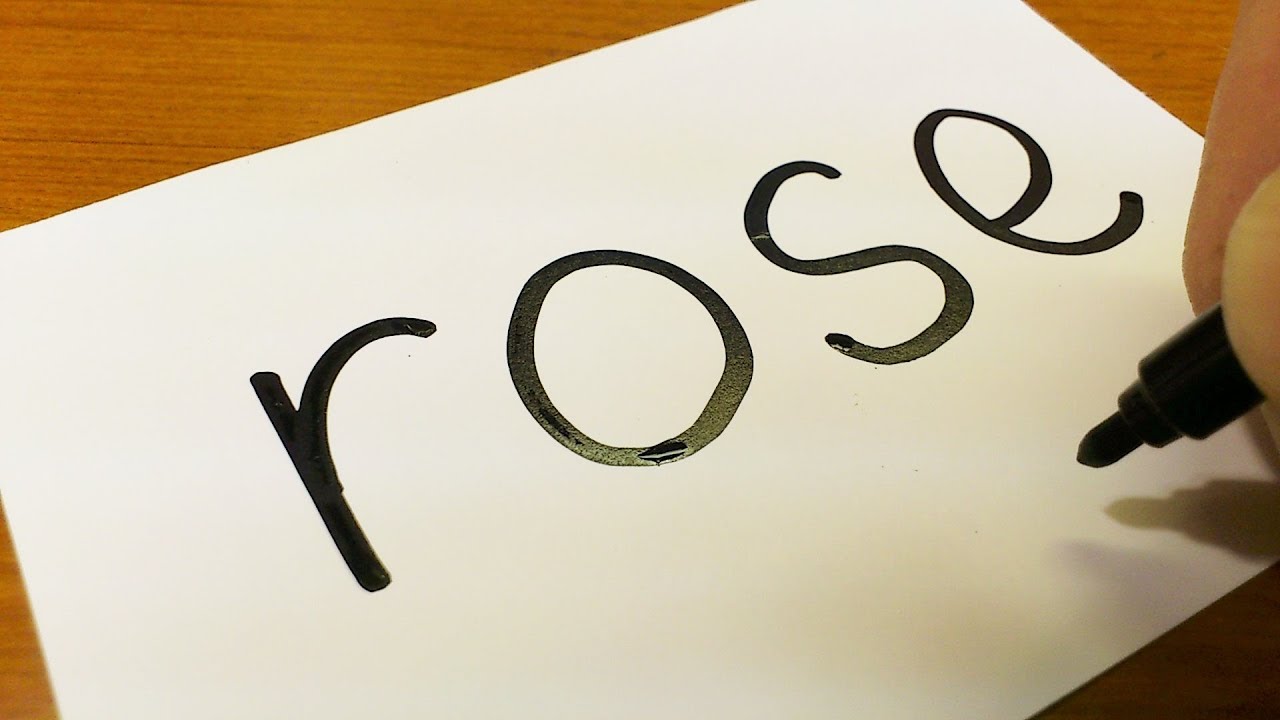
Welcome to 「PIN KORO - YouTube」♪
Thank you for the visit.
Today's video is 「Very Easy ! How to draw turn word ROSE step by step into a Cartoon - Learning Cute transformation doodle trick art on paper for beginners - turning words into pictures」
Let's learn how to drawing Kawaii doodle with me.
In response to many request, I challenged it.

Welcome to 「PIN KORO - YouTube」♪
Thank you for the visit.
Today's video is 「Very Easy ! How to Draw a Disney Mickey Mouse - doodling art on paper」
※I'm sorry, I made a spelling mistake.
✕「ciecles」⇒〇「circles」
I'll study harder in future.

Welcome to 「PIN KORO - YouTube」♪
Thank you for the visit.
Today's video is 「Very Easy ! How to draw turn word FACE(angry face) step by step into a Cartoon - Learning Cute transformation doodle trick art on paper for beginners - turning words into pictures」
Let's learn how to drawing Kawaii doodle with me.
In response to many request, I challenged it.
