סרטונים מובילים

A helpful trick with observational drawing is to see what you are drawing, as shapes. The basic shape of the human eye is similar to an almond shape. But this is only one of the several shapes that encompass the eye. Think of these shapes as puzzle pieces as you draw a persons eye in the near future. Remember that these shapes will slightly change based upon a persons facial expression. Today, I will show you step by step how to draw the human eye. Pause the video at any time if you need to. Here we go.
Step 1: Make a rainbow shape with a circle under it. The top of the circle should be partially blocked by the rainbow.
Step 2: Make the bottom lid. Notice that the lower part of the almond shape narrows as it approaches the tear duct on the inner corner of the eye.
Step 3: Make the pupil and leave an empty space in the middle for a reflection. The line above, is the eye lid folded back.
Step 4: Add the shape of the eyebrow.
Step 5: Add a light line below the eye to hint at the eye socket.
Step 6: Shade in the eyebrows. Try to notice that they are not one solid shape.
Step 7: Add the eyelashes. Try to notice that they are much thicker on the top eye lid.
Step 8: Add the final shading. The darkest areas should be directly under the eyebrow and under the eye.
I hope that this video helped you. If you still need help go to merrillk.com and download a print version of this lesson. This print version will give you step by step instruction through pictures and words. Once you are on Merrillk.com, click the gallery tag at the top of the page. Next, go to select an artwork at the top on the right, under the merrillk.com banner. Scroll down until you see Eye Worksheet 1, 2 or 3.
Un truco útil con el dibujo de observación es para ver lo que está dibujando, como las formas. La forma básica del ojo humano es similar a una forma de almendra. Pero esto es sólo una de las varias formas que abarcan los ojos. Estas formas de pensar como piezas como las personas que dibujar un ojo en el futuro próximo. Recuerde que estas formas se modifican levemente las personas sobre la base de una expresión facial. Hoy en día, yo te mostraré paso a paso cómo sacar el ojo humano. Pausa en el vídeo en cualquier momento si es necesario. Aquí vamos. Paso 1: Hacer un arco iris forma con un círculo en virtud del mismo. La parte superior del círculo debe ser parcialmente bloqueado por el arco iris. Paso 2: Hacer la tapa inferior. Observe que la parte inferior de la forma de almendra se reduce a medida que se acerca el conducto lagrimal en la esquina interior del ojo. Paso 3: Hacer que el alumno y dejar un espacio vacío en el centro de la reflexión. La línea anterior, se tapa los ojos recogidos. Paso 4: Añadir la forma de la ceja. Paso 5: Añadir una línea por debajo de la luz a los ojos en la pista de las órbitas. Paso 6: La sombra de las cejas. Trate de notar que no son una forma sólida. Paso 7: Añadir las pestañas. Trate de observar que son mucho más gruesa en el párpado superior. Paso 8: Añadir la última sombra. Las zonas más oscuras debe estar directamente bajo la ceja y en el marco del ojo. Espero que este video le ayudó. Si aún necesita ayuda para ir a merrillk.com y descargar una versión impresa de esta lección. Esta versión para imprimir le dará instrucciones paso a paso a través de imágenes y palabras. Una vez que esté en Merrillk.com, haga clic en la etiqueta de la galería en la parte superior de la página. A continuación, vaya a seleccionar una obra de arte en la parte superior de la derecha, bajo la bandera merrillk.com. Desplácese hacia abajo hasta que vea los ojos de trabajo 1, 2 o 3.

Урок по фотосъемке со вспышками для начинающих фотографов от Открытой Школы Фотографии. http://www.youtube.com/watch?v=sYa4_Xxqeqg
Если вам понравился урок - поставьте лайк и напишите свой отзыв в комментариях. Также напишите свой вопрос - Мы в течении последующих 2 недель будет смотреть все вопросы и по-возможности ответит на них.
Хотите дальше участвовать в вебинарах Открытой Школы Фотографии - зарегистрируйтесь здесь - [a]www.openschool.tv[/a]
Добавляйтесь в друзья, подпишитесь на канал и получаете новые видео и вебинары по теме фотографии
http://www.youtube.com/channel..../UC7TSwckRDLcCuPK8iU
Ваша Открытая Школа Фотографии
[a]www.openschool.tv[/a]
https://vk.com/openschooltv
http://www.youtube.com/channel..../UC7TSwckRDLcCuPK8iU

Drawing 3D calligraphic art. How to draw 3d text hole.
Drawing 3D lettering with markers. Writing 3d text with Vamos.
3D drawing and writing with marker.
• Material used:
Paper: A/5, white coloured cardboard.
Graphite pencil STABILO HB.
Markers Letraset PROMARKER.
PRISMACOLOR EBONY graphite pencil.
Kneaded eraser, ruler.
Cotton material.
♪ MUSIC:
Tango Bango - E's Jammy Jams
(Youtube Music Audio Library)
http://www.youtube.com/audiolibrary
By Sandor Vamos. I'm Hungarian.
Copyright © New video 2018. Vamos. All rights reserved.
#Drawing3D #HowtoDraw3D #VamosArtDrawing

How to draw letter O. Drawing floating letter O with graphite pencil & black marker. Drawing 3D letter O on paper. Awesome anamorphic illusion. Cool 3D trick art. Very easy!
• Material used: Mixed technique.
Paper: 250x175 mm, white coloured (Fabriano Elle Erre 220 g.)
Graphite pencils (STABILO H, HB)
STABILO Pen 68 black marker.
DERWENT 8B pencils.
Paper cutter scalpel.
Kneaded eraser.
Cotton material.
♪ MUSIC:
01_Movin - MK2
02_Destructoid - MK2
03_Future_Bump - MK2
04_Rollin_Through_Osaka - MK2
05_Far_Away - MK2
06_Rollin_Back - MK2
07_Far_Away_Sting - MK2
(Youtube Music Audio Library)
http://www.youtube.com/audiolibrary
FOLLOV MY on Instagram: https://instagram.com/vamosart
Facebook: https://www.facebook.com/vamosart?ref=hl
deviantArt, VamosArt, for sale: http://vamosart.deviantart.com/gallery/
VamosART Blog: http://vamossart.blogspot.hu/
By Sandor Vamos. I'm Hungarian.
Copyright © New video 2017. Vamos. All rights reserved.
Магазин FREEMAX - https://academy.freemax.red/p/courses
Музыка из этого видео - http://share.epidemicsound.com/FREEMAX
Это мой Instagram! - www.instagram.com/mrfreemax/
Канал Ильи - https://www.youtube.com/channe....l/UCDDLs4X04Qcvs9E5H
Инстаграм Ильи - https://www.instagram.com/illiahlad/
Привет! Меня зовут Максим. Фотограф, дизайнер, режиссер и автор проекта "FREEMAX". И я просто обожаю делать видео для YouTube!!
Если у Вас есть какие-либо вопросы по поводу сотрудничества и интеграции, не стесняйтесь, пишите мне на Email: contact@freemax.red
Сайт FREEMAX - https://academy.freemax.red
Подписывайся - https://www.youtube.com/MrFreeMax
Группа ВК - https://vk.com/mr_freemax_youtube
Facebook (так чист) - https://www.facebook.com/groups/mrfreemax/
Телеграмм-канал - https://t.me/officialfreemax
Пресеты для Lightroom и CameraRaw от FREEMAX - https://academy.freemax.red/p/presets
LUT для Цветокоррекции Видео - https://academy.freemax.red/p/luts
Видеокурс PREMIERE PRO: ЛЕГКИЙ СТАРТ - https://academy.freemax.red/p/premiere-pro-light-start
Видеокурс PHOTOSHOP: ЛЕГКИЙ СТАРТ - https://academy.freemax.red/p/photoshop-light-start
Видеокурс РАБОТА С ЦВЕТОМ - https://academy.freemax.red/p/work-with-color
Видеокурс ФОТОГРАФИЯ: 4 в 1 - https://academy.freemax.red/p/all-in-one
Приходите в студию VEGAS - https://goo.gl/3BHgRk
В этом ролике Арсений и Фотоныч расскажут о черно-белой фотографии. Какие есть способы получить ч/б изображения, какие у этих способов плюсы и минусы.
Вступайте в нашу группу в вк - http://goo.gl/Io6lIH
Магазин FREEMAX - https://academy.freemax.red/p/courses
Музыка из этого видео - http://share.epidemicsound.com/FREEMAX
Это мой Instagram! - www.instagram.com/mrfreemax/
Привет! Меня зовут Максим. Фотограф, дизайнер, режиссер и автор проекта "FREEMAX". И я просто обожаю делать видео для YouTube!!
Если у Вас есть какие-либо вопросы по поводу сотрудничества и интеграции, не стесняйтесь, пишите мне на Email: contact@freemax.red
Сайт FREEMAX - https://academy.freemax.red
Подписывайся - https://www.youtube.com/MrFreeMax
Группа ВК - https://vk.com/mr_freemax_youtube
Facebook (так чист) - https://www.facebook.com/groups/mrfreemax/
Телеграмм-канал - https://t.me/officialfreemax
Пресеты для Lightroom и CameraRaw от FREEMAX - https://academy.freemax.red/p/presets
LUT для Цветокоррекции Видео - https://academy.freemax.red/p/luts
Видеокурс PREMIERE PRO: ЛЕГКИЙ СТАРТ - https://academy.freemax.red/p/premiere-pro-light-start
Видеокурс PHOTOSHOP: ЛЕГКИЙ СТАРТ - https://academy.freemax.red/p/photoshop-light-start
Видеокурс РАБОТА С ЦВЕТОМ - https://academy.freemax.red/p/work-with-color
Видеокурс ФОТОГРАФИЯ: 4 в 1 - https://academy.freemax.red/p/all-in-one
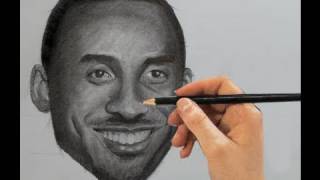
Link- http://merrillk.com/index.php?part=fineart&articles_id=5980&collection=114 Today, YOU are going to draw Kobe Bryant. It doesn't matter if you have prior art training or not. This video will break the process down in to simple steps so that anyone can do it. Grab a pencil and paper and let me show you what I mean. Remember to pause the video when you need to. Here we go.
Step 1: Draw an oval shape for Kobe's head. Notice that the bottom of the oval looks like an upside down trapezoid while the top of the oval shape is rounded.
Step 2: Make four horizontal lines. The top line MUST intersect the midway point of the oval shape. The lowest line should be placed at the bottom of the chin. After drawing the top and bottom lines, add two EVENLY SPACED lines between the top and bottom line. At the end of step two, you should have THREE evenly spaced segments between the top and bottom lines (refer to the picture).
Step 3: Observe the six dots that I added. The top four map out the corners of Kobe's eyes, while the bottom two map out the corners of his mouth. Lets look at their relationship. Notice that these dots are leaning towards the right side of the oval. This is due to the fact that Kobe's head is slightly turned. Also, take a second to notice the distance in between the two eyes is equal to one eye length. Finally, notice that the middle part of the space designated for each eye, will line up with the outer corners of the mouth. Now, draw in the six dots.
Step 4: Draw in the eyes....The upper eyelid as a rainbow shape and the bottom lid is close to a straight line. Notice that the iris is partially blocked by the upper eyelid.
Step 5: Encapsulate the eye in the oval shape that I just added.
Step 6: In this step, make the bottom of the nose by drawing three connected, upside down arches. Do not worry about the bridge of the nose yet. After you make the bottom of the nose, draw the shape for the upper lip...... The upper lip looks like a squished McDonalds logo (picture the golden arches squished).
Step 7: Add the bottom lip. It is similar to a banana shape. Notice that the bottom lip is thicker than the top lip. Now that we have the eyes and part of the mouth done, take a second to notice the perfect square that is formed when you connect the points from the middle of the eye and the corners of the mouth. Make adjustments if you do not have this perfect square.
Step 8: Draw in the two shapes between the eyes and nose. Like the bottom lip, these shapes are very similar to banana shapes. They will help us shade the nose later.
Step 9: Now add in the ears. Due to the fact that Kobe's head is turned; it appears that his left ear is smaller than his right. This, of course is not the case, but draw what you see.
Step 10: Draw in the lines, stemming from the chin, as well as Kobe's dimple lines.
Step 11: Draw in Kobe's hairline. Again, due to the turn of his head, you will see more hair on the right side.
Step 12: Erase the construction lines
Now, I will show you how to shade your drawing. Don't worry, this too, will be easy! You have three options to learn shading. Option one- click the link in the video description to go to a webpage that I made for this video..... on my website, merrillk.com. You will see a series of 17 steps with picture references and words. You will also see a free downloadable resource that you can print. Option two is to watch a shading demonstration in the second part of this video; and option three is a separate video; where I will demonstrate how I shaded Kobe at a slower pace. Please take advantage of all of these options. I am confident that they will help. Special thanks to Rico Shen for use of his photograph via Creative Commons. http://commons.wikimedia.org/w....iki/File:NikeTaipeiF
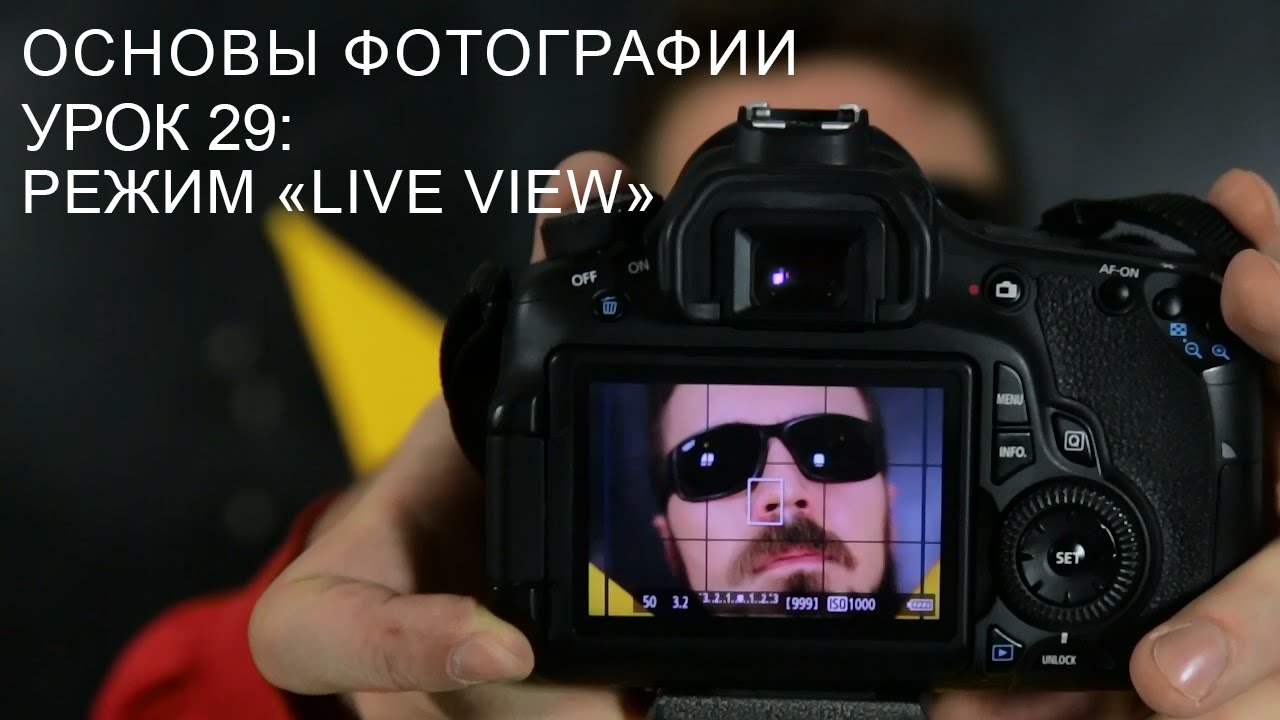
Сегодня мы расскажем вам о том, что же такое режим "live view" и как в нём работать.
Информация по нашему курсу по ссылке: https://planeta.ru/campaigns/dostypnoephoto
Блог о фотографии http://blog.steblovskiy.ru/
Наша группа ВК: https://vk.com/OPhotoAndVideo
Переходите по ссылке: https://planeta.ru/campaigns/dostypnoephoto
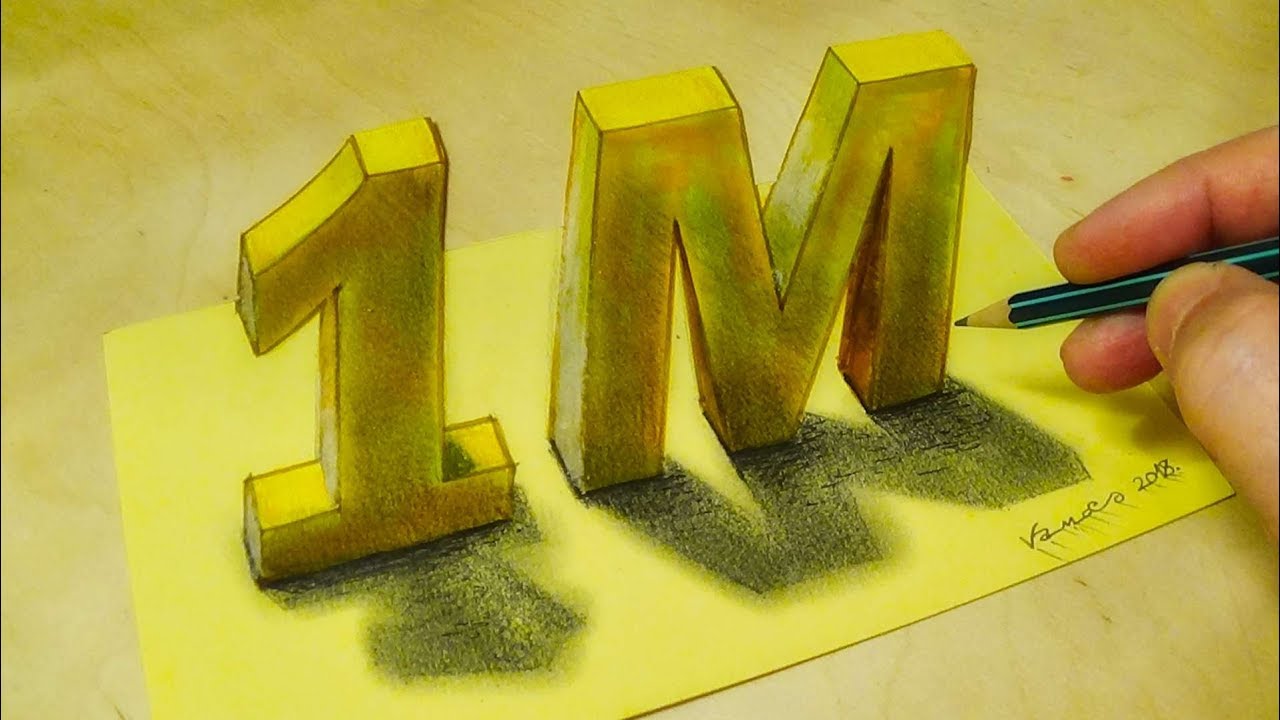
This is Great! Thank You! How to draw 3D 1M. Drawing 3D illusion 1M. Drawing 3D number and letter. Drawing 3D illusion with Vamos.
• Material used:
Mixed technique.
Paper: A/5, coloured cardboard.
Graphite pencil STABILO HB.
DERWENT pastells.
Markers Letraset PROMARKER.
PRISMACOLOR EBONY graphite pencil.
Kneaded eraser, ruler.
Cotton material.
♪ MUSIC:
Miami Vortex- Jukedeck - Vamos
Music from Jukedeck - create your own at http://jukedeck.com
(Artificial Intelligence)
By Sandor Vamos. I'm Hungarian.
Copyright © New video 2018. Vamos. All rights reserved.

Критика ваших фотографий часть 03 | Фотоазбука
фототовары по демократичной цене: http://got.by/35rgiu

Как создать сайт Фотографу за 20 минут | Фотоазбука
Создание сайта с нуля, без знания программирования с викс точка ком.
Создание сайта бесплатно на wix.com Создание сайта портфолио для фотографа

Группировка слоев в Фотошоп Уроки photoshop фотоазбука №17
в сегодняшнем уроке по фотошоп рассмотрим как создавать группы слоев в фотошоп,
#фотошоп #photoshop #Урокифотошоп #обработкафото #фотография
фототовары по демократичной цене: http://got.by/35rgiu
Настройки фотошопа - программы, горячих клавиш, меню, свойства документа. урок №18
в этом уроке вы научитесь как можно быстро настроить программу фотошоп, и что именно нужно настраивать.
#фотошоп #photoshop #Урокифотошоп #обработкафото #фотография
фототовары по демократичной цене: http://got.by/35rgiu

Link- http://merrillk.com/?part=fineart&articles_id=13881&act=artist1&artist=69&collection=464
WE NEED A VISUAL ARTS CATEGORY ON YOUTUBE THREAD-http://www.google.com/support/forum/p/youtube/thread?tid=2a9806f929074cbd&hl=en&fid=2a9806f929074cbd0004b630ad37cc3e
Facebook- http://facebook.com/kazanjianm
Twitter- http://twitter.com/kazanjianm
Website- http://merrillk.com
(Merrill) Supplies I Use- http://www.jdoqocy.com/click-4....247664-805536?url=ht
Hey Everybody its Merrill. Today we are going to do something different. I made this video for my viewers who feel that they have graduated from my step by step videos and need another challenge. As usual we will be using paper and pencil and a blending tool of some sort. In other words a blending stump....and or a paintbrush. If you dont have either of those use a q tip. Now for the first time, I am going to give you some required viewing. A while back I made a very good human proportion tutorial and knowing human proportion will help you while doing this drawing. If you wish, hit the link in the video description to download this image to print so that you have a paper reference image while you draw. The image will also be posted on the screen.
Your first job is to see two shapes. The figure and the background. I want you to lightly scribble in the general shape of the figure. Start to notice the relationship between the head and the hips. The head is almost directly over her left leg and her hip is sticking out to the right. Notice the width of the arms compared to the torso. Notice where the finger tips end. It might be helpful to know that when our arms are fully extended to the side like when we give somebody a hug, the measurement from fingertip to fingertip is very close to our height. Be sure to notice the shape made by the negative space under her left arm.
Once you get the general shape of the figure sketched in, you can start breaking the figure down in to smaller shapes. Notice that I am not just outlining the mass that I am creating, I am editing it. I am carving out the placement of the shapes just like I would for one of my step by step videos. The shirt was an easy place to start because it is central to this drawing. I followed it with the belt and the pants.
Im developing the shading a little earlier than I would with my step by step videos. The shading actually helps me with future placements. A shadow forms a shape and I use these shadow shapes to help me place highlights and other shadows. When you are developing the left arm be sure to notice the shape that is formed in between.
At this point. It is all about edges. Great artists make their original lines invisible. I have not managed that level of skill yet but I am getting better at it because im aware of the importance of edges.

Link- http://merrillk.com/?part=fineart&articles_id=11538&act=artist1&artist=69&collection=461
WE NEED A VISUAL ARTS CATEGORY ON YOUTUBE THREAD-http://www.google.com/support/forum/p/youtube/thread?tid=2a9806f929074cbd&hl=en&fid=2a9806f929074cbd0004b630ad37cc3e
Facebook- http://facebook.com/kazanjianm
Twitter- http://twitter.com/kazanjianm
Website- http://merrillk.com
(Merrill) Supplies I Use- http://www.jdoqocy.com/click-4....247664-805536?url=ht
This video will show you how to draw Amare Stoudemire's body. It is part 2 of 3.
How to draw Amare Stoudemire step by step knicks suns all star. How to draw basketball player amazing art drawing

Критика Ваших фотографий онлайн - Февраль 2016
фототовары по демократичной цене: http://got.by/35rgiu .

Критика начинающим фотографам Апрель 2017
фототовары по демократичной цене: http://got.by/35rgiu
Магазин FREEMAX - https://academy.freemax.red/p/courses
Музыка из этого видео - http://share.epidemicsound.com/FREEMAX
Это мой Instagram! - https://instagram.com/mrfreemax/
Привет! Меня зовут Максим Русаков. Фотограф, дизайнер, режиссер и автор проекта "FREEMAX". И я просто обожаю делать видео для YouTube!!
Если у Вас есть какие-либо вопросы по поводу сотрудничества и интеграции, не стесняйтесь, пишите мне на Email: contact@freemax.red
Сайт FREEMAX - https://academy.freemax.red
Подписывайся - https://www.youtube.com/MrFreeMax
Группа ВК - https://vk.com/mr_freemax_youtube
Facebook (так чист) - https://www.facebook.com/groups/mrfre...
Телеграмм-канал - https://t.me/officialfreemax
Пресеты для Lightroom и CameraRaw от FREEMAX - https://academy.freemax.red/p/presets
LUT для Цветокоррекции Видео - https://academy.freemax.red/p/luts
Видеокурс PREMIERE PRO: ЛЕГКИЙ СТАРТ - https://academy.freemax.red/p/premier...
Видеокурс PHOTOSHOP: ЛЕГКИЙ СТАРТ - https://academy.freemax.red/p/photosh...
Видеокурс РАБОТА С ЦВЕТОМ - https://academy.freemax.red/p/work-wi...
Видеокурс ФОТОГРАФИЯ: 4 в 1 - https://academy.freemax.red/p/all-in-one

Если по каким-то причинам не имеете возможности обучиться видеомонтажу самостоятельно по видеоурокам в интернете, Вы можете всегда воспользоваться курсом онлайн обучения в скайпе. Курс включает в себя - основы видеомонтажа, интерфейс программы Sony Vegas, а также изучение плагинов, спецэффектов, видеопереходов, типографики и прочих приемов видеомонтажа.
Для заявок на онлайн обучение и для дополнительных вопросов обращаться: https://vk.com/elvira.mikhaylova
Научиться может каждый! Проверено временем!
_____________________________________________________
👣 Подписаться на канал: http://goo.gl/FqxtPh
******************************************************
⚑ Рекламодателям: https://goo.gl/dm45Yl
******************************************************
▤ ___ Плейлисты Sony Vegas: ___ ▤
❶ НОВИЧКАМ: https://goo.gl/KURpFZ
❷ ИНТЕРФЕЙС: http://goo.gl/oH8dVX
❸ ТЕКСТ: https://goo.gl/NQ1ieX
❹ ЗВУК: https://goo.gl/Tg9hKN
❺ ЭФФЕКТЫ: https://goo.gl/phb0Qq
❻ ПЕРЕХОДЫ: https://goo.gl/EUbV2U
❼ ПЛАГИНЫ: http://goo.gl/KIAz6H
❽ ГАЛЕРЕЯ: https://goo.gl/f5Gw9X
❽ СКАЧАТЬ шаблон Sony Vegas Pro: https://goo.gl/T6zsID
❽ СКАЧАТЬ ВИДЕОПЕРЕХОД: https://goo.gl/m08XGS
❽ ПОЛЕЗНЫЕ СЕРВИСЫ: https://goo.gl/82kcJx
❽ GREEN SCREEN футажи: https://goo.gl/1dA1lW
******************************************************
♫ Музыка без Авторских Прав:
➤TRAP https://goo.gl/dsNaKN
➤HOUSE https://goo.gl/zxfYBm
➤DUBSTEP https://goo.gl/Fq62QB
➤DRUM&BASS https://goo.gl/pEs7GO
➤ELECTRONIC https://goo.gl/yUyiKu
➤POP https://goo.gl/gqzRad
➤CHILL https://goo.gl/BXuN6L
➤LYRIC https://goo.gl/JGftXa
➤CINEMATIC https://goo.gl/nbYKJO
💓 ОГРОМНЫЙ АРХИВ АУДИО ЭФФЕКТОВ: http://catcut.net/QpW2
(ИНСТРУКЦИЯ: Введите капчу, просмотрите рекламу, и нажмите на кнопку ПРОПУСТИТЬ РЕКЛАМУ)
******************************************************
🎬 Коллекция лучших бесплатных ГЛИТЧ эффектов: http://catcut.net/TrW2
(ИНСТРУКЦИЯ: Введите капчу, просмотрите рекламу, и нажмите на кнопку ПРОПУСТИТЬ РЕКЛАМУ)
🎬 Огромная коллекция футажей для видео: https://www.youtube.com/user/isergey00
******************************************************
💓 ALI BONUS - Возврат 10% с покупок на ALI EXPRESS: http://alibonus.com/?u=106196
💓 EPN Возврат 7-18% на ALI EXPRESS (без комиссии при выводе заработка!): http://epngo.bz/cashback_index/22p63a
💓 Установить EPN плагин для КЭШБЕКА до 18%!!! на АЛИЭКСПРЕСС: http://epngo.bz/cashback_install_plugin/22p63a
💓 Для ВЕБМАСТЕРОВ EPN Возврат 7-18% на ALI EXPRESS : http://epngo.bz/epn_index/22p63a
****************************************************
💙 DISK SPACE Лучший файлообменник. Заливайте файлы и зарабатывайте на их скачивании: http://disk-space.ru/register/24173
💙 CATCUT Заработок на сокращении ссылок : http://catcut.net/ref.php?id=129162&to=2
***************************************************
✎ Подключайтесь к партнерке AIR: http://join.air.io/office
✎ Подключайтесь к партнерке ScaleLab: http://scalelab.com/apply?referral=61981
***************************************************
☎ Вконтакте: https://vk.com/non_copyright_music
📱 OK: http://ok.ru/group/53973867888743
☎ FB: https://www.facebook.com/groups/178295765923836/
📱 Google+: https://goo.gl/qlutRF
☎ Videoforums.ru: http://videoforums.ru/forumdisplay.php?f=13
📱 Форум Provegas: http://provegas.ru/forum/forumdisplay.php?f=62
**************************************************
🚺 Бьюти канал стилиста Kira Koks : https://goo.gl/2Ewcy6
******************************************************
♻ На канале выложен обучающий курс по видео монтажу. Рассказывается о функциональных возможностях программы Sony Vegas Pro, на примере 13 версии.
*************************************************
💓 Самые популярные видео уроки:
➤ Основы монтажа: https://www.youtube.com/watch?v=0OJibsZZzl4
➤ 3D анимация: https://youtu.be/U2e-TtZBudM
➤ Эквалайзер на видео: https://youtu.be/s2P_K87w7ww
➤ Что такое маска: https://www.youtube.com/watch?v=ejJiAZ8VARA
➤ Что такое Хромакей: https://www.youtube.com/watch?v=tIhsfsr5U3Q
➤ Анимация 3D плашки: https://youtu.be/3KEchoULYSs
➤ Как убрать фоновый шум: https://youtu.be/QF6m4uYyafM
➤ Плашка для видео:https://youtu.be/9Y2dgMa_qMw
➤ Архив картинок: https://www.youtube.com/watch?v=CLLOhAhuOmM
➤ Как создать тень: https://youtu.be/Wcfoaz8WPbw
➤ Как записать свой голос: https://www.youtube.com/watch?v=jGP7DtrKdGI
➤ Эффект взрыва: https://youtu.be/Jp6BXsfm9Gk
➤ Картинка в картинке: https://www.youtube.com/watch?v=BEyeg5FKpuU
➤ Как изменить голос: https://www.youtube.com/watch?v=NY1cd4Nt-Sc
➤ Видео в такт музыки: https://www.youtube.com/watch?v=ubZXzwdx0bw
➤ Как убрать черные полосы: https://www.youtube.com/watch?v=kvRYRm6u56c
➤ Как сохранить видео: https://www.youtube.com/watch?v=tl3wuZ7w4Qs
#SONYVEGAS #всеомонтаже #видеомонтаж #tutorial #footage #футаж #спецэффект #sapphire #видеопереход
🎧 В видеоуроке звучит музыка:
Copyright Owner (Created by): «Awards Media Group Limited Partnership» http://www.dewolfemusic.com/trackdetail.php#!/?id=5789565&code=uwqs1G
