Лучшие

http://www.PolishPod101.com/video
Learn Polish with PolishPod101.com! Here at PolishPod101.com, we've discovered the easiest way for you to learn Polish vocabulary words. Put us to the test with this video tutorial designed to teach you about something that you can't live without.
In this Polish video tutorial, you'll learn the words for all sorts of around town places. The video shows the Polish characters for each around town place, and there's a fun self-test at the end to see just how much you learned.
Find out more, go to: http://www.polishpod101.com/20....11/07/29/learn-with-
http://www.PolishPod101.com/video

http://www.PolishPod101.com/video
Learn Polish with PolishPod101.com! Do you find yourself only understanding bits and pieces of Polish conversations? Do you spend hours trying to figure out what that person said to you in Polish? Then this Polish Listening Comprehension for Absolute Beginners series is for you! In each lesson of this five-part series, you'll see an image, hear a Polish question and dialogue about that image, and have time to answer the question out loud in Polish!
In this lesson, you will improve your listening comprehension skills from a Polish conversation about buying a shirt. Visit us at PolishPod101.com, where you will find Polish lesson notes and many more fantastic lessons and learning resources! Leave us a message while you are there!
Find out more, go to: http://www.polishpod101.com/20....14/06/10/polish-list
http://www.PolishPod101.com/video

Here’s how you learn Polish for FREE at PolishPod101.com!
http://www.PolishPod101.com
Sign up for your Free Lifetime Account and unlock 6 powerful learning tools. They’re yours to keep forever. You get Effective Polish Audio & Video Lessons from real Polish teachers. You can learn on the go with our Free App. You master vocabulary with new words and phrases. Best of all, you get 7-day unlimited Premium access to entire Polish learning system. Click here to sign up for your Free Lifetime Account: http://www.PolishPod101.com

https://bit.ly/2Flz75e ← If you’re studying Polish, chances are you’re looking to become fluent and conversational as fast as possible, right? Well then, look no further! Here is your fast track to fluency ↓ Check how below ↓
Step 1: Go to https://bit.ly/2Flz75e
Step 2: Sign up for a Free Lifetime Account - No money, No credit card required
Step 3: Easily master Polish grammar and vocabulary
With this video series, you'll practice your Polish reading skills to be able to ready Polish FAST. There are millions of reasons to learn Polish, so what are you waiting for? Dive in head first and start studying with us! You can start achieving your Polish language goals today!
■ Facebook: https://www.facebook.com/PolishPod101
■ Twitter: https://twitter.com/PolishPod101
■ Instagram: https://www.instagram.com/PolishPod101
Click here to get started at PolishPod101.com: https://bit.ly/2Flz75e
Also, please LIKE, SHARE and COMMENT on our videos! We really appreciate it. Thanks!
#Reading #LearnPolish #Polish #PolishPod101 #Language
http://www.PolishPod101.com/video
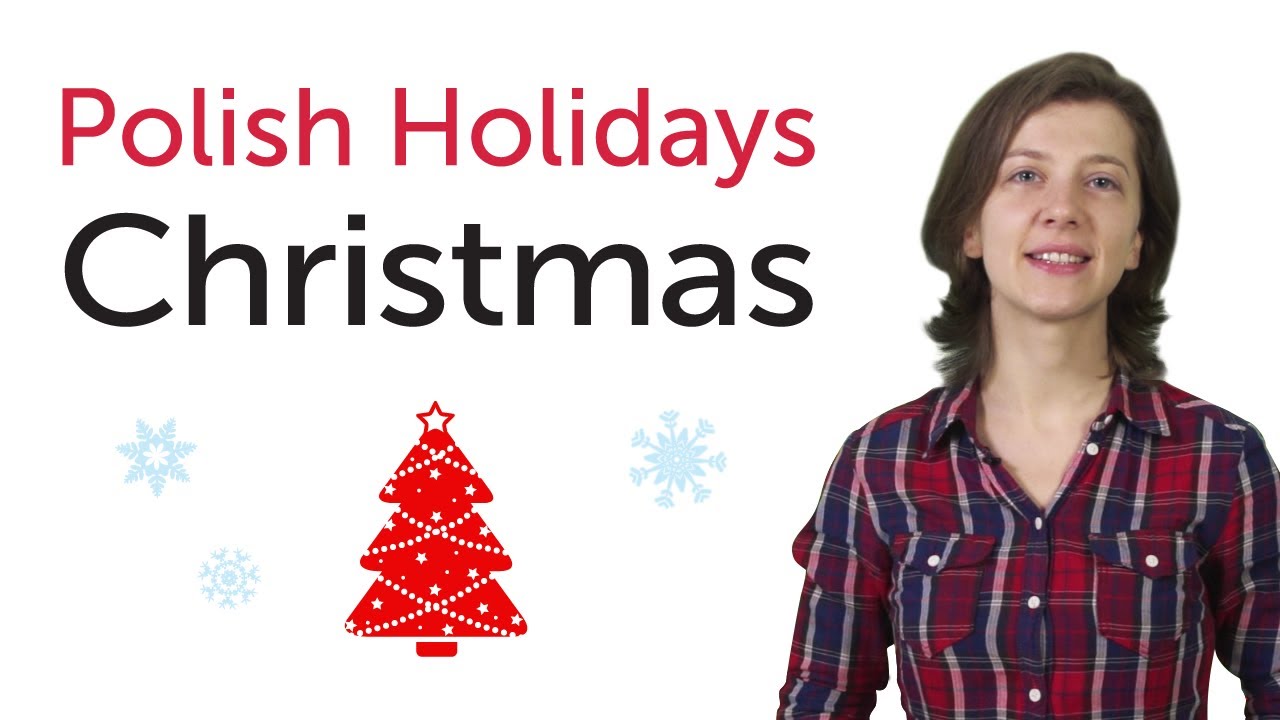
Learn more about Polish culture with PolishPod101.com! Ever wondered what the most important Polish holidays are, and how they are celebrated? Then this 25-lesson video series is for you! With this series, you'll learn the what, why, when and how of 25 well-known holidays in Poland.
In this video, you'll learn all about Christmas in Poland and how it's celebrated, from food to decorations, while building your Polish vocabulary. Join Joanna for a dose of Polish culture! Visit us at PolishPod101.com, where you will find many more fantastic Polish audio and video lessons and learning resources! Leave us a message while you're there!
Find out more, go to: http://www.polishpod101.com/20....13/08/23/video-cultu
http://www.PolishPod101.com/video

Get Free Polish Lessons on your Android, iPhone, iPad or Kindle Fire! Click here to get the App: http://www.polishpod101.com/ill-app/
In this lesson, you will improve your listening comprehension skills from a Polish conversation about buying shirts in a sale. Subscribe for more videos: http://j.mp/PolishPod101
Find out more about this lesson, click here: http://www.polishpod101.com/20....15/08/11/polish-list
Please LIKE, SHARE and COMMENT on our videos! We really appreciate it. Thanks!
Want more Polish learning videos? Click here: https://www.youtube.com/watch?v=LxgYEwMgGjs&list=PLGTesWoqXNTfxFgKz-3rTegdjLcMTuYPT
- Facebook : https://www.facebook.com/PolishPod101
- Google Plus : https://plus.google.com/+PolishPod101
- Twitter : https://twitter.com/PolishPod101
- Pinterest : https://www.pinterest.com/PolishPod101/
Learn Polish with real lessons by real teachers. Get your FREE Lifetime Account at http://www.PolishPod101.com/video

https://bit.ly/2xnhRYL ← Are you’re looking to become fluent and conversational as fast as possible? Here is your fast track to fluency, get you FREE gifts now.
➜ Download your Free gifts of July: https://bit.ly/2xnhRYL
This is your Polish Monthly Review, in this video we will tell you a brutally honest way to improve your Polish! Also you will discover what are the resources you can get for free on PolishPod101.com this month!
If you are an absolute beginner Polish learner, this video is made for you as we give you the best learning tips and strategies. This is THE place to start if you want to start learning Polish.
■ Facebook: https://www.facebook.com/PolishPod101
■ Instagram: https://www.instagram.com/polishpod101
■ Twitter: https://twitter.com/PolishPod101
Click here to get your free gifts: https://bit.ly/2xnhRYL
Also, please LIKE, SHARE and COMMENT on our videos! We really appreciate it. Thanks!
#Polish #LearnPolish #PolishPod101 #Language

Click here to get our FREE App & More Free Lessons at PolishPod101: http://www.PolishPod101.com/video
Learn Polish with PolishPod101.com! Do you find yourself only understanding the key parts of Polish conversations? Would you like to understand what's happening around you in daily life in Poland? Then this Polish Listening Comprehension for Intermediate Learners series is for you! In each lesson of this five-part series, you'll see an image, hear a Polish question and dialogue about that image, and have time to answer the question out loud in Polish!
In this lesson, you will improve your listening comprehension skills from a Polish conversation about a document. Visit us at PolishPod101.com, where you will find Polish lesson notes and many more fantastic lessons and learning resources! Leave us a message while you are there!
Find out more, go to: http://www.polishpod101.com/20....14/10/14/polish-list
http://www.PolishPod101.com/video

If you can learn these 1000 Phrases you will master Polish language! … Or you can get started with the Core 2000 Word List https://goo.gl/9YNYis ! With this, you’ll understand 95% of the language and, of course, this one is NOT a joke. ↓ Check how below ↓
Step 1: Go to https://goo.gl/9YNYis
Step 2: Sign up for a Free Lifetime Account - No money, No credit card required
Step 3: Learn the the 2000 most used Polish words and understand all conversations in Polish!
In this video we teach you 1000 Phrases you need if you want to learn Polish... Are you ready for this express track to Polish fluency? And to all Polish learners, the PolishPod101 team wishes you a great April Fools Day!
Access the Core 2000 Word List: https://goo.gl/9YNYis
Follow and write to us using hashtag #PolishPod101
- Facebook : https://www.facebook.com/PolishPod101
- Google Plus : https://plus.google.com/+PolishPod101
- Twitter : https://twitter.com/PolishPod101
- Pinterest : https://www.pinterest.com/PolishPod

https://bit.ly/2xgmUu9 ← If you’re studying Polish, chances are you’re looking to become fluent and conversational as fast as possible, right? Well then, look no further! Here is your fast track to fluency ↓ Check how below ↓
Step 1: Go to https://bit.ly/2xgmUu9
Step 2: Sign up for a Free Lifetime Account - No money, No credit card required
Step 3: Easily master Polish grammar and vocabulary
With this video series, you'll practice your Polish listening comprehension skills to be able to understand daily conversations in Polish. There are millions of reasons to learn Polish, so what are you waiting for? Dive in head first and start studying with us! You can start achieving your Polish language goals today!
■ Facebook: https://www.facebook.com/PolishPod101
■ Twitter: https://twitter.com/PolishPod101
■ Instagram: https://www.instagram.com/PolishPod101
Click here to get started at PolishPod101.com: https://bit.ly/2xgmUu9
Also, please LIKE, SHARE and COMMENT on our videos! We really appreciate it. Thanks!
#ListeningComprehension #LearnPolish #Polish #PolishPod101 #Language

http://www.PolishPod101.com/video
Learning Polish with PolishPod101.com is the most fun and effective way to learn Polish! This Polish Video Vocabulary lesson will teach you some important vocabulary you might use at the table in Poland. In this Polish vocabulary video, you will learn Polish by watching the video, seeing both English and Polish translations describing the video, and all while listening to the Polish translations being read aloud by our native Polish speakers. Visit us at PolishPod101.com where you will find many more great Polish lessons and learning materials! Leave us a message while you are there!
To find out more, go to: http://www.polishpod101.com/20....10/11/05/video-18-wh

http://PolishPod101.com/
Learning Polish with PolishPod101.com is the most fun and effective way to learn Polish! This Polish Video lesson will teach you the Polish vocabulary you need to talk about common animals you might see...at a park! Visit us at PolishPod101.com where you will find many more great Italian lessons and learning materials! Leave us a message while you are there!
To find out more, go to: http://www.polishpod101.com/20....10/06/11/video-1-lea

Get Free Polish Lessons on your Android, iPhone, iPad or Kindle Fire! Click here to get the App: http://www.polishpod101.com/ill-app/
In this lesson, you will improve your listening comprehension skills from a Polish conversation about when and which medicines to take for an illness. Subscribe for more videos: http://j.mp/PolishPod101
Find out more about this lesson, click here: http://www.polishpod101.com/20....15/06/16/polish-list
Please LIKE, SHARE and COMMENT on our videos! We really appreciate it. Thanks!
Want more Polish learning videos? Click here: https://www.youtube.com/watch?v=hKeL9fH9p0w&list=PLGTesWoqXNTc9QQ64X-NvDC3LXgZyihXE
- Facebook : https://www.facebook.com/PolishPod101
- Google Plus : https://plus.google.com/+PolishPod101
- Twitter : https://twitter.com/PolishPod101
- Pinterest : https://www.pinterest.com/PolishPod101/
Learn Polish with real lessons by real teachers. Get your FREE Lifetime Account at http://www.PolishPod101.com/video

This is the best video to improve your Korean speaking skills!
https://bit.ly/2Wnz82g Click here to access personalized lessons, tons of video series, wordlists and more! ↓Check how below↓
Step 1: Go to https://bit.ly/2Wnz82g
Step 2: Sign up for a Free Lifetime Account - No money, No credit card required
Step 3: Achieve Your Learning Goal and master Korean the fast, fun and easy way!
You've decided to start learning Korean, so let's improve your speaking skills! In this video, you'll learn how to properly pronounce Korean, with examples and tips. If you want to start learning Korean, this video is made for you. Our host express herself in simple Korean. This video will challenge your listening comprehension skills and help you progress in your Korean study.
Follow us here:
■ Facebook: https://www.facebook.com/KoreanClass101
■ Instagram: https://www.instagram.com/KoreanClass101
■ Twitter: https://twitter.com/KoreanClass101
Also, please LIKE, SHARE and COMMENT on our videos! We really appreciate it. Thanks!
#Korean #LearnKorean #Korea #KoreanLanguage #KoreanClass101

Finally Get Fluent in Korean with PERSONALIZED Lessons. Get Your Free Lifetime Account: https://bit.ly/2Y66q3v ↓ Check how below ↓
Step 1: Go to https://bit.ly/2Y66q3v
Step 2: Sign up for a Free Lifetime Account - No money, No credit card required
Step 3: Start learning Korean the fast, fun and easy way!
Save 20% on FULL Access to KoreanClass101 with your YOUTUBE coupon for All subscriptions https://bit.ly/2Y66qk1
■ Facebook: https://www.facebook.com/KoreanClass101
■ Twitter: https://twitter.com/KoreanClass101
Click here to find out more about this lesson: https://bit.ly/2YdNr7g
Also, please LIKE, SHARE and COMMENT on our videos! We really appreciate it. Thanks!

This is your ultimate compilation to get better at speaking in Korean!
Click here https://goo.gl/m214jn to access the best Korean online resources to master the language! ↓Check how below↓
Step 1: Go to https://goo.gl/m214jn
Step 2: Sign up for a FREE Lifetime Account - No money, No credit card required
Step 3: Achieve Your Learning Goal and master Korean the fast, fun and easy way!
You've decided to start learning Korean, so let's get you on the path to fluency! In this video, you'll learn some of the most important words and phrases in the Korean language to start a conversation. If you want to start learning Korean, this video is made for you. Our host expresses herself in simple Korean, with English subtitles. This video will challenge your listening comprehension skills and help you progress in your Korean study. This is THE place to start if you want to start learning Korean.
Follow us here:
■ Facebook: https://www.facebook.com/KoreanClass101
■ Instagram: https://www.instagram.com/KoreanClass101
■ Twitter: https://twitter.com/KoreanClass101
Also, please LIKE, SHARE and COMMENT on our videos! We really appreciate it. Thanks!

https://www.KoreanClass101.com/video
Learn Korean with fellow learners, and practice your Korean skills through videos with the video homeworks at KoreanClass101.com. Watch the collage of videos that our listeners made for video homework #7!
https://www.KoreanClass101.com/video

Finally Get Fluent in Korean with PERSONALIZED Lessons. Get Your Free Lifetime Account: https://bit.ly/2Y66q3v ↓ Check how below ↓
Step 1: Go to https://bit.ly/2Y66q3v
Step 2: Sign up for a Free Lifetime Account - No money, No credit card required
Step 3: Start learning Korean the fast, fun and easy way!
Save 20% on FULL Access to KoreanClass101 with your YOUTUBE coupon for All subscriptions https://bit.ly/2Y66qk1
■ Facebook: https://www.facebook.com/KoreanClass101
■ Twitter: https://twitter.com/KoreanClass101
Click here to find out more about this lesson: https://bit.ly/2Y7x6km
Also, please LIKE, SHARE and COMMENT on our videos! We really appreciate it. Thanks!

https://www.KoreanClass101.com
Learn Korean with KoreanClass101.com! Today, you are spending a relaxing day on the beach in Korea. You have everything you need within reach to make sure you can get through the day with as little actual movement as possible! Suddenly, from across the beach, you hear lifeguards screaming in Korean! A tall, good-looking lifeguard runs past you and yells in Korean, "Sharks they are hunting in the shallow water!!" You just sit there though, not sure if his screams are excitement... or warning. You look around the beach and people are running from the water he MUST be warning! But what? What could be so dangerous on this beautiful beach on this beautiful day in Korea?
If you learned a lot with this video, stop by our Korean language learning website and get other language learning content including other great videos like this one, audio podcasts, review materials, blogs, iPhone applications, and more.
Join the friendly community of learners at KoreanClass101.com, and start mastering Korean today!
To find out more, go to: https://www.KoreanClass101.com/2010/01/22/video-s2-3-koreanclass101-will-help-keep-you-afloat-with-korean-marine-life-vocabulary/

https://www.KoreanClass101.com/video
This video is from KoreanClass101.com's Picture Video Vocab Series - you can see the entire lesson & post & lesson notes here!
https://www.KoreanClass101.com..../2008/04/30/picture-
There's not a more convenient way to learn Korean with free online Korean lessons than with KoreanClass101.com! In today's lesson, we're stopping by a Korean convenience store(편의점) to pick up some typical Korean food. We're hungry and ready to get some cheap Korean food on the go! There's may be a lot of similarities with convenience stores with your country, but there are some things very specific to Korean convenience stores. So remember to watch our video and see the food that we're talking about! And after watching, remember to stop by KoreanClass101.com and leave us a post!
https://www.KoreanClass101.com/video