Лучшие

Хочешь еще больше полезных занятий для подготовки и лайфхаков по ЕГЭ? Подписывайся на рассылку «150 шагов»👉🏻 https://ndlr.cc/huGgl58dI
Хочешь пройти пробный урок и познакомиться с Вебиум поближе? Пиши ДЕМО в сообщения — https://ndlr.cc/huGgl57Jm
Ещё больше полезных статей, шпаргалок, таблиц и тестов ищи
в моей группе ВКонтакте: https://ndlr.cc/huGgl57I0 Практика в инстаграме Таси - https://dlkr.ru/hrEem57i
Канал Таисии https://www.youtube.com/channe....l/UCxPcac_HxqlTrmTHn
Хочешь пройти пробный урок и познакомиться с Вебиум поближе? Пиши ДЕМО в сообщения — https://ndlr.cc/huGgl57Jm
Ещё больше полезных статей, шпаргалок, таблиц и тестов ищи
в моей группе ВКонтакте: https://ndlr.cc/huGgl57I0
В этой группе ты также найдешь:
👉 Анонсы бесплатных вебинаров
👉 Проект 150 шагов к сотке (150 шпаргалок по БИО!)
👉 Новости о Мастер-группе — закрытая подготовка к ЕГЭ непосредственно со мной 3 раза в неделю!
Хочешь пройти пробный урок и познакомиться с Вебиум поближе? Пиши ДЕМО в сообщения — https://ndlr.cc/huGgl57Jm
О себе:
👨🎓 Уже 8 лет готовлю к сдаче ЕГЭ по биологии онлайн;
🎉 Не люблю занудно и сложно;
😃 Поэтому преподаю понятно и интересно!
📚 Основатель онлайн школы Вебиум;
😎 В 2020 году подготовил 7 стобалльников. 208 учеников сдали на 90+.
А на этом ютуб-канале я:
🍉 Объясняю биологию простым и понятным языком;
😏 Даю лайфхаки "как поступить в Мед" и не только;
✏ Решаю сложные задачи и варианты ЕГЭ вместе с вами;
и просто помогаю полюбить биологию всем сердечком 💚💚💚
Ты с нами? Подписывайся на канал и жду тебя на следующем вебинаре!
Группа ВК: https://ndlr.cc/huGgl57I0
Инстаграм: https://www.instagram.com/daniil_darvin/
Личная страница: https://ndlr.cc/huGgl57Ji
По всем предметам мы готовим тут — https://ndlr.cc/huGgl57Jn
#Дарвин #БиологияДарвин #Вебиум #ЕГЭ #БиологияЕГЭ #Биология

Видеокурс "Компьютер Шаг за Шагом"
https://pc-azbuka.ru/category/beginner/
*****
В этом видеоуроке мы рассмотрим основные возможности, которые нам предоставляет Интернет. Большинство этих возможностей мы опробуем в ходе этого миникурса.
*****
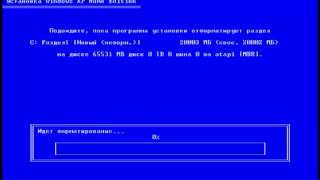
Видеокурс "Компьютер Шаг за Шагом"
https://pc-azbuka.ru/category/beginner/
*****
В третьем уроке мы пошагово пройдем весь процесс установки операционной системы Windows XP. Я расскажу о том, что такое файловая система и покажу, как создаются логические диски.

Мое мнение о беззеркальной камере Sony a7 III
https://market.yandex.ru/product/1971794928?pp=900&clid=2327247&mclid=1003&distr_type=7
По вопросам заказов обращайтесь:
мой facebook: https://www.facebook.com/photofisher83
мой VK: https://vk.com/id2712110
skype: photofisher83
e-mail: rmark@bk.ru

Cool 3D drawing pattern with a Sharpie and Crayola marker pens. Freehand line illusion from "Daily Art Therapy" (my new series) Day 090
As always thank you for watching and make sure you are notified for future updates by ringing that bell next to the subscribe button! :)
----------------------------------------------------------------------------------
My Optical Illusion Book on Amazon:
----------------------------------------------------------------------------------
► My Book on Amazon (USA)
https://www.amazon.com/dp/1633223558
► My Book on Amazon (UK)
https://www.amazon.co.uk/dp/1633223558
You can follow me on facebook, instagram and etsy (links below)
WEBSITE: http://www.jshcreates.com
FACEBOOK: https://www.facebook.com/Jonathan.Stephen.Harris
INSTAGRAM: http://instagram.com/jonathanstephenharris
ETSY: https://www.etsy.com/shop/JSHcreates
#DailyArtTherapy #3Ddrawing #JonathanStephenHarris
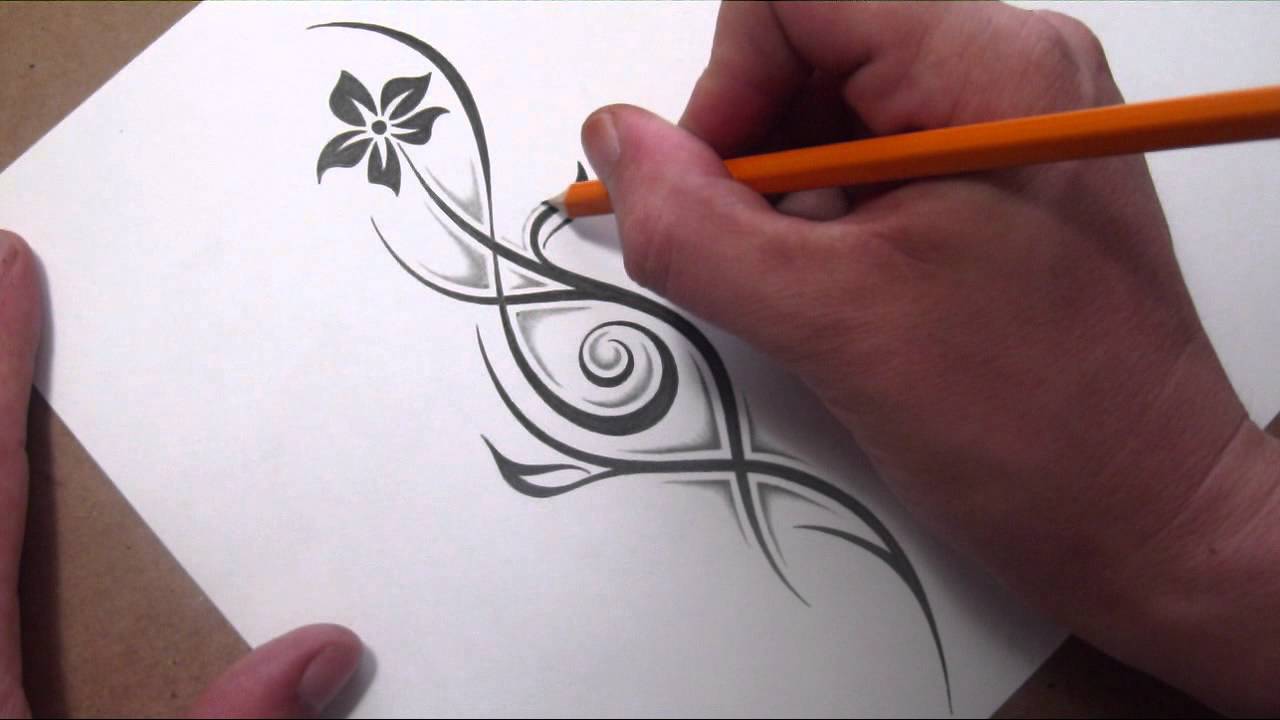
Drawing a tribal flower tattoo design with a little shading. This design will later be added to my tattoo designs gallery http://www.tattoowoo.com
If you like this video please comment below and give it a thumbs up and also make sure your SUBSCRIBED for many more future updates. Thank you for watching!!
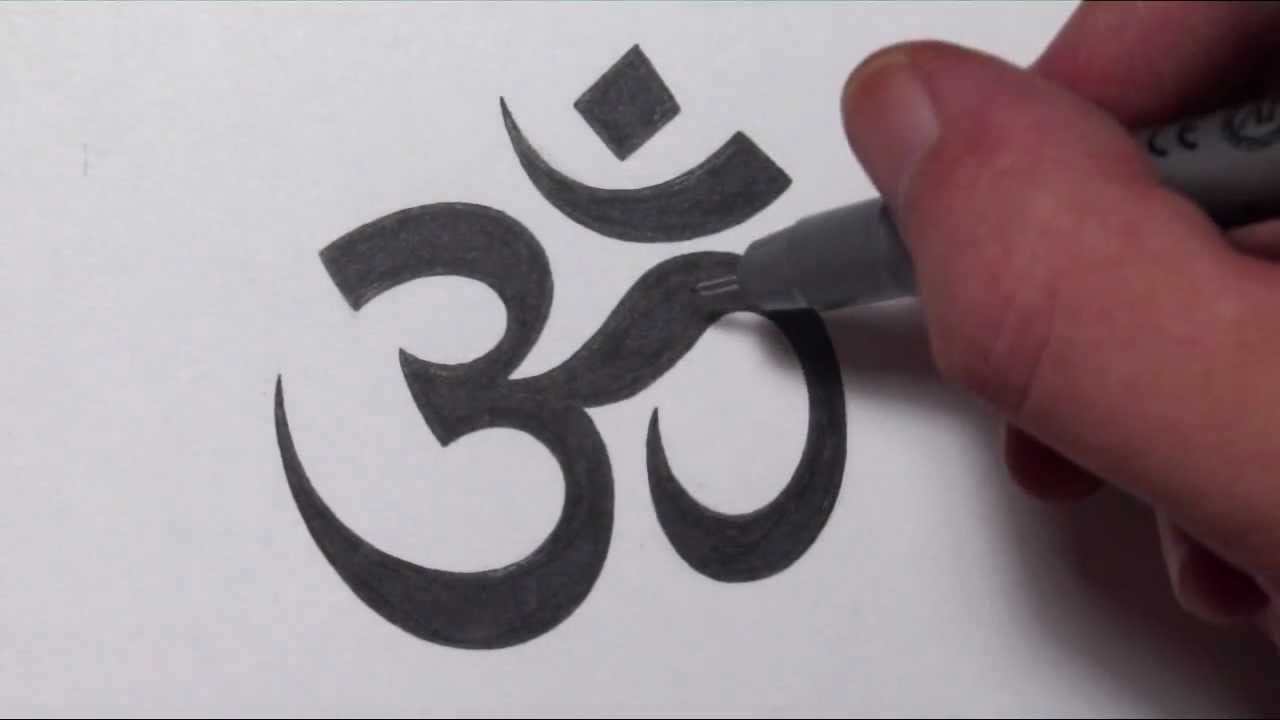
How to draw an Om or Ohm symbol by Jonathan Harris.
The symbol means meditation in Hindu.. It is one of the most popular tattoo symbols, so thought I would make a video quickly showing how I draw an om symbol.
Thank you for watching!
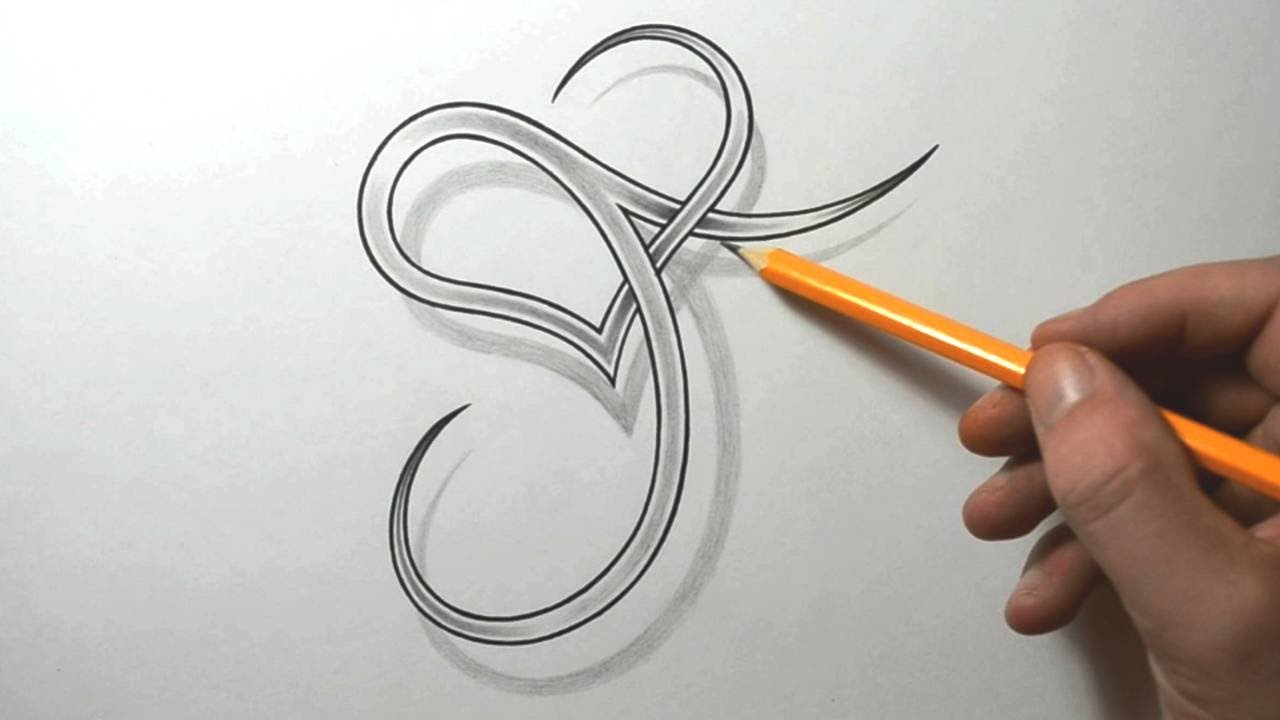
Designing a letter J with a heart combined. Initial tattoo designs.
Thank you for watching and Subscribe!
You can follow me on facebook, instagram and society6 (links below)
FACEBOOK: https://www.facebook.com/Jonathan.Stephen.Harris
FACEBOOK: https://www.facebook.com/JSHStudioGallery
INSTAGRAM: http://instagram.com/jonathanstephenharris
SOCIETY6: http://society6.com/JSHarts
Music details below:
'Motivator' Kevin MacLeod (incompetech.com)
Licensed under Creative Commons: By Attribution 3.0
http://creativecommons.org/licenses/by/3.0/

Spontaneous 3D abstract pattern with a Sharpie. Satisfying line illusion drawing from my series "Daily Art Therapy" (Day 156)
-----------------------------------------------------------------------------------------------------------
GET MY NEW BOOK!!
***** The Art of Spiral Drawing *****
https://www.quartoknows.com/bo....oks/9781633228221/Th
-----------------------------------------------------------------------------------------------------------
As always thank you for watching and make sure you are notified for future updates by ringing that bell next to the subscribe button! :)
You can follow me on facebook, instagram and etsy (links below)
WEBSITE: http://www.jshcreates.com
FACEBOOK: https://www.facebook.com/Jonathan.Stephen.Harris
INSTAGRAM: http://instagram.com/jonathanstephenharris
ETSY: https://www.etsy.com/shop/JSHcreates
#SpiralDrawing #3Ddrawing #JonathanStephenHarris

Quickly sketching a tattoo design idea for the letter N but with a heart combined.
Thank you for watching and Subscribe!
You can follow me on facebook, instagram and society6 (links below)
FACEBOOK: https://www.facebook.com/Jonathan.Stephen.Harris
INSTAGRAM: http://instagram.com/jsharts
SOCIETY6: http://society6.com/JSHarts
MUSIC: "Succotash" by YouTube Audio Library
https://www.youtube.com/audiolibrary/music

I show you how to draw a 3D lego man. Trick art anamorphic optical illusion on line paper. I start by drawing the figure with a HB pencil and then use crayola pens for fill and prismacoloring pencils for shading and highlights.
Thank you for watching and make sure you are notified for future updates by ringing that bell next to the subscribe button! :)
----------------------------------------------------------------------------------
My Optical Illusion Book on Amazon:
----------------------------------------------------------------------------------
► My Book on Amazon (USA)
https://www.amazon.com/dp/1633223558
► My Book on Amazon (UK)
https://www.amazon.co.uk/dp/1633223558
___________________________________________________
MY 3D RUGS
----------------------------------------------------------------------------------
► Cracked Hole http://bit.ly/2LoTNLh
----------------------------------------------------------------------------------
You can follow me on facebook, instagram and etsy (links below)
WEBSITE: http://www.jonathanstephenharris.com
FACEBOOK: https://www.facebook.com/Jonathan.Stephen.Harris
INSTAGRAM: http://instagram.com/jonathanstephenharris
ETSY: https://www.etsy.com/shop/JSHcreates
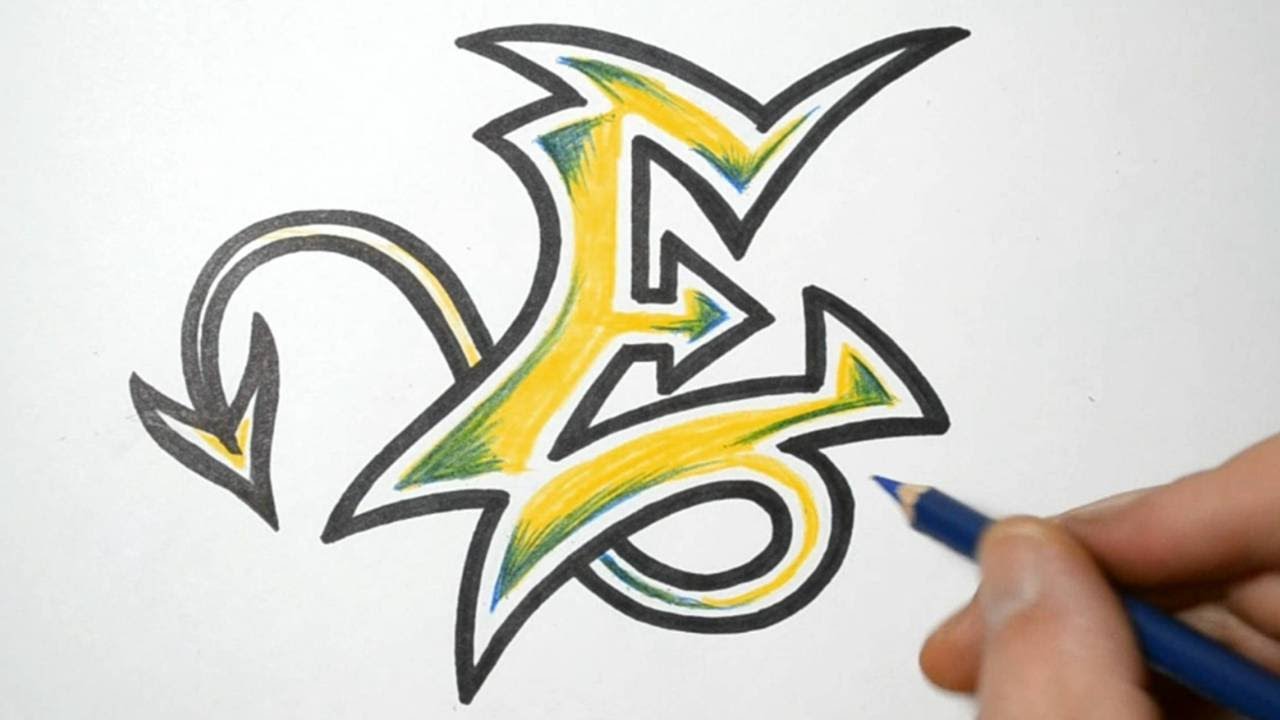
Sketching the letter E in a wild graffiti style. I first map out and design the letter, then once I'm happy with the general layout I then go around it using a sharpie pen. I added a little color to make it pop. This is just one way on how to write the letter E in graffiti writing. Please check out my other videos for more possibilities..
Thank you for watching and sharing!
You can follow me on facebook and instagram, (links below)
FACEBOOK: https://www.facebook.com/Jonathan.Stephen.Harris
INSTAGRAM: http://instagram.com/jsharts
Music details below:
'Breakdown' Kevin MacLeod (incompetech.com)
Licensed under Creative Commons: By Attribution 3.0
http://creativecommons.org/licenses/by/3.0/
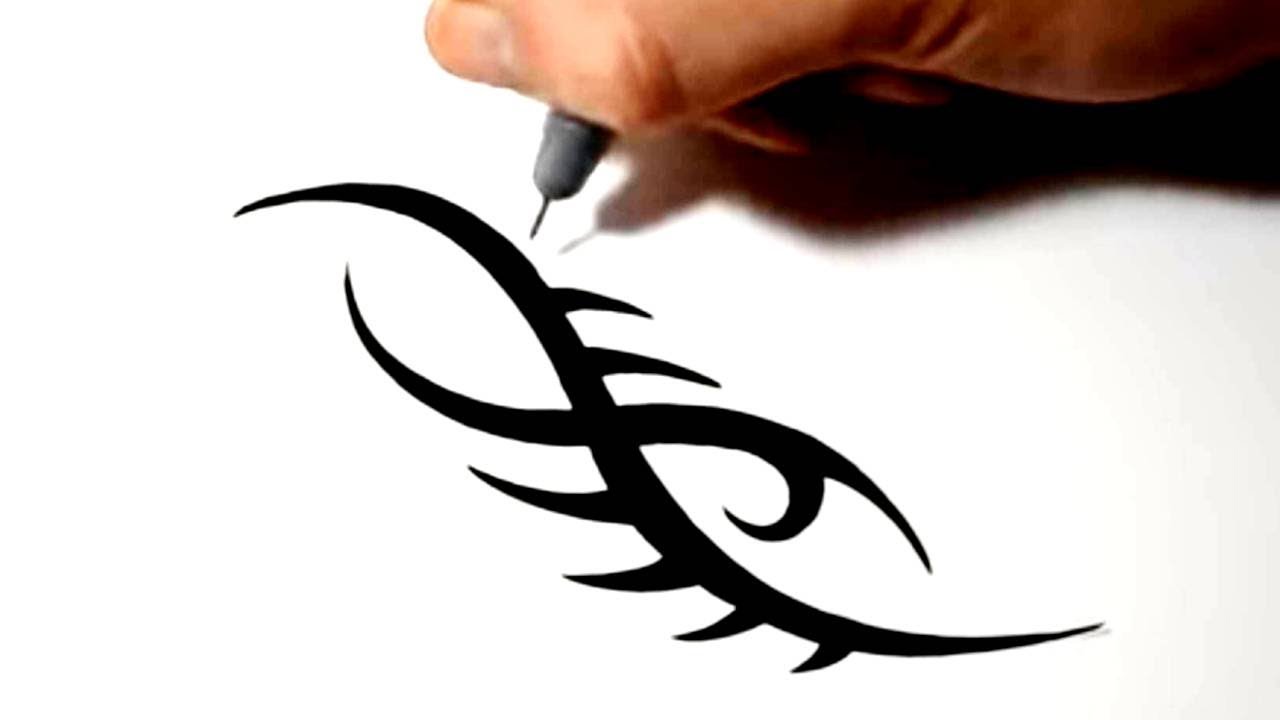
I'm a freelance artist and designer. I design flash for studios and also do custom work. In this video I'm drawing a quick simple tribal tattoo design. I first map out an idea in pencil and then remove the heavier lines with a putty rubber before Drawing around it in black ink. People always ask me where my ideas come from and how I draw my designs so I thought why not shoot some quick videos of me actually designing and drawing my tattoo designs. Just for the record my ideas don't come from anywhere in particular they just pop into my head when I'm holding a pencil.
As always thank you for watching and make sure you are notified for future updates by ringing that bell next to the subscribe button! :)
----------------------------------------------------------------------------------
My Optical Illusion Book on Amazon:
----------------------------------------------------------------------------------
► My Book on Amazon (USA)
https://www.amazon.com/dp/1633223558
► My Book on Amazon (UK)
https://www.amazon.co.uk/dp/1633223558
You can follow me on facebook, instagram and etsy (links below)
WEBSITE: http://www.jonathanstephenharris.com
FACEBOOK: https://www.facebook.com/Jonathan.Stephen.Harris
INSTAGRAM: http://instagram.com/jonathanstephenharris
ETSY: https://www.etsy.com/shop/JSHcreates
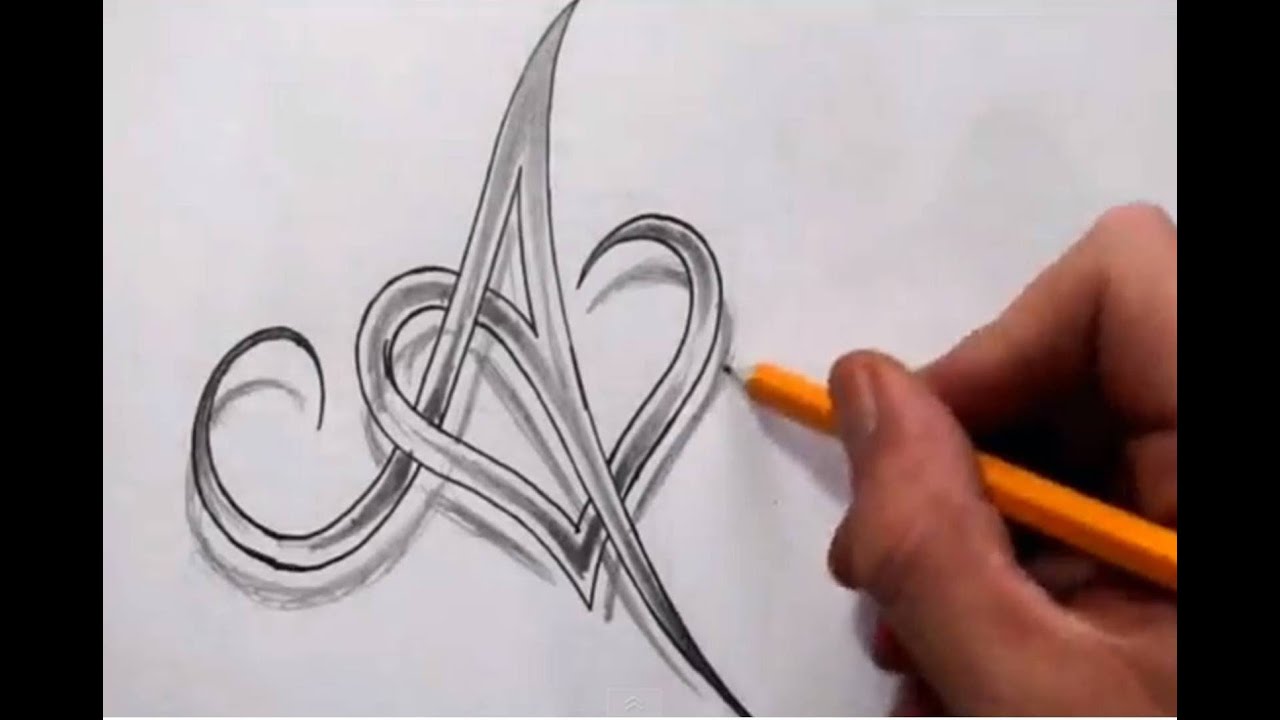
Quickly sketching a design idea for the letter A but with a heart combined. Towards the end of the video I add a little shading to the Celtic weave like pattern and also add a little shadowing for depth.
As always thank you for watching and make sure you are notified for future updates by ringing that bell next to the subscribe button! :)
----------------------------------------------------------------------------------
My Optical Illusion Book on Amazon:
----------------------------------------------------------------------------------
► My Book on Amazon (USA)
https://www.amazon.com/dp/1633223558
► My Book on Amazon (UK)
https://www.amazon.co.uk/dp/1633223558
You can follow me on facebook, instagram and etsy (links below)
WEBSITE: http://www.jonathanstephenharris.com
FACEBOOK: https://www.facebook.com/Jonathan.Stephen.Harris
INSTAGRAM: http://instagram.com/jonathanstephenharris
ETSY: https://www.etsy.com/shop/JSHcreates

How to create abstract painting backgrounds with acrylic paint. Part 2
This is part 2 showing a technique I use when creating colorful textured backgrounds on canvas. Sometimes I will stop right here wait for them to dry and paint my subjects straight on top but I will be creating several more videos showing how I build up the layers and textures.
Part 1: https://youtu.be/TgecRYYgwlE
Part 2: https://youtu.be/pxeihYahVp0
Part 3: https://youtu.be/0xgkVLo32Ag
Part 4: https://youtu.be/9rJX0JOuebs
Part 5: https://youtu.be/NqJK7syI2ek
Part 6: https://youtu.be/iyoyo_GbiEQ
Part 7: https://youtu.be/MvIHmHMgnQc
This is in real time!
Materials used: 8 x 12 stretched canvas, acrylic paint, newspaper, metal ruler
Thank you for watching and Subscribe!
You can follow me on facebook, instagram, society6, etsy and saatchiart (links below)
FACEBOOK: https://www.facebook.com/Jonathan.Stephen.Harris
FACEBOOK: https://www.facebook.com/JSHStudioGallery
INSTAGRAM: http://instagram.com/jonathanstephenharris
SOCIETY6: http://society6.com/JSHarts
ETSY: https://www.etsy.com/shop/JSHartgallery
SaatchiArt: http://www.saatchiart.com/jsh
MUSIC:
I Am Running with Temporary Success from a Monstrous Vacuum by Chris Zabriskie is licensed under a Creative Commons Attribution license (https://creativecommons.org/licenses/by/4.0/)
Source: http://chriszabriskie.com/honor/
Artist: http://chriszabriskie.com/

Horror painting on hand. Scary realistic trick art optical illusion revealing my skeletal hand bones with lots of blood and gore. I created this with just standard face paint that I bought at a local halloween store.
Total time: 22 minutes.
Thank you for watching and Subscribe!
You can follow me on facebook, instagram and society6 (links below)
FACEBOOK: https://www.facebook.com/Jonathan.Stephen.Harris
FACEBOOK: https://www.facebook.com/JSHStudioGallery
INSTAGRAM: http://instagram.com/jonathanstephenharris
SOCIETY6: http://society6.com/JSHarts
MUSIC: "Volcano_Trap" by YouTube Audio Library
https://www.youtube.com/audiolibrary/...

Painting Eleven from Netflix Stranger Things played by Millie Bobby Brown
Materials used: 16x20 canvas, acrylic paints
Total Time: 55 minutes
Thank you for watching and Subscribe!
You can follow me on facebook, instagram and society6 (links below)
WEBSITE: http://www.jonathanstephenharris.com
FACEBOOK: https://www.facebook.com/Jonathan.Stephen.Harris
FACEBOOK: https://www.facebook.com/JSHStudioGallery
INSTAGRAM: http://instagram.com/jonathanstephenharris
SOCIETY6: http://society6.com/JSHarts
ETSY: https://www.etsy.com/shop/JSHartgallery
SaatchiArt: http://www.saatchiart.com/jsh
MUSIC:
Go Not Gently by Audionautix is licensed under a Creative Commons Attribution license (https://creativecommons.org/licenses/by/4.0/)
Artist: http://audionautix.com/
#PortraitPainting #StrangerThings3 #JonathanStephenHarris

3D torn paper pattern with a Sharpie and a 4B pencil. Cool line drawing illusion from my series "Daily Art Therapy" (Day 148)
-----------------------------------------------------------------------------------------------------------
GET MY NEW BOOK!!
***** The Art of Spiral Drawing *****
https://www.quartoknows.com/bo....oks/9781633228221/Th
-----------------------------------------------------------------------------------------------------------
As always thank you for watching and make sure you are notified for future updates by ringing that bell next to the subscribe button! :)
You can follow me on facebook, instagram and etsy (links below)
WEBSITE: http://www.jshcreates.com
FACEBOOK: https://www.facebook.com/Jonathan.Stephen.Harris
INSTAGRAM: http://instagram.com/jonathanstephenharris
ETSY: https://www.etsy.com/shop/JSHcreates
#SpiralDrawing #3Ddrawing #JonathanStephenHarris

3D Happy Halloween pattern with a Sharpie. Cool intricate line illusion drawing from my series "Daily Art Therapy" (Day 149)
-----------------------------------------------------------------------------------------------------------
GET MY NEW BOOK!!
***** The Art of Spiral Drawing *****
https://www.quartoknows.com/bo....oks/9781633228221/Th
-----------------------------------------------------------------------------------------------------------
As always thank you for watching and make sure you are notified for future updates by ringing that bell next to the subscribe button! :)
You can follow me on facebook, instagram and etsy (links below)
WEBSITE: http://www.jshcreates.com
FACEBOOK: https://www.facebook.com/Jonathan.Stephen.Harris
INSTAGRAM: http://instagram.com/jonathanstephenharris
ETSY: https://www.etsy.com/shop/JSHcreates
#SpiralDrawing #3Ddrawing #JonathanStephenHarris

Drawing an Anamorphic Creeper from Minecraft. Trick art, 3D realism, optical illusion
Materials used:
110lb card stock, HB pencil, Prismacolor pencils
Thank you for watching and Subscribe!
You can follow me on facebook, instagram and society6 (links below)
FACEBOOK: https://www.facebook.com/Jonathan.Stephen.Harris
INSTAGRAM: http://instagram.com/jsharts
SOCIETY6: http://society6.com/JSHarts
Music details below:
'Pamgaea' Kevin MacLeod (incompetech.com)
Licensed under Creative Commons: By Attribution 3.0
http://creativecommons.org/licenses/by/3.0/
'Cipher' Kevin MacLeod (incompetech.com)
Licensed under Creative Commons: By Attribution 3.0
http://creativecommons.org/licenses/by/3.0/
Sound Effect
'Arrow' Mike Koenig (soundbible.com)
Licensed under Creative Commons: By Attribution 3.0
http://creativecommons.org/licenses/by/3.0/