Лучшие

Get Free Czech Lessons on your Android, iPhone, iPad or Kindle Fire! Click here to get the App: http://www.czechclass101.com/ill-app/
In this lesson, you will improve your listening comprehension skills from a Czech conversation about scheduling a health checkup. Subscribe for more videos: http://j.mp/CzechClass101
Find out more about this lesson, go to: http://www.czechclass101.com/2....015/09/08/czech-list
Please LIKE, SHARE and COMMENT on our videos! We really appreciate it. Thanks!
Want more Czech learning videos? Click here: https://www.youtube.com/watch?v=vV-yqG9dJKg&list=PLV2UazSOxxuUcItnLUQPB5fJCW9-GpYQc
- Facebook : https://www.facebook.com/CzechClass101
- Google Plus : https://plus.google.com/+CzechClass101
- Twitter : https://twitter.com/CzechClass101
- Pinterest : https://www.pinterest.com/CzechClass101/
Learn Czech with real lessons by real teachers. Get your FREE Lifetime Account at http://www.CzechClass101.com/video

Get Free Czech Lessons on your Android, iPhone, iPad or Kindle Fire! Click here to get the App: http://www.czechclass101.com/ill-app/
In this lesson, you will improve your listening comprehension skills from a Czech conversation about choosing travel insurance. Subscribe for more videos: http://j.mp/CzechClass101
Find out more about this lesson, go to: http://www.czechclass101.com/2....015/11/03/czech-list
Please LIKE, SHARE and COMMENT on our videos! We really appreciate it. Thanks!
Want more Czech learning videos? Click here: https://www.youtube.com/watch?v=8951tDitA4A&list=PLV2UazSOxxuV94XRV4o21bDCaHmxiLUQy
- Facebook : https://www.facebook.com/CzechClass101
- Google Plus : https://plus.google.com/+CzechClass101
- Twitter : https://twitter.com/CzechClass101
- Pinterest : https://www.pinterest.com/CzechClass101/
Learn Czech with real lessons by real teachers. Get your FREE Lifetime Account at http://www.CzechClass101.com/video

Get Free Czech Lessons on your Android, iPhone, iPad or Kindle Fire! Click here to get the App: http://www.czechclass101.com/ill-app/
In this lesson, you will improve your listening comprehension skills from a Czech conversation about choosing a pair of glasses. Subscribe for more videos: http://j.mp/CzechClass101
Find out more about this lesson, go to: http://www.czechclass101.com/2....015/07/28/czech-list
Please LIKE, SHARE and COMMENT on our videos! We really appreciate it. Thanks!
Want more Czech learning videos? Click here: https://www.youtube.com/watch?v=3K05yUa_tDA&list=PLV2UazSOxxuVw4Tn9wxESfbbFCGr8DKhV
- Facebook : https://www.facebook.com/CzechClass101
- Google Plus : https://plus.google.com/+CzechClass101
- Twitter : https://twitter.com/CzechClass101
- Pinterest : https://www.pinterest.com/CzechClass101/
Learn Czech with real lessons by real teachers. Get your FREE Lifetime Account at http://www.CzechClass101.com/video
How to Learn Czech FAST on your own time: http://www.CzechClass101.com/video Sign up for your FREE Lifetime Account right now.
In this lesson, you will improve your listening comprehension skills from a Czech conversation about locating a friend's apartment.
Find out more on this lesson, go to: http://www.czechclass101.com/2....016/03/29/czech-list
Also, please LIKE, SHARE and COMMENT on our videos! We really appreciate it. Thanks!
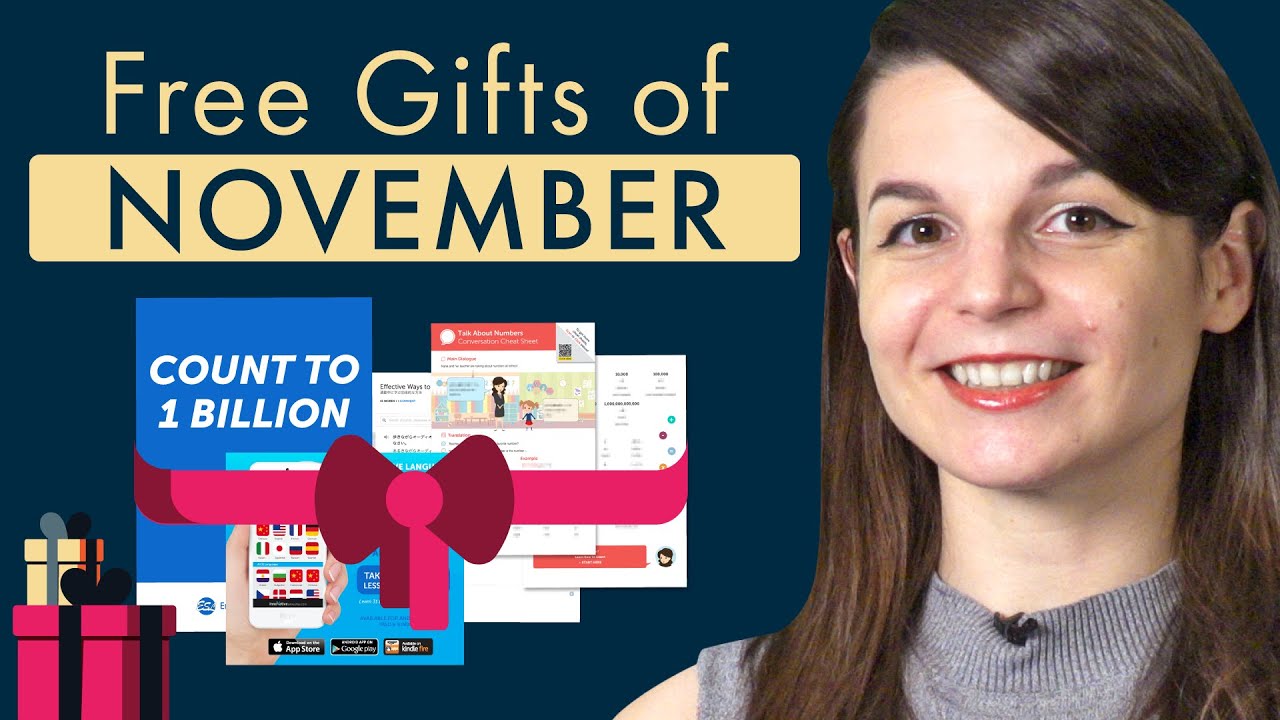
https://bit.ly/2MHGpnM Here are your FREE Czech lessons, PDF cheat sheets and bonuses for November 2019! Just click here to access your gifts. ↓More details below↓
Step 1: Go to https://bit.ly/2MHGpnM
Step 2: Sign up for a FREE Lifetime Account - No money, No credit card required
Step 3: Get all your FREE gifts of the month to Achieve Your Learning Goal and master Czech!
You might have missed them! These are the FREE Czech learning goodies for the month of November. Here are your FREE Czech lessons, PDF cheat sheets and bonuses. Remember, every month, you get the latest FREE resources to help you learn the fast, fun and easy way!
Just click here to access your gifts: https://bit.ly/2MHGpnM
music: https://www.bensound.com/
Finally Get Fluent in Czech with PERSONALIZED Lessons. Get Your Free Lifetime Account: https://goo.gl/bU2tY5
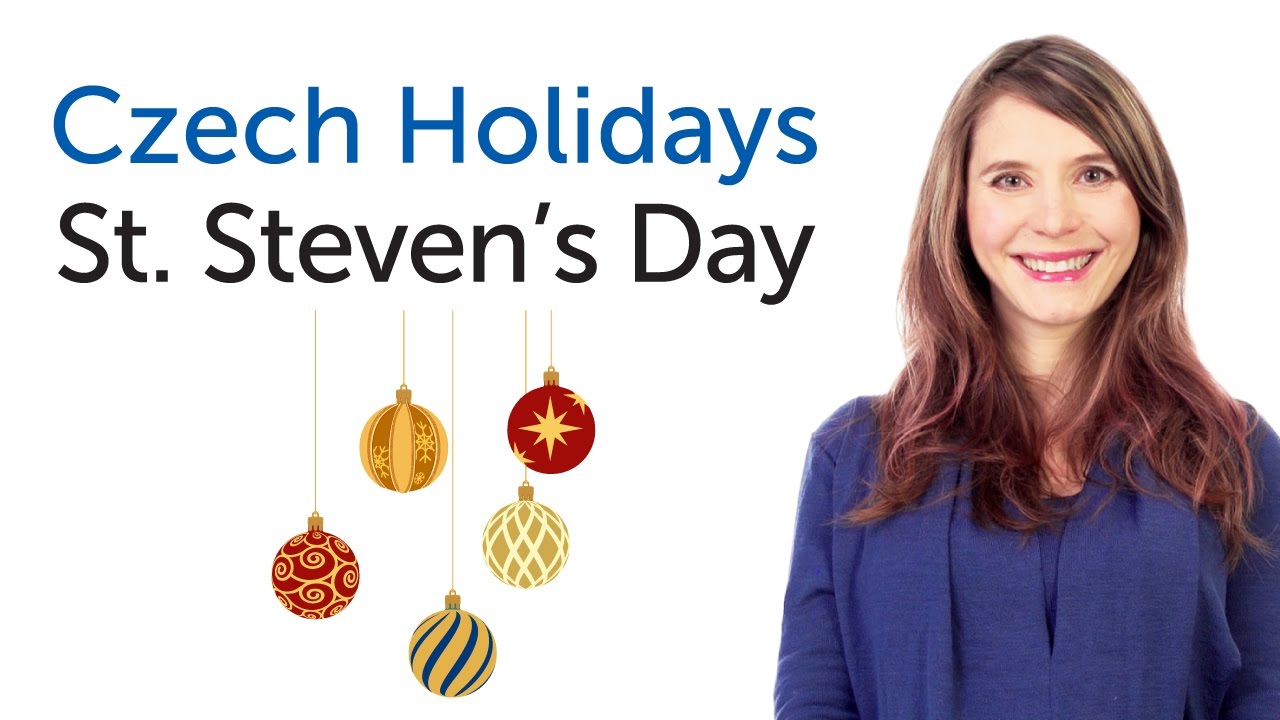
In this video, you'll learn all about St. Steven's Day in the Czech Republic and how it's celebrated, from food to decorations, while building your Czech vocabulary.
Finally Get Fluent in Czech with PERSONALIZED Lessons. Get Your Free Lifetime Account: https://goo.gl/bU2tY5
■ Facebook: https://www.facebook.com/CzechClass101
■ Google Plus: https://plus.google.com/+CzechClass101
■ Twitter: https://twitter.com/CzechClass101
■ Pinterest: https://www.pinterest.com/CzechClass101
■ Tumblr: http://CzechClass101.tumblr.com
Click here to find out more about this lesson: https://goo.gl/CZmzpD
Also, please LIKE, SHARE and COMMENT on our videos! We really appreciate it. Thanks!

Finally Get Fluent in Czech with PERSONALIZED Lessons. Get Your Free Lifetime Account: https://bit.ly/2IBJ8vQ ↓ Check how below ↓
Step 1: Go to https://bit.ly/2IBJ8vQ
Step 2: Sign up for a Free Lifetime Account - No money, No credit card required
Step 3: Start learning Czech the fast, fun and easy way!
Save 20% on FULL Access to CzechClass101 with your YOUTUBE coupon for All subscriptions https://bit.ly/2IBJC58
In this lesson you'll learn to read an event guide.
■ Facebook: https://www.facebook.com/CzechClass101
■ Twitter: https://twitter.com/CzechClass101
Click here to find out more about this lesson: https://bit.ly/2IIQugX
Also, please LIKE, SHARE and COMMENT on our videos! We really appreciate it. Thanks!

Learn Danish twice as fast with your FREE gifts of the month including PDF lessons, vocabulary lists and much more! Get your gifts now: https://goo.gl/DLGaRX ↓Check how below↓
Step 1: Go to https://goo.gl/DLGaRX
Step 2: Sign up to get your free gifts
Step 3: Achieve Your Learning Goal and master Danish the fast, fun and easy way!
In this video, you’ll get started with Danish in only X minutes! You will discover the key points of Danish Grammar! This is THE place to start if you want to start learning Danish.
Follow us here:
- Facebook : https://www.facebook.com/DanishClass101
- Twitter : https://twitter.com/DanishClass101

This is the best video to get started with Danish language https://goo.gl/SAVDc4 Click here to learn Danish twice as fast with FREE PDF! ↓Check how below↓
Step 1: Go to https://goo.gl/SAVDc4
Step 2: Sign up for a Free Lifetime Account - No money, No credit card required
Step 3: Achieve Your Learning Goal and master Danish the fast, fun and easy way!
In this video, we will teach you the most common 100 danish nouns that you must know if you're a an absolute beginner. This is THE place to start if you want to learn Danish, and improve both your listening and speaking skills.
Get started with Danish language now! https://goo.gl/SAVDc4
Follow us here:
■ Facebook: https://www.facebook.com/DanishClass101
■ Instagram: https://www.instagram.com/DanishClass101
■ Twitter: https://twitter.com/DanishClass101
Also, please LIKE, SHARE and COMMENT on our videos! We really appreciate it. Thanks!

http://www.CzechClass101.com/video
Since you've moved to Czech to study Czech, you've worked non-stop! The only time you have to yourself is when you go home in the evening, and this is the perfect time to study Czech. Work, study and no time to relax...how unfair is that! But you've figured out a way to do both. You've started to borrow CDs with Czech speakers from the library. Now you can study your Czech while you're cooking, eating, or taking a bath. This is what you call relaxing in the evening with Czech!
This Czech video series is a brand new way to learn Czech. Learn everyday vocabulary and key verbs in this Czech video lesson. Read the Czech lesson notes to learn about the Czech present tense, present progressive tense, and simple past tense. Join us, and see what you've been missing! Visit us at CzechClass101.com where you will find many more fantastic Czech lessons and learning resources! Leave us a message while you are there!
Find out more, go to: http://www.czechclass101.com/2....014/01/17/learn-with
http://www.CzechClass101.com/video

This is the best video to get started with Czech language https://bit.ly/2UOHPT5 Click here to learn the Czech Republicesw twice as fast with FREE PDF! ↓Check how below↓
Step 1: Go to https://bit.ly/2UOHPT5
Step 2: Sign up for a Free Lifetime Account - No money, No credit card required
Step 3: Achieve Your Learning Goal and master Czech the fast, fun and easy way!
In this video, we will teach you the most common 200 czech words that you must know if you're a an absolute beginner. This is THE place to start if you want to learn Czech, and improve both your listening and speaking skills.
Get started with Czech language now! https://bit.ly/2UOHPT5
Follow us here:
■ Facebook: https://www.facebook.com/CzechClass101
■ Instagram: https://www.instagram.com/CzechClass101
■ Twitter: https://twitter.com/CzechClass101
Also, please LIKE, SHARE and COMMENT on our videos! We really appreciate it. Thanks!
#Czech #LearnCzech #the Czech Republic #CzechLanguage #CzechClass101

Learn Czech with CzechClass101.com! Do you find yourself missing the nuances in Czech conversations? Would you like to understand more of what's happening around you in daily life in Czech Republic? Then this Czech Listening Comprehension for Advanced Learners series is for you! In each lesson of this five-part series, you'll see an image, hear a Czech question and dialogue about that image, and have time to answer the question out loud in Czech!
In this lesson, you will improve your listening comprehension skills from a Czech conversation about an upcoming business meeting. Visit us at CzechClass101.com, where you will find Czech lesson notes and many more fantastic lessons and learning resources! Leave us a message while you are there!
Find out more, go to: http://www.czechclass101.com/2....014/05/27/czech-list
http://www.CzechClass101.com/video

http://www.CzechClass101.com/video
Have you ever heard the Czech expression, "Give, and you will receive?" It's a well-known Czech opposite pair. Learning this opposite pair and several others will help you rapidly improve your Czech. Use this technique to learn and expand your Czech vocabulary. Opposite Czech verbs are particularly effective for memorizing and retaining new Czech words.
This Czech video series is a brand new way to learn Czech. Learn everyday vocabulary and key verbs in this Czech video lesson. Read the Czech lesson notes to learn about the Czech present tense, present progressive tense, and simple past tense. Join us, and see what you've been missing! Visit us at CzechClass101.com where you will find many more fantastic Czech lessons and learning resources! Leave us a message while you are there!
Find out more, go to: http://www.czechclass101.com/2....014/03/28/learn-with
http://www.CzechClass101.com/video

Learn Czech with CzechClass101.com! Do you find yourself only understanding small parts of Czech conversations? Would you like to understand more of what that person said in Czech right away? Then this Czech Listening Comprehension for Beginners series is for you! In each lesson of this five-part series, you'll see an image, hear a Czech question and dialogue about that image, and have time to answer the question out loud in Czech!
In this lesson, you will improve your listening comprehension skills from a Czech conversation set in a computer store. Visit us at CzechClass101.com, where you will find Czech lesson notes and many more fantastic lessons and learning resources! Leave us a message while you are there!
Find out more, go to: http://www.czechclass101.com/2....014/09/02/czech-list
http://www.CzechClass101.com/video

This is the best video to get started with Czech daily conversations! https://goo.gl/vyV8Rf Click here to access personalized lessons, tons of video series, wordlists and more! ↓Check how below↓
Step 1: Go to https://goo.gl/vyV8Rf
Step 2: Sign up for a Free Lifetime Account - No money, No credit card required
Step 3: Achieve Your Learning Goal and master Czech the fast, fun and easy way!
In this video, you’ll challenge your Czech listening comprehension skills. You will listen to small dialogues to take you from the beginner to the advanced level. Those dialogues are made by Czech native speakers. This is THE place to start if you want to start learning Czech, and improve both your listening and speaking skills.
Follow us here:
- Facebook : https://www.facebook.com/CzechClass101
- Twitter : https://twitter.com/CzechClass101

Finally Get Fluent in Czech with PERSONALIZED Lessons. Get Your Free Lifetime Account: https://goo.gl/UKPfkA ↓ Check how below ↓
Step 1: Go to https://goo.gl/UKPfkA
Step 2: Sign up for a Free Lifetime Account - No money, No credit card required
Step 3: Start learning Czech the fast, fun and easy way!
Save 20% on FULL Access to CzechClass101 with your YOUTUBE coupon for All subscriptions https://goo.gl/AJ2tfz
In this lesson, you will improve your listening comprehension skills from a Czech conversation about a sales graph.
■ Facebook: https://www.facebook.com/CzechClass101
■ Google Plus: https://plus.google.com/+CzechClass101
■ Twitter: https://twitter.com/CzechClass101
■ Pinterest: https://www.pinterest.com/CzechClass101
■ Tumblr: http://CzechClass101.tumblr.com
Click here to find out more about this lesson: https://goo.gl/0gRjYZ
Also, please LIKE, SHARE and COMMENT on our videos! We really appreciate it. Thanks!

https://goo.gl/vvXwMZ ← If you’re studying Czech, chances are you’re looking to become fluent and conversational as fast as possible, right? Well then, look no further! Here is your fast track to fluency ↓ Check how below ↓
Step 1: Go to https://goo.gl/vvXwMZ
Step 2: Sign up for a Free Lifetime Account - No money, No credit card required
Step 3: Successfully Improve your Czech with Your Cheat Sheet including vocabulary, grammar and kanji list.
Every Czech learner has learning fears. In this video we're killing the top 4 Czech learning fears, we tell you what they are and how to overcome them to get on your path to Czech fluency! You want to study or work in the Czech Republic?
CzechClass101 provides everything you need to successfully overcoming them. We give you the best way to learn how to perfectly read, write, and speak Czech.
Get started with Czech: https://goo.gl/vvXwMZ
■ Facebook: https://www.facebook.com/CzechClass101
■ Twitter: https://twitter.com/CzechClass101
■ Tumblr: http://CzechClass101.tumblr.com/
■ Instagram: https://www.instagram.com/czechpod101
Also, please LIKE, SHARE and COMMENT on our videos! We really appreciate it. Thanks!

Finally Get Fluent in Czech with PERSONALIZED Lessons. Get Your Free Lifetime Account: https://goo.gl/7jqSh0
In this video, you'll learn all about All Souls' Day in the Czech Republic and how it's celebrated, from food to decorations, while building your Czech vocabulary.
Finally Get Fluent in Czech with PERSONALIZED Lessons. Get Your Free Lifetime Account: https://goo.gl/7jqSh0
■ Facebook: https://www.facebook.com/CzechClass101
■ Google Plus: https://plus.google.com/+CzechClass101
■ Twitter: https://twitter.com/CzechClass101
■ Pinterest: https://www.pinterest.com/CzechClass101
■ Tumblr: http://CzechClass101.tumblr.com
Click here to find out more about this lesson: https://goo.gl/GgAX3j
Also, please LIKE, SHARE and COMMENT on our videos! We really appreciate it. Thanks!

This is the best video to get started with Czech language https://bit.ly/2FPmiQH Click here to learn Czech twice as fast with FREE PDF! ↓Check how below↓
Step 1: Go to https://bit.ly/2FPmiQH
Step 2: Sign up for a Free Lifetime Account - No money, No credit card required
Step 3: Achieve Your Learning Goal and master Czech the fast, fun and easy way!
In this video, we will teach you the most common 150 czech words that you must know if you're a an absolute beginner. This is THE place to start if you want to learn Czech, and improve both your listening and speaking skills.
Get started with Czech language now! https://bit.ly/2FPmiQH
Follow us here:
■ Facebook: https://www.facebook.com/CzechClass101
■ Instagram: https://www.instagram.com/CzechClass101
■ Twitter: https://twitter.com/CzechClass101
Also, please LIKE, SHARE and COMMENT on our videos! We really appreciate it. Thanks!
#Czech #LearnCzech #the Czech Republic #CzechLanguage #CzechClass101

Get Free Czech Lessons on your Android, iPhone, iPad or Kindle Fire! Click here to get the App: http://www.czechclass101.com/ill-app/
In this video, you'll learn all about Easter Monday in the Czech Republic and how it's celebrated, from food to decorations, while building your Czech vocabulary. Subscribe for more videos: http://j.mp/CzechClass101
Please LIKE, SHARE and COMMENT on our videos! We really appreciate it. Thanks!
Want more Czech learning videos? Click here: https://www.youtube.com/playli....st?list=PLV2UazSOxxu
- Facebook : https://www.facebook.com/CzechClass101
- Google Plus : https://plus.google.com/+CzechClass101
- Twitter : https://twitter.com/CzechClass101
- Pinterest : https://www.pinterest.com/CzechClass101/
Learn Czech with real lessons by real teachers. Get your FREE Lifetime Account at http://www.CzechClass101.com/video
