Top videoer

Did this once before in my sketch book. Came out ok so I did it again and made a video from it.
Supplies:
I used Staedtler pencils.
Started with 4h for laying in the ground work. Worked in layers gradually working my way all the way to 9b for the absolute dark parts.
Indent stylus for white lines in iris. Needle point makes indents in paper which keeps that area white.
Blending stumps to smooth out tones.
2 types of erasers. the pink one and a click advance one. Its called Tuff Stuff. Has a very firm eraser in it for accurate erasing. Used that for highlights within iris.
Song: Beautiful Moments
Artist: Ryan Farish
Farish Music International (BMI)
Licensed with permission, RYTONE Entertainment
You can view the final image here on my deviant page.
http://digg409.deviantart.com/#/d2q0s4e

Welcome back everyone! This video will be about The Basics of Highlights Midtones and Shadows
Other Places to Find my Art
Website: http://www.tylersartshack.com
Facebook: http://www.facebook.com/tylersartshack
Twitter: https://twitter.com/#!/TylersArtShack
Google+: https://plus.google.com/115405....344518849808905/post
Deviant: http://tylersartshack.deviantart.com
Make a Donation Via Paypal! http://tinyurl.com/o6cnnpv
This video is all about highlights, midtones, shadows, cast shadows, and reflected light. I will use an apple to demonstrate all of these and give you a basic understanding of this so that you can apply this method to other drawings.
I wanted to start out by explaining different types of lighting to show you how one light source or multiple can really change how an object looks. Using one light source is a great way of being able to clearly see highlights and shadows. Think of a highlight as a direct reflection or the brightest area of a drawing and a shadow as the absence of light. The midtones are indirect light that is illuminating an object.
Now that this has been established, the next thing is to begin drawing. Before that though, we need to understand where the highlights midtones, and shadows are. This can be difficult when looking at an object in color. So what I like to do is take a photo of the object and turn it into black and white with a filter. This gets rid of all the color and you can see the true value scale of the drawing. This helps a huge amount and this method can be used for anything you wish to replicate in pencil.
Working on the drawing now, I really only used an HB and 2B pencil for the entire piece. I began by drawing a rough circle for the overall apple shape and then the cast shadow. Afterwards, I toned the background. Keeping in mind where the lightest tones would be, I began to shade the whole apple in that tone. Then with the darker tones, I shaded the overall apple starting in those darker areas and working my way around. I want to build up layers while shading to help build up depth. This is a process that can take a bit of time and with practice, you should see some improved results.
I hope you all enjoyed this video and thanks a lot for watching!
Music Info:
Song: Corporate Uplifting Rock
Artist: Plastic 3
http://tinyurl.com/nthpoga
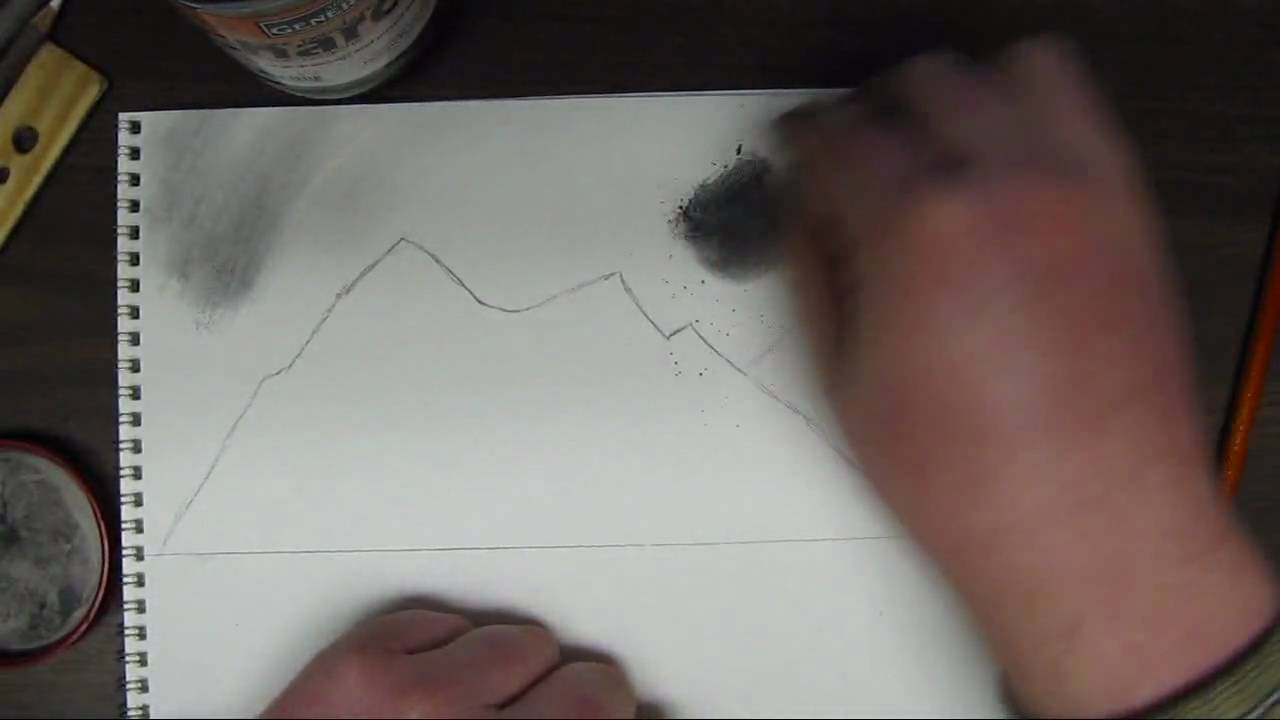
Hello and welcome to the first part in my how to draw landscape series. In this part ill cover how to create a simple sky and mountains using charcoal techniques.
This video is part 1 of 3 in this series so be sure to watch the other 2 videos to complete this whole videos.
For the complete series here Ill be using different grades of generals charcoal pencil. Compressed charcoal in 6b. Generals white charcoal.
3 different types of erasers. kneaded eraser, a white one and a pink eraser.
Ill also be using blending stumps pencil sharpeners and sandpaper.
This tutorial focuses on the sky and the mountains. I first start off by drawing an outline to the mountains. Powdered charcoal works great for shading in the sky. This creates a nice even coat. Use a cotton ball with this or a paper towel. This creates a very even tone for the sky and really sets it up nice if you wanted to add in some clouds. Add in the sky area first in the drawing so that you dont mess up any detail you set into the mountains.
After the sky is shaded in. Re define the mountain area and once that is done you want to create some lines going from the peaks of the mountains down to the base. After this you want to establish a direction of light and any mountain face that is facing away from that light will be shaded while everything facing the light source will be highlighted. This creates a 3d and realistic look to them.
Be sure to come back and watch part 2 to put in trees and a distance beach in the background along with a lake, close up pine trees, and some rocks. Hope you enjoyed and thanks for watching!

Did this for my art class. I drew 3 eggs in a glass bowl with a light on it.
You can view this drawing as well as all my other works of art from my deviant page. http://digg409.deviantart.com/art/Eggs-156738199
Song: Closer Away
Artist: Ryan Farish
Farish Music International (BMI)
Licensed with permission, RYTONE Entertainment
www.ryanfarish.com
You can purchase this song from itunes here
http://itunes.apple.com/us/alb....um/movement-in-light

Oil on canvas painting in a Bob Ross classic mountain style painting.
Used Grumbacher oil paints. The ones I got in the garage sale.
Took me just about an hour to paint this.
===============================================================
Follow Me!
Facebook: http://www.facebook.com/tylersartshack
Twitter: https://twitter.com/#!/TylersArtShack
Google+: https://plus.google.com/115405....344518849808905/post
===============================================================
I scored a lucky find at a garage sale and ended up getting a whole lot of Grumbacher oil paint colors for less than 20 bucks. I also picked up a whole assortment of oil paint brushes. This was one of my first attempts at a Bob Ross Style painting. I followed his classic method and style of painting and still use his techniques today.
The painting started off with a simple sky and large clouds. I used a mix of a few different shades of blue and white for the very top of the sky and lightened the color as I moved down. Clouds were then added into the scene.
After which I started to map out whwere I wanted to have the mountains placed. I decided right smack in the middle of the canvas would be a great place form them. After I got the dark background color down I used the classic roll of paint and started to map out the mountains.
After a few tries and experimenting, I got something that I liked and just left it at that. I then added in some distant grass and trees. The water is real simple. Just use the same color as the sky and brush it down. Add in a lighter color closer to the middle of the canvas. In this case I added a bit more of a green to pull the treeline reflections down into the water.
A really neat way to make nice water is to take a large brush and just dip it in some white. Then take that brush and quickly stroke it across the water to make a couple of streaks. this helps to show some movement and reflections happening in the water and adds a nice effect.
I quickly added in the foreground with some dabs of dark green for grass and pretty much called it a finished painting.
thanks for watching and I hope you enjoyed!
Song: Coloring Silence
Artist: Ryan Farish
Farish Music International (BMI)
Licensed with permission, RYTONE Entertainment
You can purchase this song from this link.
http://itunes.apple.com/us/album/let-it-rain/id360509452?i=360509579&ign-mpt=uo%3D4
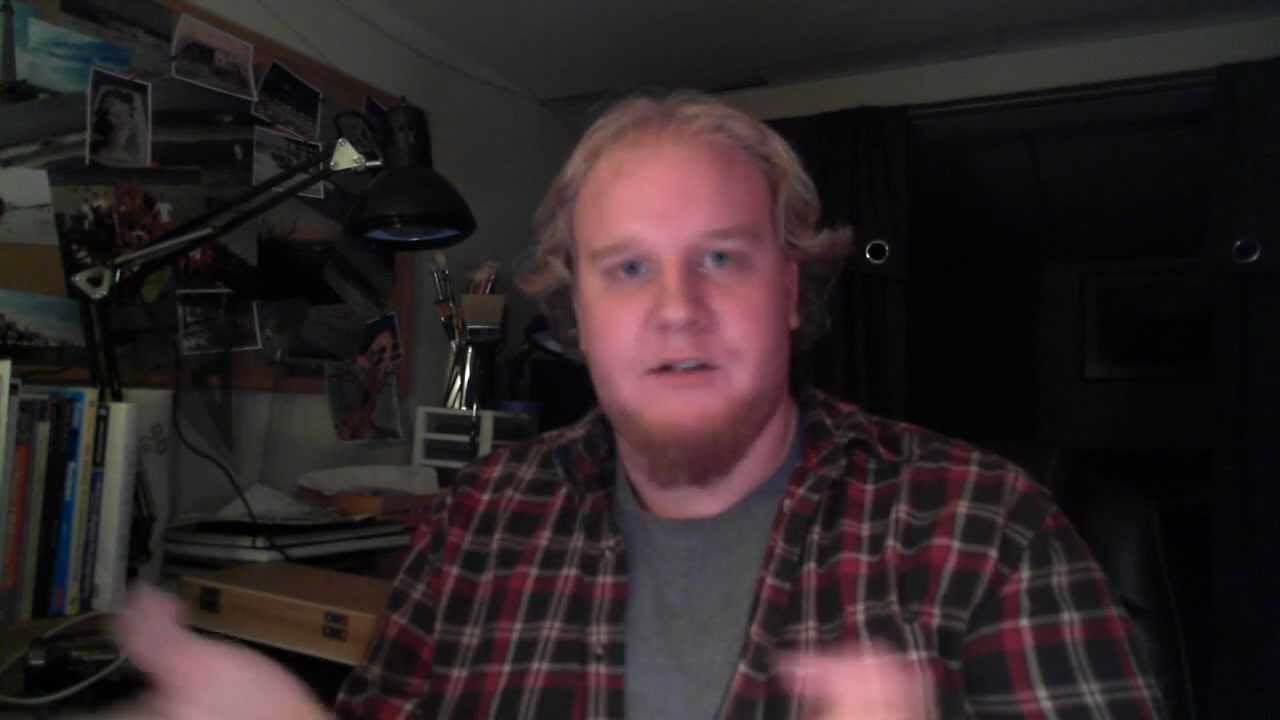
Taking advantage of having internet but still no power to bring you all an update as to how I am doing and basically what has been going on this week.
FOR MORE UPDATES:
http://www.facebook.com/tylersartshack
Alright everyone! Welcome back to my "in the dark" edition of Tyler's Art Shack haha. Still have no power after being hit by Hurricane Sandy 1 week ago. Also known as Frankenstorm or Super Storm Sandy. They always give these things nicknames haha. But still no power a week after the event and just hopeful that maybe next weekend ill be able to get it back. Things have been interesting with no power and I am just thankful to have the generator so that I can at least have the basics like heat and light haha. We can also at least run our laptops on it. And having the internet now makes that so much nicer. I can actually connect with the world to see how everyone else did during the storm.
The damage along the New Jersey Shore was pretty bad. A lot of the famous boardwalks got destroyed along with piers such as the Casino Pier and the Fun Town Pier both in Seaside Heights. Also a lot of the natural sand dunes are gone which is making any storm pretty serious because the only protection against the ocean is gone.
It is sure going to be interesting how things turn out for the Jersey coastline in the future.
What is interesting about this whole situation as well is the gas lines. Because there was no power anywhere, the only gas stations running were on generators. And they sold out so fast and the lines were miles long for them. I have never in my life had to wait over an hour to fill up a tank of gas. It is luckily getting a bit better though as power is being restored around the state.
Just really wanted to let you all know that I am doing well and wanted to give you all a quick update as to what happened. I hope that you are all doing much better than I am haha. Take care everyone!

This is great drawing practice if anybody wants to gain a boost in artistic talent. Believe me, when I first started drawing, I could only draw stick figures. After drawing like this for about a year or so, I can do all the things I do now. I do believe that art is something you are born with but I also believe that one can also learn the skill. Try and draw at least 1 thing every day and you will get much better as time goes on.
Song: Indian Summer
Artist: Ryan Farish
Farish Music International (BMI)
Licensed with permission, RYTONE Entertainment
www.ryanfarish.com
You can purchase this song from this link.
http://itunes.apple.com/us/album/beau...

This video shows you how I painted a beach scene using oil pastels. I use sennelier pastels because of their rich pigment and creamy consistency.
Sorry about the lighting. The black paper has an odd effect with the light and the camera kept on auto adjusting to compensate for it.
Be sure to check out Tim's music on his channel. His channel name is 007Regent. Here is a link: http://www.youtube.com/user/007Regent
Information about the drawing
Supplies:
Sennelier oil pastels
Artagain black paper
pencil for sketching
Drawing time: 3 and a half hours
Become a fan of my facebook fan page to view this completed drawing as well as many others. http://www.facebook.com/pages/....Tylers-Art-Shack/181

I got a bit creative and wanted to make a trailer that would sit on my channel page. In this video, I used videos dating all the way back to when I got my channel first started all the way until now. The first clip you see is part of a drawing I am working on for the next tutorial that will be out shortly.
Follow me!
Facebook: http://www.facebook.com/tylersartshack
Twitter: https://twitter.com/#!/TylersArtShack
Google+: https://plus.google.com/115405....344518849808905/post
Music is from CCmister.org
song is from George ellinas called Pulse

Youtube Live Hangouts!
Serafin http://www.youtube.com/user/orangemonkey
Merrill http://www.youtube.com/user/kazanjianm


Amazing anamorphic illusion.
3D art on paper
Speed drawing
Brick hole (buraco em tijolo)
Used materials:
Paper A4 180g
Graphit and dry pastel pencil
Black markers
Eraser
Materiais usados:
Papel A4 180g
Lápis de carvão
Marcadores pretos
Borracha
Lápis de pastel seco
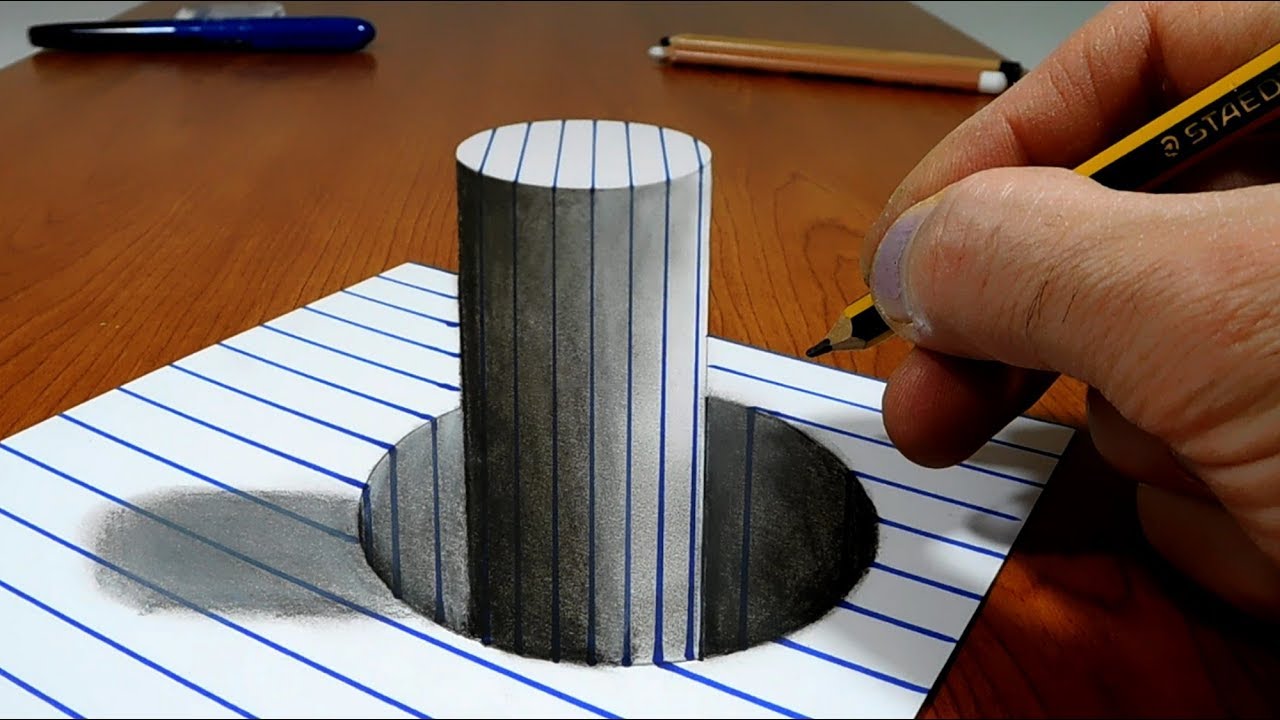
Cool Trick Art Drawing 3D on paper - Anamorphic illusion - Draw step by step.
Please Like and Subscribe to follow my work.
Follow me on Instagram: sonhoscomdimensao (https://www.instagram.com/sonh....oscomdimensao/?hl=pt
Truque Arte Desenho 3D em papel- Ilusão Ótica - Desenho passo a passo.
Não te esqueças do "Like" e subscreve o canal para seguires o meu trabalho.
Material used:
Paper A4 180g
Graphit and dry pastel pencil
Markers
Eraser
Materiais usados:
Papel A4 180g
Lápis de carvão e de pastel seco
Marcadores
Borracha
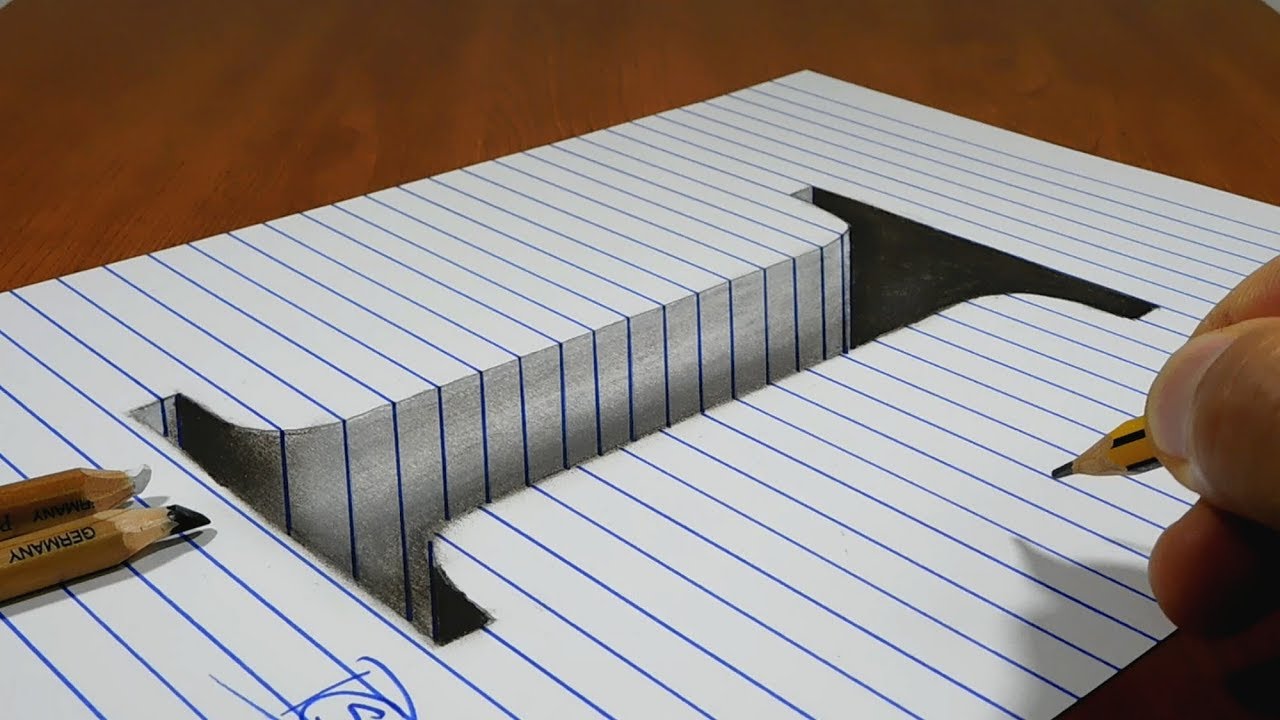
Cool Trick Art Drawing 3D on paper - Anamorphic illusion - Draw step by step.
Please Like and Subscribe to follow my work.
Follow me on Instagram: sonhoscomdimensao (https://www.instagram.com/sonh....oscomdimensao/?hl=pt
Truque Arte Desenho 3D em papel- Ilusão Ótica - Desenho passo a passo.
Não te esqueças do "Like" e subscreve o canal para seguires o meu trabalho.
Material used:
Paper A4 180g
Graphit and dry pastel pencil
Markers
Eraser
Materiais usados:
Papel A4 180g
Lápis de carvão e de pastel seco
Marcadores
Borracha

Cool Trick Art Drawing 3D on paper - Anamorphic illusion - Draw step by step.
Please Like and Subscribe to follow my work.
Follow me on Instagram: sonhoscomdimensao (https://www.instagram.com/sonh....oscomdimensao/?hl=pt
Truque Arte Desenho 3D em papel- Ilusão Ótica - Desenho passo a passo.
Não te esqueças do "Like" e subscreve o canal para seguires o meu trabalho.
Material used:
Paper A4 180g
Graphit and dry pastel pencil
Markers
Eraser
Materiais usados:
Papel A4 180g
Lápis de carvão e de pastel seco
Marcadores
Borracha

Cool Trick Art Drawing 3D on paper - Anamorphic illusion - Draw step by step.
Please Like and Subscribe to follow my work.
Follow me on Instagram: sonhoscomdimensao (https://www.instagram.com/sonh....oscomdimensao/?hl=pt
Truque Arte Desenho 3D em papel- Ilusão Ótica - Desenho passo a passo.
Não te esqueças do "Like" e subscreve o canal para seguires o meu trabalho.
Material used:
Paper A4 180g
Graphit and dry pastel pencil
Markers
Eraser
Materiais usados:
Papel A4 180g
Lápis de carvão e de pastel seco
Marcadores
Borracha

Cool Trick Art Drawing 3D on paper - Anamorphic illusion - Draw step by step.
Please Like and Subscribe to follow my work.
Follow me on Instagram: sonhoscomdimensao (https://www.instagram.com/sonh....oscomdimensao/?hl=pt
Truque Arte Desenho 3D em papel- Ilusão Ótica - Desenho passo a passo.
Não te esqueças do "Like" e subscreve o canal para seguires o meu trabalho.
Material used:
Paper A4 180g
Graphit and dry pastel pencil
Markers
Eraser
Materiais usados:
Papel A4 180g
Lápis de carvão e de pastel seco
Marcadores
Borracha

Cool Trick Art Drawing 3D on paper - Anamorphic illusion - Draw step by step.
Please Like and Subscribe to follow my work.
Follow me on Instagram: sonhoscomdimensao (https://www.instagram.com/sonh....oscomdimensao/?hl=pt
Truque Arte Desenho 3D em papel- Ilusão Ótica - Desenho passo a passo.
Não te esqueças do "Like" e subscreve o canal para seguires o meu trabalho.
Material used:
Paper A4 180g
Graphit and dry pastel pencil
Markers
Eraser
Materiais usados:
Papel A4 180g
Lápis de carvão e de pastel seco
Marcadores
Borracha
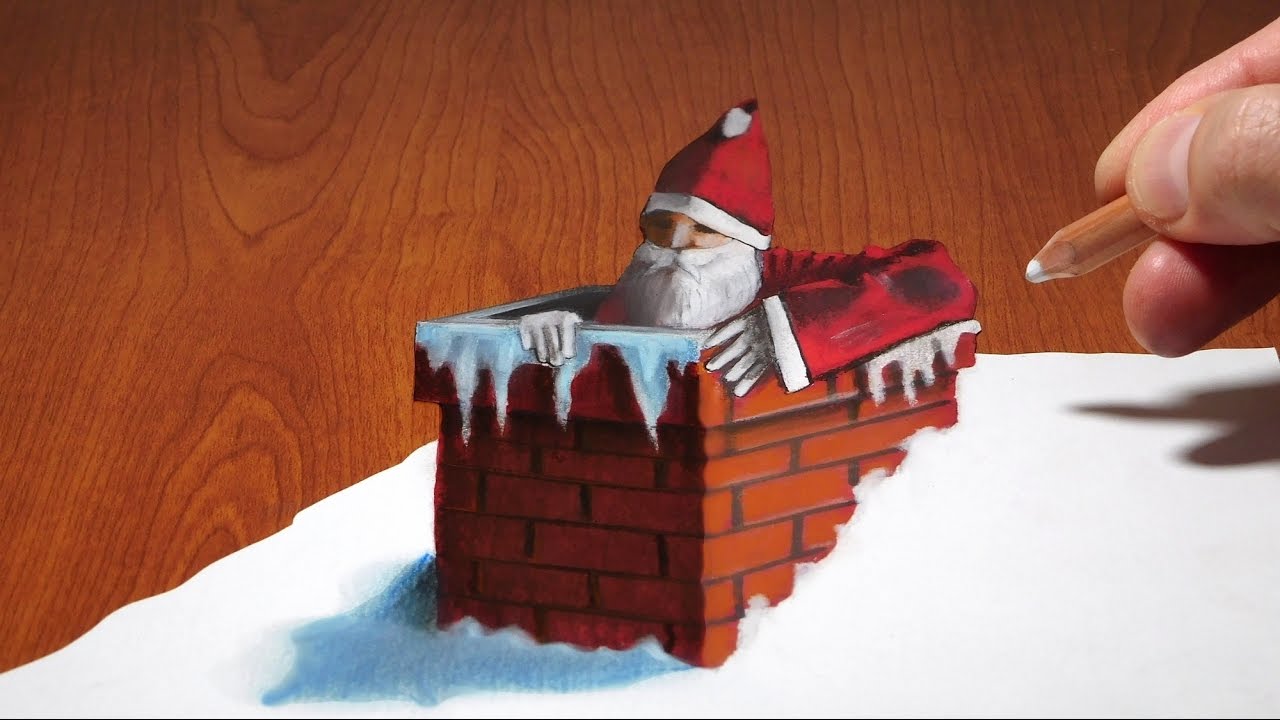
Amazing anamorphic illusion.
3D art on paper.
Speed drawing.
Used materials:
Paper A4 180g
Graphit and dry pastel pencil
Black markers
Eraser
Materiais usados:
Papel A4 180g
Lápis de carvão e de pastel seco
Marcadores pretos
Borracha

Cool Trick Art Drawing 3D on paper - Anamorphic illusion - Draw step by step.
Please Like and Subscribe to follow my work.
Follow me on Instagram: sonhoscomdimensao (https://www.instagram.com/sonh....oscomdimensao/?hl=pt
Truque Arte Desenho 3D em papel- Ilusão Ótica - Desenho passo a passo.
Não te esqueças do "Like" e subscreve o canal para seguires o meu trabalho.
Material used:
Paper A4 180g
Graphit and dry pastel pencil
Markers
Eraser
Materiais usados:
Papel A4 180g
Lápis de carvão e de pastel seco
Marcadores
Borracha