Лучшие

I'm using Derwent Inktense pencils for this painting/drawing demonstration. I've got some tips on how to keep your background smooth and on how to paint stars with these pencils!
Visit http://patreon.com/lachri to get your free reference photo of this koala
My full review and demonstration with Inktense pencils and blocks - https://www.youtube.com/watch?v=mJY4uv6mmJ8
Supplies used:
*Inktense 72 pencil set http://goo.gl/P8drPi (my amazon affiliate link)
*Sand paper (to scribble on then create my ink mixture with a paint brush and water)
*Fabriano Artistico extra white Hot Pressed 140lb watercolor paper
Subscribe: http://www.youtube.com/subscri....ption_center?add_use
*********************
http://patreon.com/lachri
*********************
Sign up for my newsletter to get art tips sent to you every week and a FREE 2 hour orca acrylic painting tutorial! http://lachri.com/email-list/
New painting videos Wednesdays at 3pm CST
Lachri Fine Art official website: http://www.lachri.com
Subscribe: http://www.youtube.com/subscription_c...
Facebook http://www.facebook.com/Lachri.Fine.Art
Instagram: http://instagram.com/lisa_lachri
G+ https://plus.google.com/+Lachri
Twitter: http://twitter.com/lachri
Patreon: http://patreon.com/lachri
Time lapse and speed painting tutorials and demonstrations by award winning artist Lachri. Learn how to paint portraits, surreal landscapes, pets, lions, tigers, and birds...pretty sure a Wizard of OZ reference should be made right about now. Get tips and watch techniques for working in acrylic and oil paint, carbon pencil, graphite and colored pencil.
This video was shot using the Canon VIXIA HF G20 HD camcorder.
http://www.youtube.com/watch?v=CiDEj7WEZoI&feature=share&list=PLD949BAB3C3D38CDE

Today I'm drawing a white horse in colored pencil against an airbrushed background. I'm blending with odorless mineral spirits (aka OMS or Mona Lisa odorless paint thinner).
Supplies used: (these are my amazon affiliate links)
Fabriano Artistico Extra White hot pressed 140lb watercolor paper (no link)
Polychromos - http://goo.gl/gNm8p2
Luminance - http://goo.gl/UJgghV
Derwent Drawing Chinese White - http://goo.gl/C4p8aS
Mona Lisa Odorless Paint thinner - http://goo.gl/CNe35Q
or Gamsol odorless mineral spirits -http://goo.gl/7uuRhC
Faber Castell ink eraser http://goo.gl/jhFL1m
glassine (the stuff under my hand to prevent smudging) http://goo.gl/VYXOMI
Derwent pencil extender http://goo.gl/zjXgo7
Damask Stencil - http://goo.gl/9yvLBN
Frisket http://goo.gl/95UNCl
Colors used:
Polychromos: Black, cobalt turquoise, walnut brown, warm grey VI, light cobalt turquoise, cold grey I, bluish turquoise, sanguine, ultramarine, burnt carmine, warm grey V, Payne's grey, nougat, cold grey IV, cold grey III, burnt ochre
Luminance: white, French Grey 10%, Payne's grey 60%, French Grey, sepia 10%, Paynes grey 30%, Slate Grey, French Grey 30%, Payne's grey
Derwent Drawing: Chinese white
Subscribe: http://www.youtube.com/subscri....ption_center?add_use
New painting videos Wednesdays at 3pm CST
Subscribe: http://www.youtube.com/subscription_c...
Facebook http://www.facebook.com/Lachri.Fine.Art
Instagram: http://instagram.com/lisa_lachri
G+ https://plus.google.com/+Lachri
Twitter: http://twitter.com/lachri
Tumblr: http://lachri.tumblr.com/
Lachri Fine Art official website: http://www.lachri.com
Lachri Prints: http://lachri.artistwebsites.com/
Patreon: http://patreon.com/lachri
Time lapse and speed painting tutorials and demonstrations by award winning artist Lachri. Learn how to paint portraits, surreal landscapes, pets, lions, tigers, and birds...pretty sure a Wizard of OZ reference should be made right about now. Get tips and watch techniques for working in acrylic and oil paint, carbon pencil, graphite and colored pencil.
This video was shot using the Canon VIXIA HF G20 HD camcorder.
http://www.youtube.com/watch?v=CiDEj7WEZoI&feature=share&list=PLD949BAB3C3D38CDE

I'm draiwing a big cat in this tutorial! In this is a colored pencil demonstration showing you how to blend with powder blender. I'm going to focus on drawing realistic fur detail too!
I'm working in Faber-Castell Polychromos for the blended portions and details and Caran d'Ache Luminance for some of the more opaque details and white areas of the fur.
********************************************
If you're within the US, you can get the Powder Blender from http://brushandpencil.com
The portions I paint on are a mixture of Touch Up Texture and Colored Pencil Titanium White, also from http://brushandpencil.com. This can be shipped internationally.
Amazon affiliate links:
Hobby Airbrush Kit (for spraying gesso) http://goo.gl/98rY88
Liquitex gesso (will need to be thinned with water for the airbrush) http://goo.gl/9XWtbQ
When gessoing your paper, make sure to use masking tape to tape the edges down so that it doesn't dry warped.
************************************************
My reference photo is from http://wildlifereferencephotos.com
************************************************
My colored Pencil Supply list: http://lachri.com/colored-pencil-supplies/
************************************************
Subscribe: http://www.youtube.com/subscri....ption_center?add_use
***********************************************
Sign up for my newsletter to get art tips sent to you every week and a FREE 2 hour orca acrylic painting tutorial! http://lachri.com/email-list/
New painting videos Wednesdays at 3pm CST
Lachri Fine Art official website: http://www.lachri.com
Subscribe: http://www.youtube.com/subscription_c...
Facebook http://www.facebook.com/Lachri.Fine.Art
Instagram: http://instagram.com/lisa_lachri
G+ https://plus.google.com/+Lachri
Twitter: http://twitter.com/lachri
Patreon: http://patreon.com/lachri
Time lapse and speed painting tutorials and demonstrations by award winning artist Lachri. Learn how to paint portraits, surreal landscapes, pets, lions, tigers, and birds...pretty sure a Wizard of OZ reference should be made right about now. Get tips and watch techniques for working in acrylic and oil paint, carbon pencil, graphite and colored pencil.
This video was shot using the Canon VIXIA HF G20 HD camcorder.
http://www.youtube.com/watch?v=CiDEj7WEZoI&feature=share&list=PLD949BAB3C3D38CDE

Click on the images to go to the other four parts of this series.
Welcome to the fifth and final installment of my series about drawing the human head from memory. This video will give you a dizzying amount of information on how to draw the head at 3/4 view. Lets start out by observing what happens when the head turns. Notice what little space the face takes up when the head is turned in profile view. Notice that the back of the head becomes more rounded as the face seems to shrink. Lets take a closer look at the face. The green shape connects the two outer corners of the eye and the outer corners of the mouth. Observe what happens to this trapezoid shape as the head turns from side to side. Notice that as the green shape gets smaller, the back of the head becomes more rounded. Now lets look at a silhouette of the face. Be sure to observe what happens to the silhouette of the face at 3/4 view- It is no longer an oval shape. There are indentations and protrusions
In the 3/4 view of the head, there is an indentation by the eye and a protrusion at the cheekbone and mouth. This is due to underlying bone and muscle structures.
Now, lets look at the individual features of the face starting with the eyes. Notice that the eye shifts in shape as the head turns. When the head is in profile... the shape of the eye looks like a Hershey's kiss turned to the side.....as the head turns, it morphs to an almond shape. Since I am teaching you how to draw the eye 3/4 view for this video, we will remember that the 3/4 view eye resembles Pac Mans mouth. Notice that the pupil and iris are more oval like and that there is no white on the inner corner of the eye.
Now lets observe the nose. Notice the relationship between the nose and the cheek. In the 3/4 view, the nose is partially covering the cheek and almost to the edge of the face. Notice how the nostrils shift as the head turns. When you draw a head in 3/4 view, you essentially draw 1 1/2 nostrils.
As for the mouth, take a few seconds to notice the changes. The top lip morphs from a flattened M shape from the front....to a lightning bolt shape in 3/4 view. The bottom lip has a squared section and triangles on each side.
The ears move from being close to the center of the head from profile view, to the edge of the head in front view. In 3/4 view, the ears seem to be at the verge of protruding through the back of the head....but they are not there yet.
Now its time for the demonstration. Since we studied a male head in the first part of the video, lets switch it up and draw a female head. Just follow the directions for each step and also on the shading tutorial.
Step 1: Draw the shape that you see. Notice that it is an egg shape with various protrusions and indentations. This is the most difficult step so take some extra time.
Step 2: Notice the rectangular shape. The four dots are the centers of each eye and the corners of each mouth. Place each dot in the appropriate place. Then, about 2/3 of the way down add a line for the bottom of the nose.
Step 3: Add the eyebrows and ears.
Step 4: Fill in the eye shape. Remember the Pac Man rule. Here is a close up.
Step 5: Complete the nose. Notice the solid line leading from the bottom of the nose to the brow. Also, remember the rule about 1 1/2 nostrils. Here is a close up.
Step 6: Complete the mouth. Overall the mouth looks like a flattened heart shape. For now, put in one solid shape and ignore the rules that you learned before. We will make the rectangular shape on the bottom lip and the lightning bolt shape on the top when we shade.
Shape 7 Add the hair. Be creative, you dont have to re create this hairstyle.
The pictures used were from Thirteen of Clubs Photostream on flickr. They are under a Creative Commons License (Attribution). I will credit him in the video description- http://www.flickr.com/photos/t....hirteenofclubs/sets/ All other imagery and audio were made by me (Merrill Kazanjian)

WE NEED A VISUAL ARTS CATEGORY ON YOUTUBE THREAD-http://www.google.com/support/forum/p/youtube/thread?tid=2a9806f929074cbd&hl=en&fid=2a9806f929074cbd0004b630ad37cc3e
Facebook- http://facebook.com/kazanjianm
Twitter- http://twitter.com/kazanjianm
Website- http://merrillk.com
(Merrill) Supplies I Use- http://www.jdoqocy.com/click-4....247664-805536?url=ht
Hey Hey..... Wanna see a really annoying tutorial? Hey ....Yeah me too.....This video is going to give you step by step instruction on how to draw The Annoying Orange. As soon as the helium wears off, lets begin.
Ah much better.... Step 1: Make a circular shape because oranges are circular.....even annoying ones.
Step 2: When you make the eyes, remember that there is one eye length between each eye. The top of the eye shape is rainbow like. The bottom of the eye shape is almost flat, and slightly curves up at each end. Notice that the top of the pupil and iris is hidden behind the upper lid. Unlike human proportions, oranges eyes are closer to the top of his head....I mean .......skin.....ahh whatever.
Step 3: Add the mouth. This is the toughest step but it will be easier if you put it in as a big half circle, then break it up in to six smaller shapes. Here are the smaller shapes from top to bottom- the upper lip, the upper teeth, the mouth, the tongue, the lower teeth and the bottom lip. Pause the video at the end of this step and observe before you go on to the coloring part.
WE NEED A VISUAL ARTS CATEGORY ON YOUTUBE THREAD-http://www.google.com/support/forum/p/youtube/thread?tid=2a9806f929074cbd&hl=en&fid=2a9806f929074cbd0004b630ad37cc3e
Facebook- http://facebook.com/kazanjianm
Twitter- http://twitter.com/kazanjianm
Website- http://merrillk.com
(Merrill) Supplies I Use- http://www.jdoqocy.com/click-4....247664-805536?url=ht
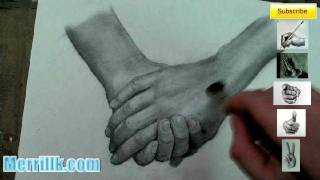
0:11 YOUR GOAL: Eliminate ALL LINES. It is normal to create lines while working with a pencil because you are using a fine tip. BUT, Cross-hatch and blend until you eliminate all lines.The difference between a good
"draw-er" and a great one is noticing the subtleties of EDGES!!!!
0:31-The darkest part will be where the fingers bend down towards the bottom of the page. The light source comes from above.
0:41- The Paintbrush is GREAT for creating neutral tones on white paper......Think about it, if you draw on white paper, you are STARTING on one GIGANTIC HIGHLIGHT!
1:03- IMPORTANT- One way to make the lines GO AWAY is to darken the region next to it. Look at the area that my brush is working on now.
1:17 Fingernails DO NOT have dark lines around them...Look at your hands, YOU DO NOT have dark lines. If you DO have dark lines:
1.) Wash your hands with industrial strength antibacterial soap.
2.) Fabreze YO SELF
3.) See a Dermatologist- It would not be a "RASH" decision.
1:35- Notice the tonal (light and dark) differences between each of the fingernails.
2:17- Some Artists have great line quality in their drawings (I don't). But it is shading, NOT line quality which gives a drawing the three dimensional effect.
2:52- Yes, there are lines in between the fingers, but, notice the subtle differences in tone which happen; both to the line and the area around it (to round the fingers)
3:07- That is a 3B pencil that I am using.
3:21- My wife says that IF you make this drawing and give it to your significant other.....don't make "chopped off hands" LOL......Nothing says "I LOVE YOU" like amputated hands!!!
3:48- Start to look at the edges now.....They are starting to develop. It is not one solid line anymore.....It will be developed even more as the drawing progresses.
4:12- Did you know that if our hands didnt move, we wouldnt have lines on them (I dont mean fingerprints). For instance, if someone is in a coma for four years (and doesn't move), when they wake up there will be less lines on their hand.
4:53- Develop the dark tones SLOWLY. If you RUSH, you will be making RUSSIAN art!
5:15- Notice that I do not hold the pencil at the tip. You get better control if you hold it further back. This will take a while to get used to.
5:41- I am only HINTING at the bone structure and musculature of the hand. As we get older, our skin thins, our muscle mass decreases and we can see the bones and what is left of the muscles more clearly.
Younger hands need more blending and less variation of tone.
6:15- Now its starting to come together
6:33- At this point of the drawing, it is all about clarification (Strong, well placed highlights and shadows) and smoothness (use the brush and the eraser).
Look at the subtleties of the bone structure. That was "sculpted" with 1.) cross hatching from the pencil tip 2.) smuding with the paintbrush 3.) the eraser..... Remember, this did not happen instantaneously. The tones were slowly developed.

My Alternative to oil painting by Merrill Kazanjian- Recently, I have made a lot of videos teaching about the techniques that I use to make art. But, for once, I want to talk to you about choices that I made with my own art. The first medium that I was proficient in was oil painting. But after college ended, I was too drained to paint after I got home from a day of work. The setup and clean up of paints took as long as the process of painting and the drying time was way too slow for my needs. I estimate that I painted only once or twice per week for about three hours per day and I only produced about two finished paintings per year. I did this for six years.
I slowly started dabbling with mixed media art. What you are seeing now is a process that I have worked out over the past 2 years for the past two years. This process allows me to have results similar to oil paintings, done in one day rather than six months. I even incorporate oil paint in to one of the steps.
Here it is:
1.) Pencil Drawing
2.) Illustration Markers (prismacolor, Ad, Decocolor)
3.) Color Pencil
4.) Thin Layer of Oil Paint
5.) Digital Additions (Photoshop, Paint Shop Pro)
I use this process to make my characters. Over the last 2 years I have made over 1500 characters. I scan them and save them as PNG files and I use them over and over in my artwork. PNG files stand for Portable Network Graphic and they are basically a filetype that works like a sticker. Stay tuned until the end of the video and I will show you what I mean. Contact me through my website merrillk.com or leave me a youtube comment and I will be sure to get back to you.

LINK- http://merrillk.com/?part=fineart&act=artist1&artist=69&collection=114 This video will teach you how to draw Tony Montana...aka...Scarface. All that you will need to create this artwork is a pencil, some paper and a blending tool (such as a q-tip, a paint brush or a tortillion/blending stump). There is a free downloadable PDF file for you to print while you listen to this video. The combination of the PDF and the video will make it possible for artists of ALL levels to draw Scarface (depicted by Al Pacino in the 1983 movie).

Love him or hate him, Allen Iverson plays the game of basketball with a lot of heart. I remember him when he first came in to the NBA from Georgetown University and I followed his career through Philadelphia (76ers), Denver (Nuggets) and now the Detroit Pistons. Hes known for his killer cross over dribble and his tenacious drives to the basket, despite his small frame. He has not won a championship as of yet but reached the finals when he was with the Sixers- Practically carrying that team on his back. There are plenty of highlight / mix tapes out there so my tribute comes in the form of a drawing. I documented the different steps that I took: 1.) Pencil Drawing 2.) Markers 3.) Color Pencils and you can download a print version that shows you step by step how to draw AI at my website merrillk.com. The first part is stop motion with a scanner and the second part is a time lapse. Hopefully its a slam dunk. Please rate and comment! Merrill Kazanjian

Hello everyone, here is a quick drawing of a Squirrel with a jet pack. This drawing took about an 1hr to draw.
Drawing By: Serafin Ureno
Add me on Facebook: http://www.facebook.com/orangemonkey92
This drawing on DeviantART: http://fav.me/d586k64
I used Royalty-Free Music By: Kevin Macleod
http://incompetech.com
Tracks Used: The Bandit & Blobby Samba

Week 4 of Inktober! Which is your favorite drawing? This is the first year I attempt to do Inktober. For those who are unfamiliar with Inktober, it is basically a global challenge where many artists attempt to create one ink drawing every day for the entire month of October. Inktober was started by artist Jake Parker in 2009. More info about Inktober here: https://www.mrjakeparker.com/inktober-1/
Please ????, Comment and Subscribe
???? Drawing by: Serafin Ureno ✏️️
___
➡️ WEBSITE: http://www.serafinureno.com
➡️ FACEBOOK: http://www.facebook.com/OrangeMonkeyart
➡️ DEVIANTART: http://omkdrawings.deviantart.com/
➡️ INSTAGRAM: http://instagram.com/orangemonkeyart
➡️ TWITTER: http://twitter.com/OrangeMonkeyArt
????MUSIC????
I am using royalty free music by: TeknoAxe
https://www.youtube.com/channe....l/UCtgf00GvfFQVsYBA7
Name of track used: Further Investigation
Direct Link: https://www.youtube.com/watch?v=psYw0AxE_G4
licensed under a Creative Commons license: http://creativecommons.org/licenses/by/4.0/
--------------------
I am using royalty free music by: YouTube Audio Library Name of track used: Witchy Britches by RW Smith
licensed under a Creative Commons license: http://creativecommons.org/licenses/by/4.0/
#inktober #drawing #Halloween

Hey Youtube, this is my drawing of.... Aliens... I wanted to draw something like this for a while. This drawing is done completly with Ballpoint pen and makers, exept for the light coming from the spaceship thats colored pencil. This took about 3 days to finish, but i did stop lol Thanks 4 Watching!!
Drawing By: Serafin Ureno
(YouTube) http://youtube.com/orangemonkey92
(DeviantART) http://fav.me/d3e4lx4
(FaceBook) http://www.facebook.com/pages/....OrangeMonKey92/11659
Music By:
Kevin MacLeod
http://incompetech.com
Tracks Used:
(1) Chee Zee Lab
(2) Scheming Weasel faster
THANKS 4 WATCHING!

Finally a new video! Hello, YouTube i hope you enjoy this drawing of Lana Del Rey. It is done using Prisacolor color pencils on Bristol paper. Although, i spent a couple weeks on it, the actuall drawing time was about 8hrs. I've been way to busy latley, but dont worry i will be uploading a lot more art soon :D
Drawing By Me: Serafin Ureno
Find me @
Facebook: https://www.facebook.com/orangemonkey92
Instagram: https://www.instagram.com/orangemonkey92 ( #orangemonkey92 )
DeviantArt: https://www.omkdrawings.deviantart.com
Royalty Free Music By: Kevin Macleod
http://www.incompetech.com
Tracks used: String Impromptu Number 1
Royalty Free Music By: Danosongs
http://www.danosongs.com/
Tracks used: invisible-love & come alive
Link to licence terms
http://creativecommons.org/licenses/by/3.0/

R.I.P. Michael Jackson 1958 - 2009. he was a great person, this is my tribute to him. hello everybody this is my drawing of Michael Jackson please tell me what you think of it. Thanks for Watching! plz rate, comment, and subscribe.
Music by: Kelvin K
Song: 2 Doors Down (Members Only Mix)
From: YouTube AudioSwap

Any Pokemon Fans here? Here is a quick drawing of Kingdra and Lapras...
Drawing by: Serafin Ureno
Other sites where you can find me!
FACEBOOK: http://www.facebook.com/OrangeMonkey92
DEVIANTART: http://omkdrawings.deviantart.com/
THIS DRAWING ON DA:
INSTAGRAM: http://instagram.com/orangemonkey92
(You Can follow me on Instagram; i'm constantly posting progress pictures and sketches on there.)
I am using royalty free music by: Argofox Creative Commons
https://www.youtube.com/channe....l/UC56Qctnsu8wAyvzf4
From The Dust - Chemicals [Creative Commons]:
licensed under a Creative Commons license: http://creativecommons.org/licenses/by/3.0/

INTERACTIVE ART VIDEO: Click the video link to go to the ORIGINAL video and WRECK Ralph's face, but don't worry if you refresh the page YOU CAN FIX IT! ( Instructions: Click on the X's) http://youtu.be/LS6FjyhFh7U
Hello YouTube, I am creating Ralph's 8-bit face from the new Disney movie Wreck-It Ralph out of YouTube Annotations. Yes! YouTube Annotations. For those who are unfamiliar with Annotations, they are a great feature YouTube has enabled for all videos. Annotations were mainly intended as a way to give extra information about your video in case you forgot to mention something important, spotlight something, and link other related videos. Other YouTubers have used them in very creative ways such as interactive videos ect. Here i am using them to Create ART! YouTube Annotation ART!
MORE ANNOTATION ART HERE:
- Mario 8-bit: http://youtu.be/puiG29-9Goc
- Sonic 16-bit: http://youtu.be/tjorhvf8nJY
Drawing by: Serafin Ureno
Like me on FACEBOOK: https://www.facebook.com/OrangeMonkey92
+Watch on DeviantART: https://www.omkdrawings.deviantart.com
Follow me on INSTAGRAM @orangemonkey92
Royalty-Free Music by: Kevin Macleod
http://incompetech.com
Tracks Used: 8bit Dungeon Boss & Killing Time
Thanks 4 watching!

CLICK TO SEE THE ORIGINAL VIDEO WERE I DID THIS (Does Not Work on Mobile Devices): http://www.youtube.com/watch?v=NsPoyMzsVOU
Hello YouTube, This some art done with annotations Yes! Youtube Annotations. For those who are unfamiliar with Annotations, annotations are a way to add commentary to your videos, Add background information, and a way Link other videos and channels on youtube. Here i am using them to Create art! this took about 3hrs to make...
Annotation Art by: Serafin Ureno
ADD ME OF FACEBOOK: http://www.facebook.com/pages/....OrangeMonKey92/11659
Music by: Danosongs.com
song: undiscovered oceans
THANKS FOR WATCHING

New drawing...
Drawing by: Serafin Ureno
Other sites where you can find me!
FACEBOOK: http://www.facebook.com/OrangeMonkey92
DEVIANTART: http://omkdrawings.deviantart.com/
THIS DRAWING ON DA: http://fav.me/d8oevy7
INSTAGRAM: http://instagram.com/orangemonkey92
(You Can follow me on Instagram; i'm constantly posting progress pictures and sketches on there.)
I am using royalty free music by: Myuuji
https://www.youtube.com/user/myuuji
Name of tracks used: Carnival Freaks
https://www.youtube.com/watch?v=lvuxK9-UNlo
licensed under a Creative Commons license: http://creativecommons.org/licenses/by/3.0/
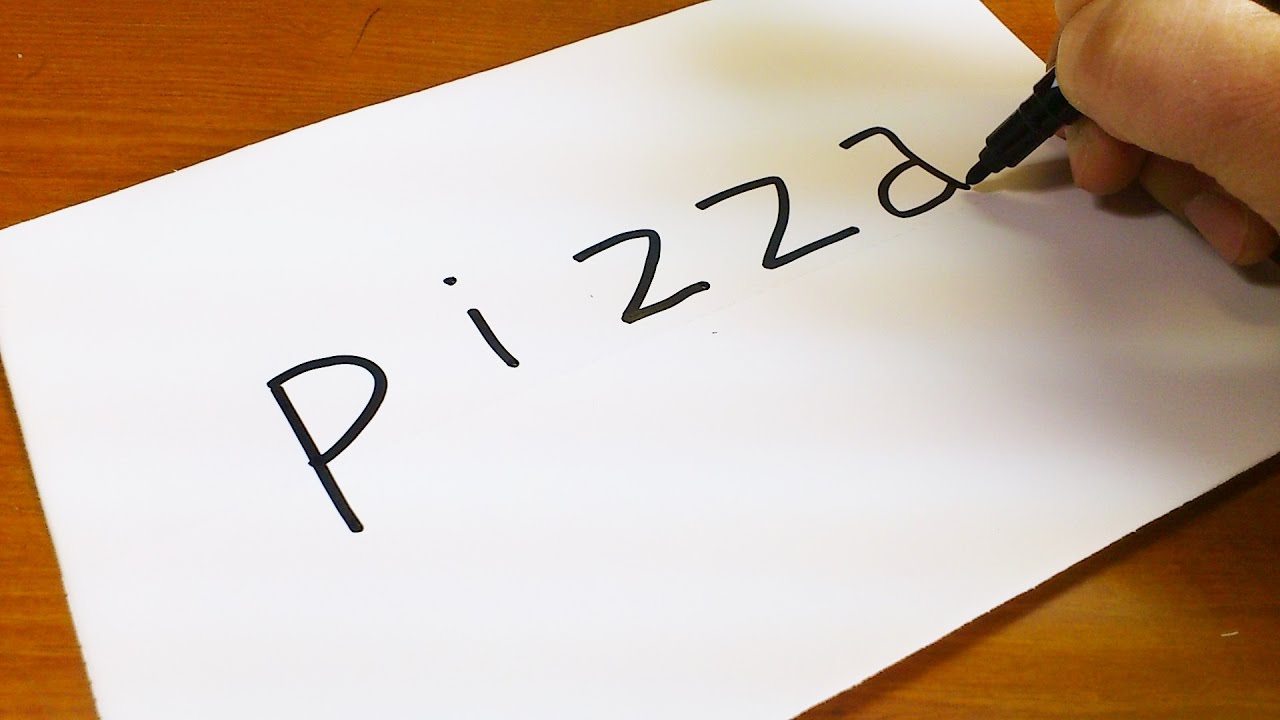
Welcome to 「PIN KORO - YouTube」♪
Thank you for the visit.
Today's video is 「How to turn word PIZZA step by step into a Cartoon - Learning Cute doodling art on paper」
Let's learn drawing with me.
SACAR UN DIBUJO DE LA LETRA "PIZZA" - Dibujos faciles paso a paso
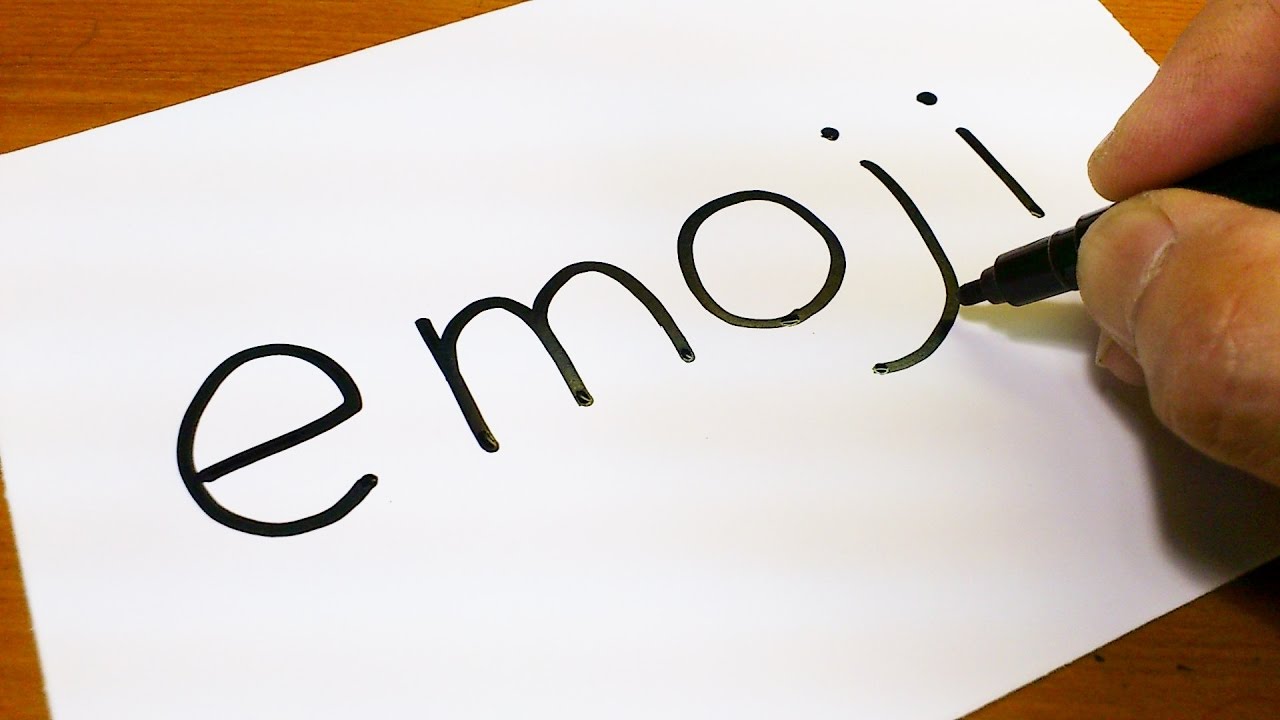
Welcome to 「PIN KORO - YouTube」♪
Thank you for the visit.
Today's video is 「Very Easy ! How to draw turn word Emoji step by step into a Cartoon - Learning Cute transformation doodle trick art on paper for beginners」
Let's learn how to drawing Kawaii doodle with me.
In response to many request, I challenged it.
INCREIBLE TRUCO CON LA PALABRA Emoji - DIBUJO A Emoji CON SUS LETRAS
