- Разработка
- Бизнес
- ИТ и ПО
- Личностный рост
- Дизайн
- Маркетинг
- Красота
- Фотография и видео
- Здоровье и спорт
- Музыка
- Образование
- Подготовка к экзаменам
- Языки
- Работа на компьютере
- Строительство и ремонт
- Кулинария
- Сельское хозяйство
- Фриланс
- ПДД и вождение
- Игры
- Школьное образование
- Профессиональная ориентация
- Шитье и кожевенное дело
- Рукоделие
- Каменные и столярные работы
- Собеседование
- Рыбалка и охота
- Страны


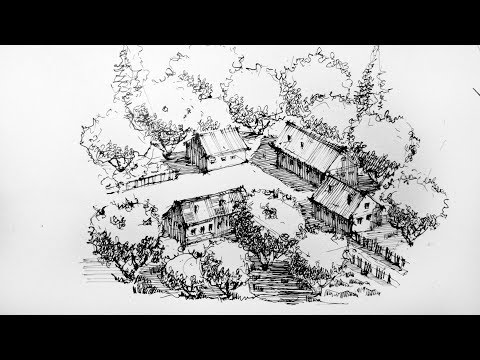
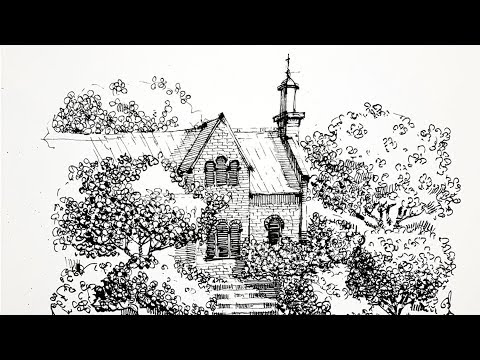


Landscape Tutorial~How to Draw Trees With Leaves Pt 2 of 2

This tutorial will take You through the steps to complete a drawing of a tree. I show you the all pencils and techniques that are needed.
Check out my facebook fan page here. http://www.facebook.com/pages/....Tylers-Art-Shack/181
Welcome back everybody, This is the continuation of how to draw trees with leaves tutorial. I recombine that you see part 1 first before this one. That way you know what is going on in this video. Also, if you have not seen my other tree tutorial drawing. That was how to draw a dead tree part 1 and 2. I recommend that you see that one before you watch part 1 or part 2 of this video.
This whole tutorial thus far has only been done with using a 4h pencil. as you can see this pencil is light and the whole tree is mainly one tone. When I divided the page or tree down the center, everything to the right will be darker than everything to the left of that line. This will help you later with the shading and overall progression of the tree.
For shading the tree darker, I used an HB pencil and a 2B pencil. Wherever I used the 4H to make a darker tone on the tree, I am going to use the HB to make that area darker. I shade darker on the right side of tree than the left. The bottom of the tree will be the darkest part of the tree. The top left of the tree will be the lightest while the bottom right will be the darkest. The area between those two parts will transition slowly from light to dark.
I start to fill in the trunk area of the tree. I fill it in using a method called hatching. That is putting parallel lines close to each other to make dark tones. I use this to help give the tree a realistic look along with some character. It mimics the bark and other details of the tree. You also want to be able to decipher where the tree trunk ends and the leaves begin.
A cool way to situate the tree into the ground is to take a dark pencil and shade where the tree trunk is. Shade in that area to give the tree a nice large shadow.
The tree is pretty much complete from this point. You can go back in and add in little details at this point. I go back in with an eraser and put some highlights in some areas to make it look like light is hitting it.
You can add some tree branches here and there around the tree to make it look like there is a tree under all the leaves. I do this by just adding little branches and cover them up with leaves. I also add a few branches sticking out of the tree as well. it sort of adds a likeness to it.
I hope you learned from this tutorial.
