

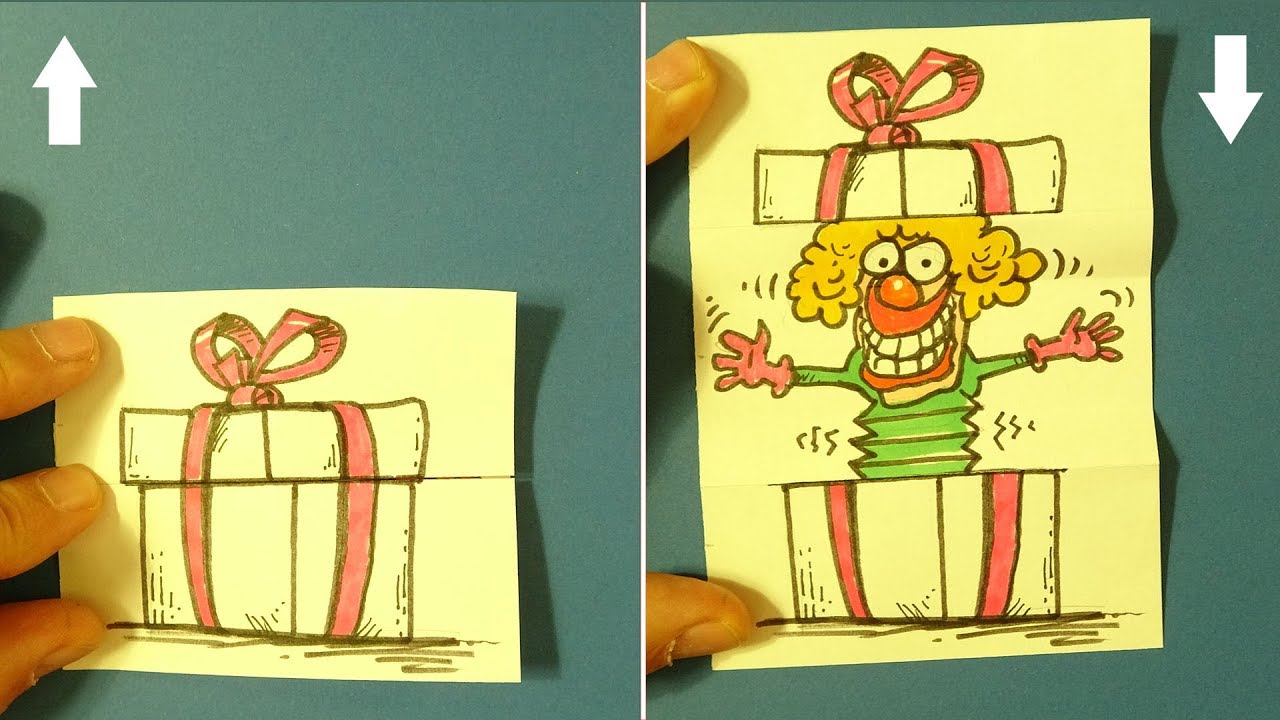


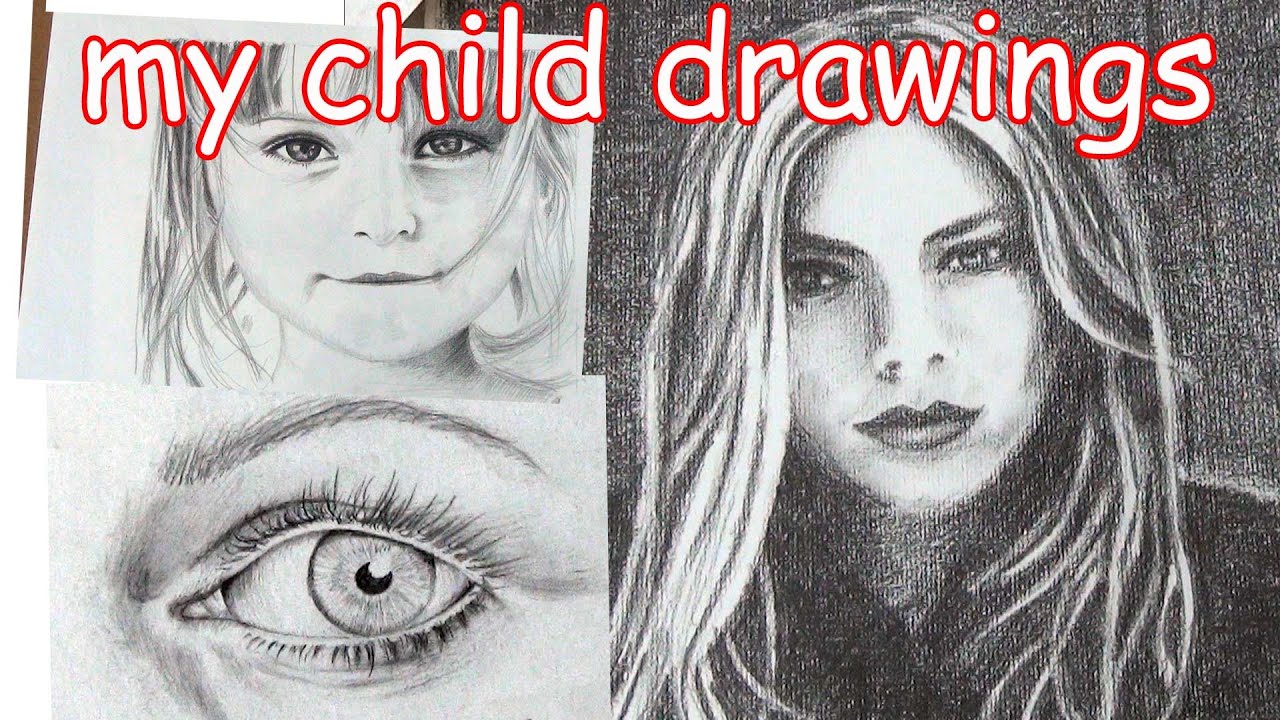
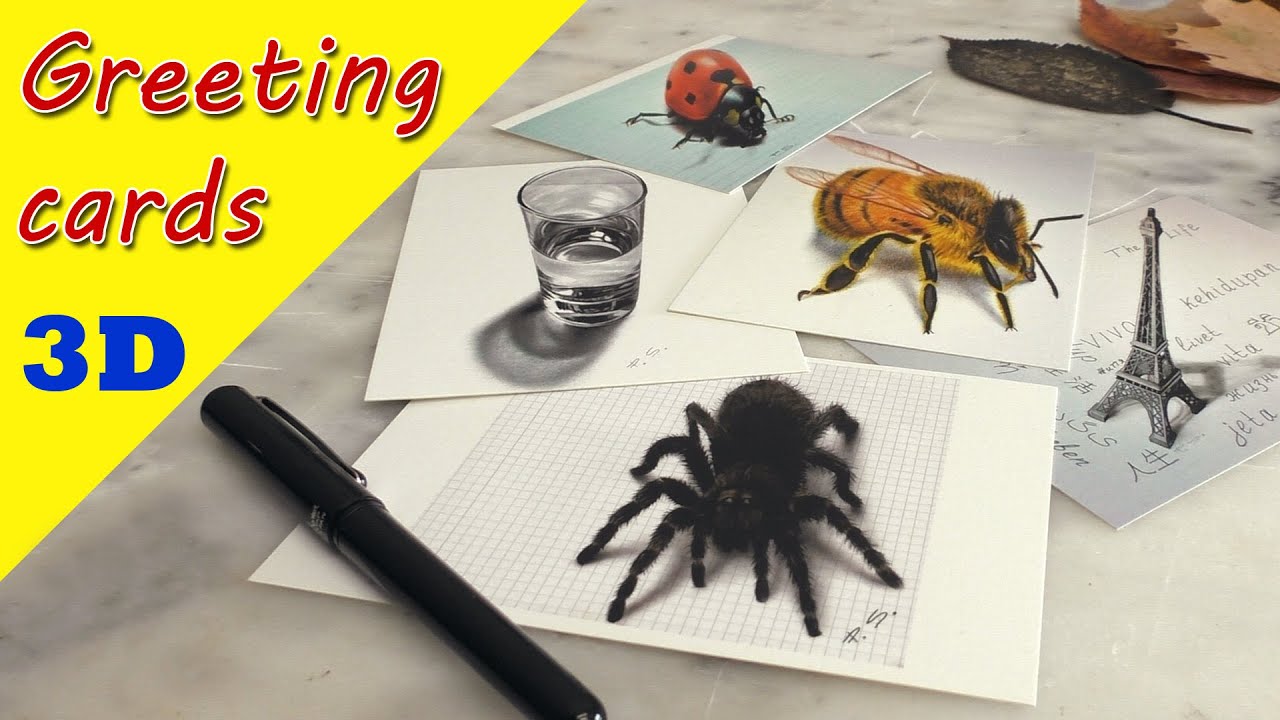


How to Record your Drawings

This is the way I have setup my drawing "studio". It used to be very basic and only consisted of the original reflector holder stand and a simple camera. But now that I am getting more of an audience and want to deliver better quality content, I have upgraded my setup.
I still use the reflector holder as the main camera mounting system. They can be found on amazon as well. I am also sure that stores that specialize in cameras and studio equipment would have the reflector stands. And I just use a pipe clamp to hold the cameras in place. The newer pipe clamps have hinge on one side so I needed to get a 3/4 inch size instead of a 1/2 like my older one that I have. Wit the pipe clamp, there is a hole on the top in which you can put a 1/4 inch screw and use a nut to secure it down in place. I then use the ballmounts and secure those on so that all I have to do is use that to adjust the camera angle.
Lighting is basic. I have very simple lamps with full spectrum bulbs in them. The bulbs cost more than the lamps haha. I then got some translucent 12 inch filters from interfit. I also got some 18 gauge wire so that I could have them hang from the lamps.
I use an Audio Technica AT2020 USB microphone for recording. There are parts of this video where the microphone does not sound all that great due to moving around so much haha. The microphone is Unidirectional which means that it only records good audio from 1 direction. Anything else it does not perform well. This is to help eliminate background noise that might occur. So keep that in mind :)
Other than that. I have a computer rig with high end components to help with the video editing and rendering. I use Audacity while recording with the microphone and use Adobe Premeire Pro CS6 to put it all together.
Hope you all enjoyed this one and ill see you all later!
